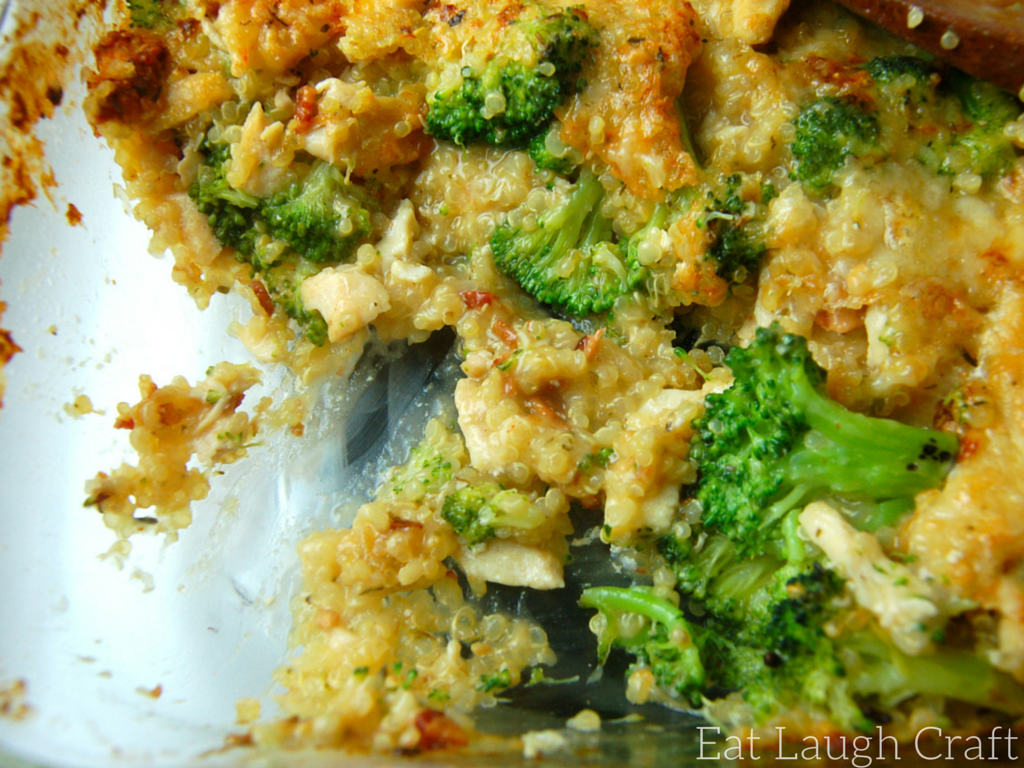
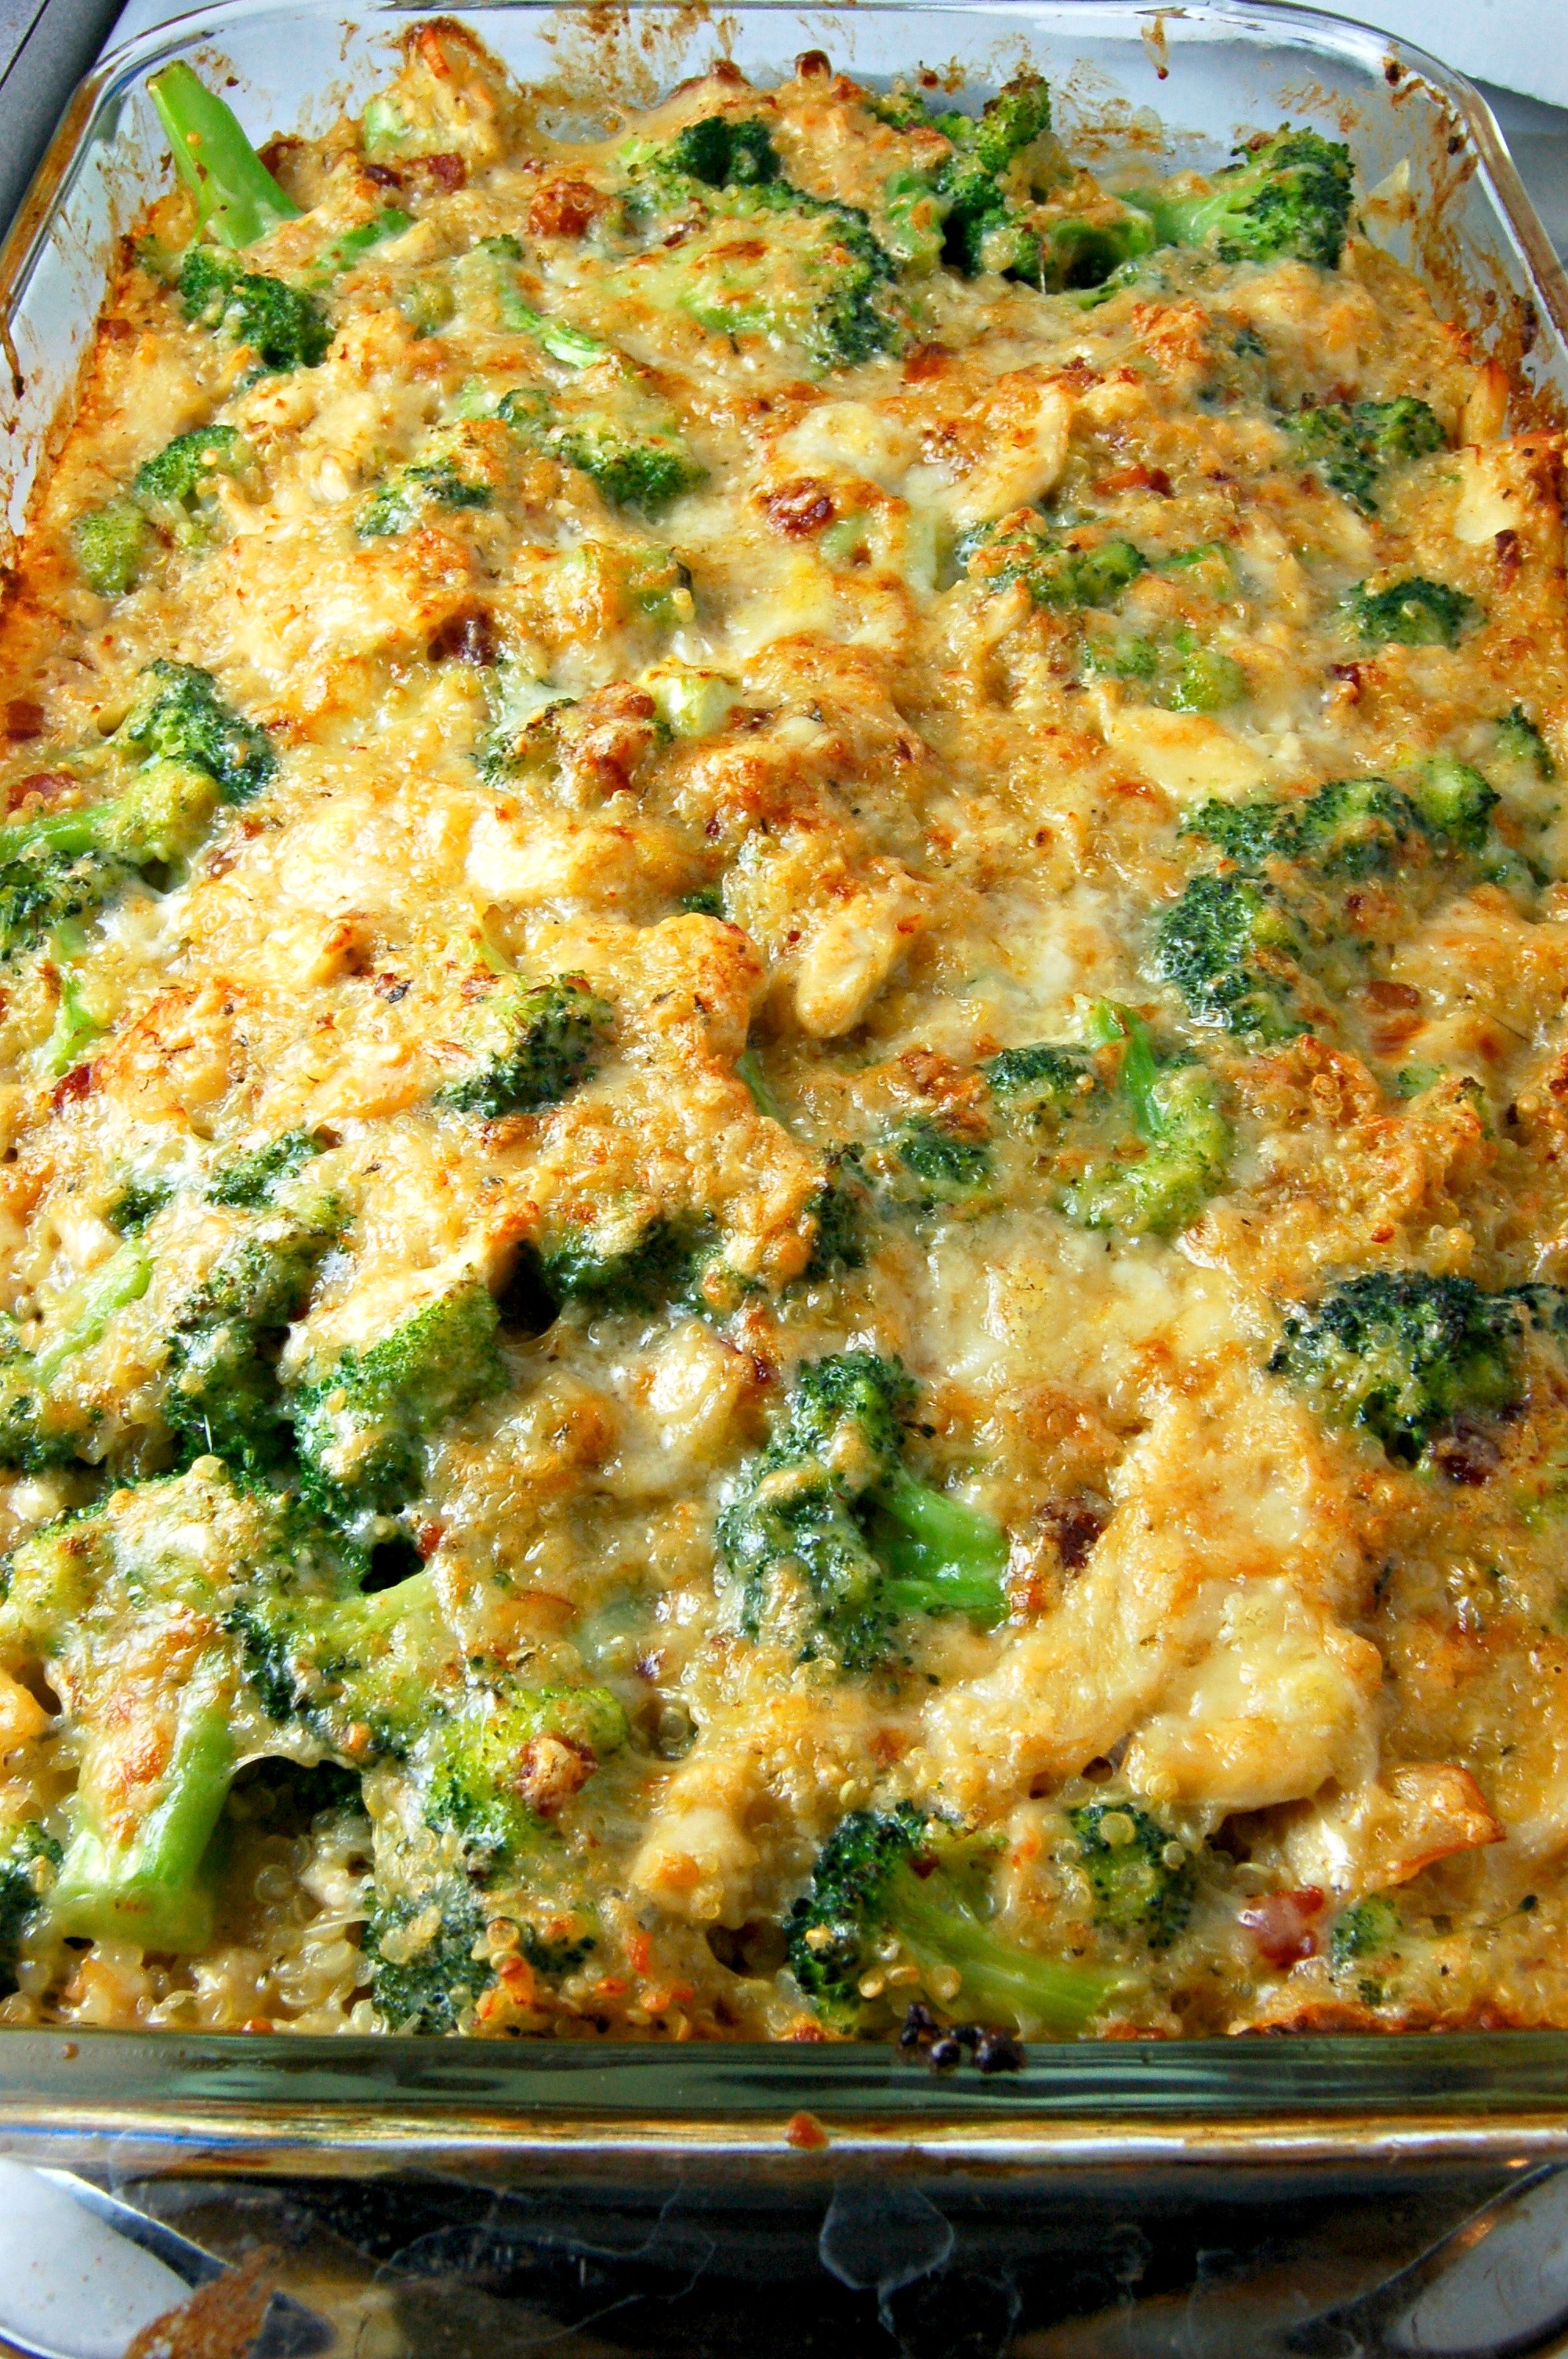
Chicken Broccoli Quinoa Casserole

HEYOOOO!
It’s Friday again! I love posting on Friday. They are such a happy day and everyone is in a great mood!
Sooooo this recipe is a total copy cat of my major girl crush, Lindsay over at Pinch of Yum. If you are on Pinterest at all, I 100% guarantee you have one of her posts pinned to your recipe board. She is a source of never ending amazing, well, everything! Food, Recipes, pictures, helpful blogging tips and tricks, laughs, inspiration….ok, like I said, girl crush.
I get so many recipe inspirations from her! Her and her hubby, Bjork, started Pinch of Yum a few years ago as a side fun thing and it morphed into their full time job and all their dreams come true! They are like a blogging, social media, power couple- and I want them to adopt me. kidding.
So I saw this recipe in my inbox one day and it struck a chord. Jake is always saying how now that I focus on healthier food for us, he misses the cheesy casseroles and pasta and this and that. Well this looked like the perfect solution, keeps me happy with veggies and quinoa and only a little cheese and keeps him happy because it tastes amazeballs and he’ll think it’s loaded with cheese.
WIN.WIN.
It was really good! I had a little trouble getting all the water to absorb into the quinoa, but I just left it in the oven for a little longer until it looked the consistency I wanted. Of course I can never follow a recipe word for word so I made this my “own” in a few ways…. made this gluten free and used almond milk since my stomach can’t really do dairy milk. Also spiced it up a little by using red pepper flakes. I loved the way mine tasted but here’s the original Lindsay version.

But here is my version. Deeeelicious. You have to try it for yourself.
INGREDIENTS
2 cups reduced sodium chicken broth
1 cup milk (I used unsweetened almond)
1 teaspoon chicken or vegetable bouillon powder
½ cup flour (I used GF all purpose)
2 cups water, divided
1 cup uncooked quinoa, rinsed
¼ cup already cooked and then crumbled bacon (optional but not really 🙂 )
1 pound boneless skinless chicken breasts
2 teaspoons seasoning (I love Penzeys Mural of Flavor but any basic blend you like will work)
1/2 teaspoon red pepper flakes
¼ cup shredded Gruyere cheese (although you can use whatever you would like)
3 cups fresh broccoli florets
INSTRUCTIONS
Sauce: Preheat the oven to 400 degrees and generously grease a 9×13 baking dish (not kiddint- be generous, it really sticks to the sides). Bring the chicken broth and ½ cup milk to a low boil in a saucepan. Whisk the other ½ cup milk with the bouillon seasoning and flour; add the mixture to the boiling liquid and whisk until a smooth creamy sauce forms.
Put it all together: In a large bowl, mix the sauce from step one, one cup of water, the quinoa, and bacon and stir to combine. Pour the mixture into the prepared baking dish. Slice the chicken breasts into thin strips and lay the chicken breasts strips over the top of the quinoa mixture. Sprinkle with your seasoning of choice. Bake uncovered for 30 minutes.
Broccoli: While the casserole is in the oven, place the broccoli in boiling water for 1 minute until it turns bright green and then run under cold water. Set aside.
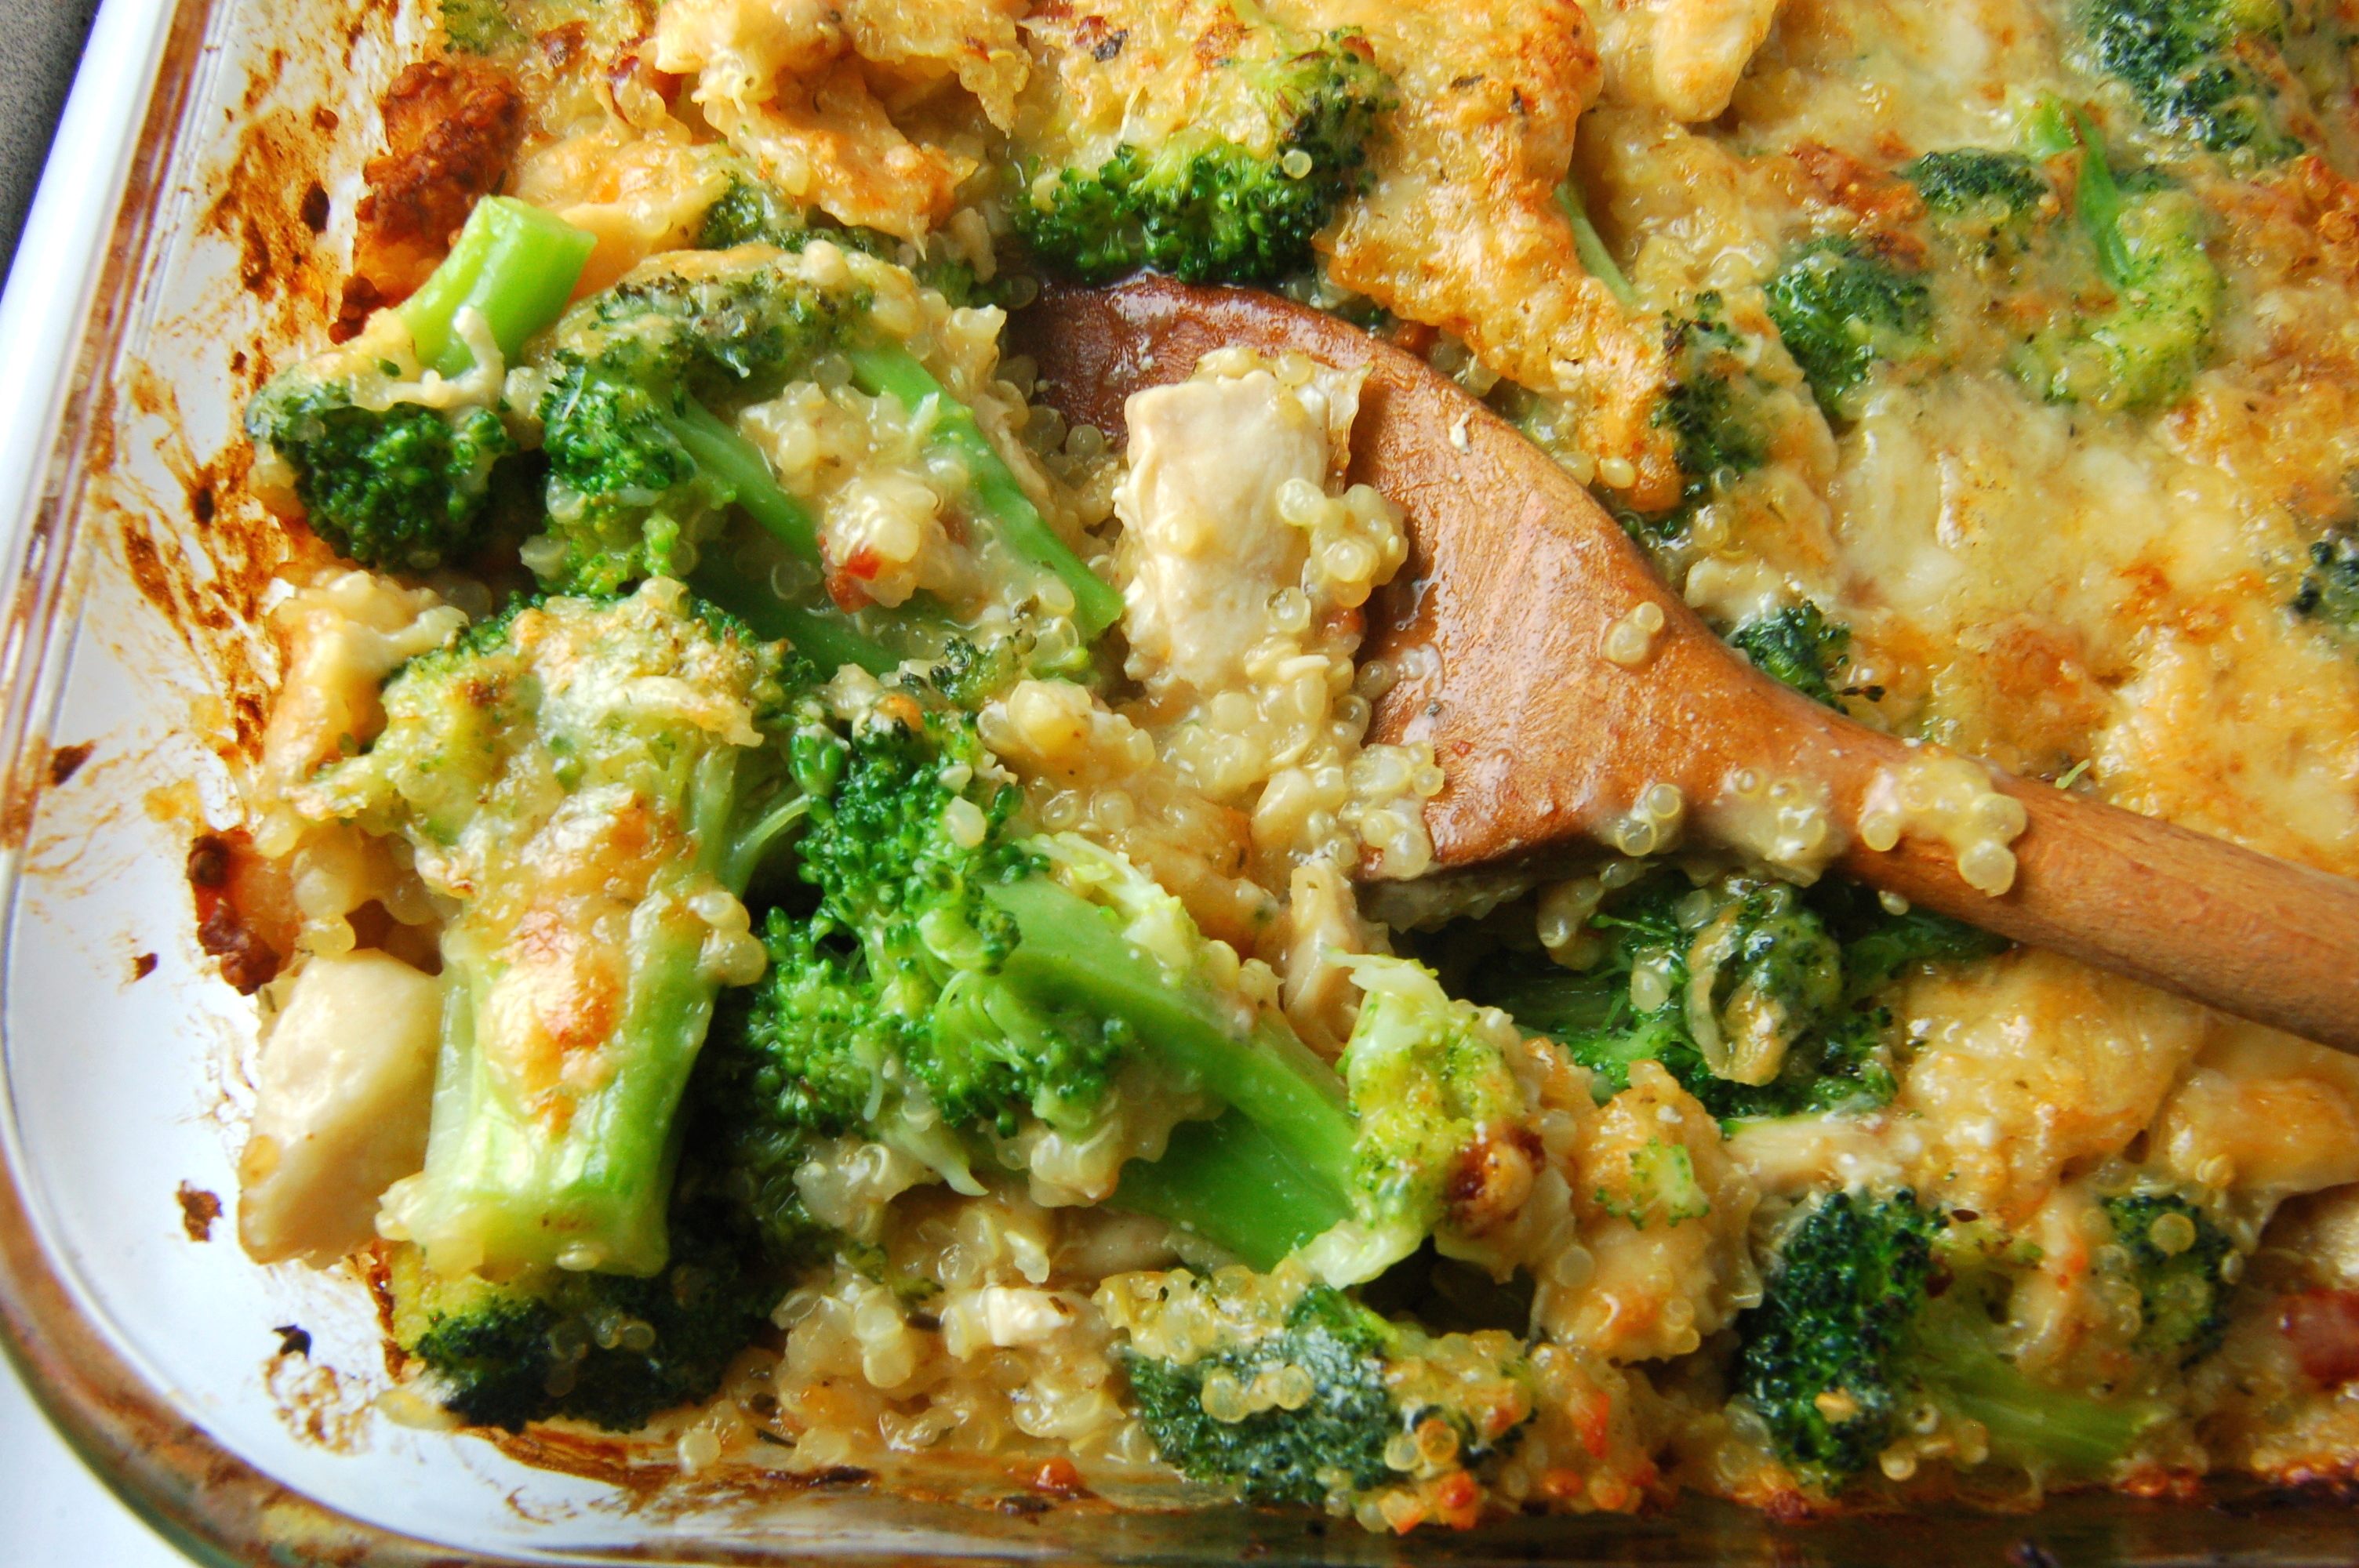
Bake: Remove the casserole from the oven, check the mixture by stirring it around in the pan, and if needed, bake for an additional 10-15 minutes to get the right consistency. When the quinoa and chicken are cooked and the sauce is thickened, add the broccoli and a little bit of water (like 1/2 cup) until the consistency is creamy and smooth and you can stir it up easily in the pan. Top with the cheese and bake for 5 minutes, or just long enough to melt the cheese. You can hit it with the broiler to get a pretty golden color if you want too. TADA

And then eat it up! Sooooo tasty. And pretty relatively guilt free!
 So you have two take aways from today:
1) Make this recipe and come back and tell me how you liked it.
2) Go check out Lindsay and Bjorks site Pinch of Yum, if you haven’t already that is 🙂
OH and one last thing:
HAPPY VALENTINES DAY! ❤ ❤ ❤ I hope you all have a fabulous weekend. As always thanks for stopping by!
xoxo

*This post contains no sponsored or affiliate links.

 Tada.Super duper easy peasy.
 We will definitely be making this again soon. Thanks for stopping by and checking out the blog and I hope you had wonderful weekend!!!


