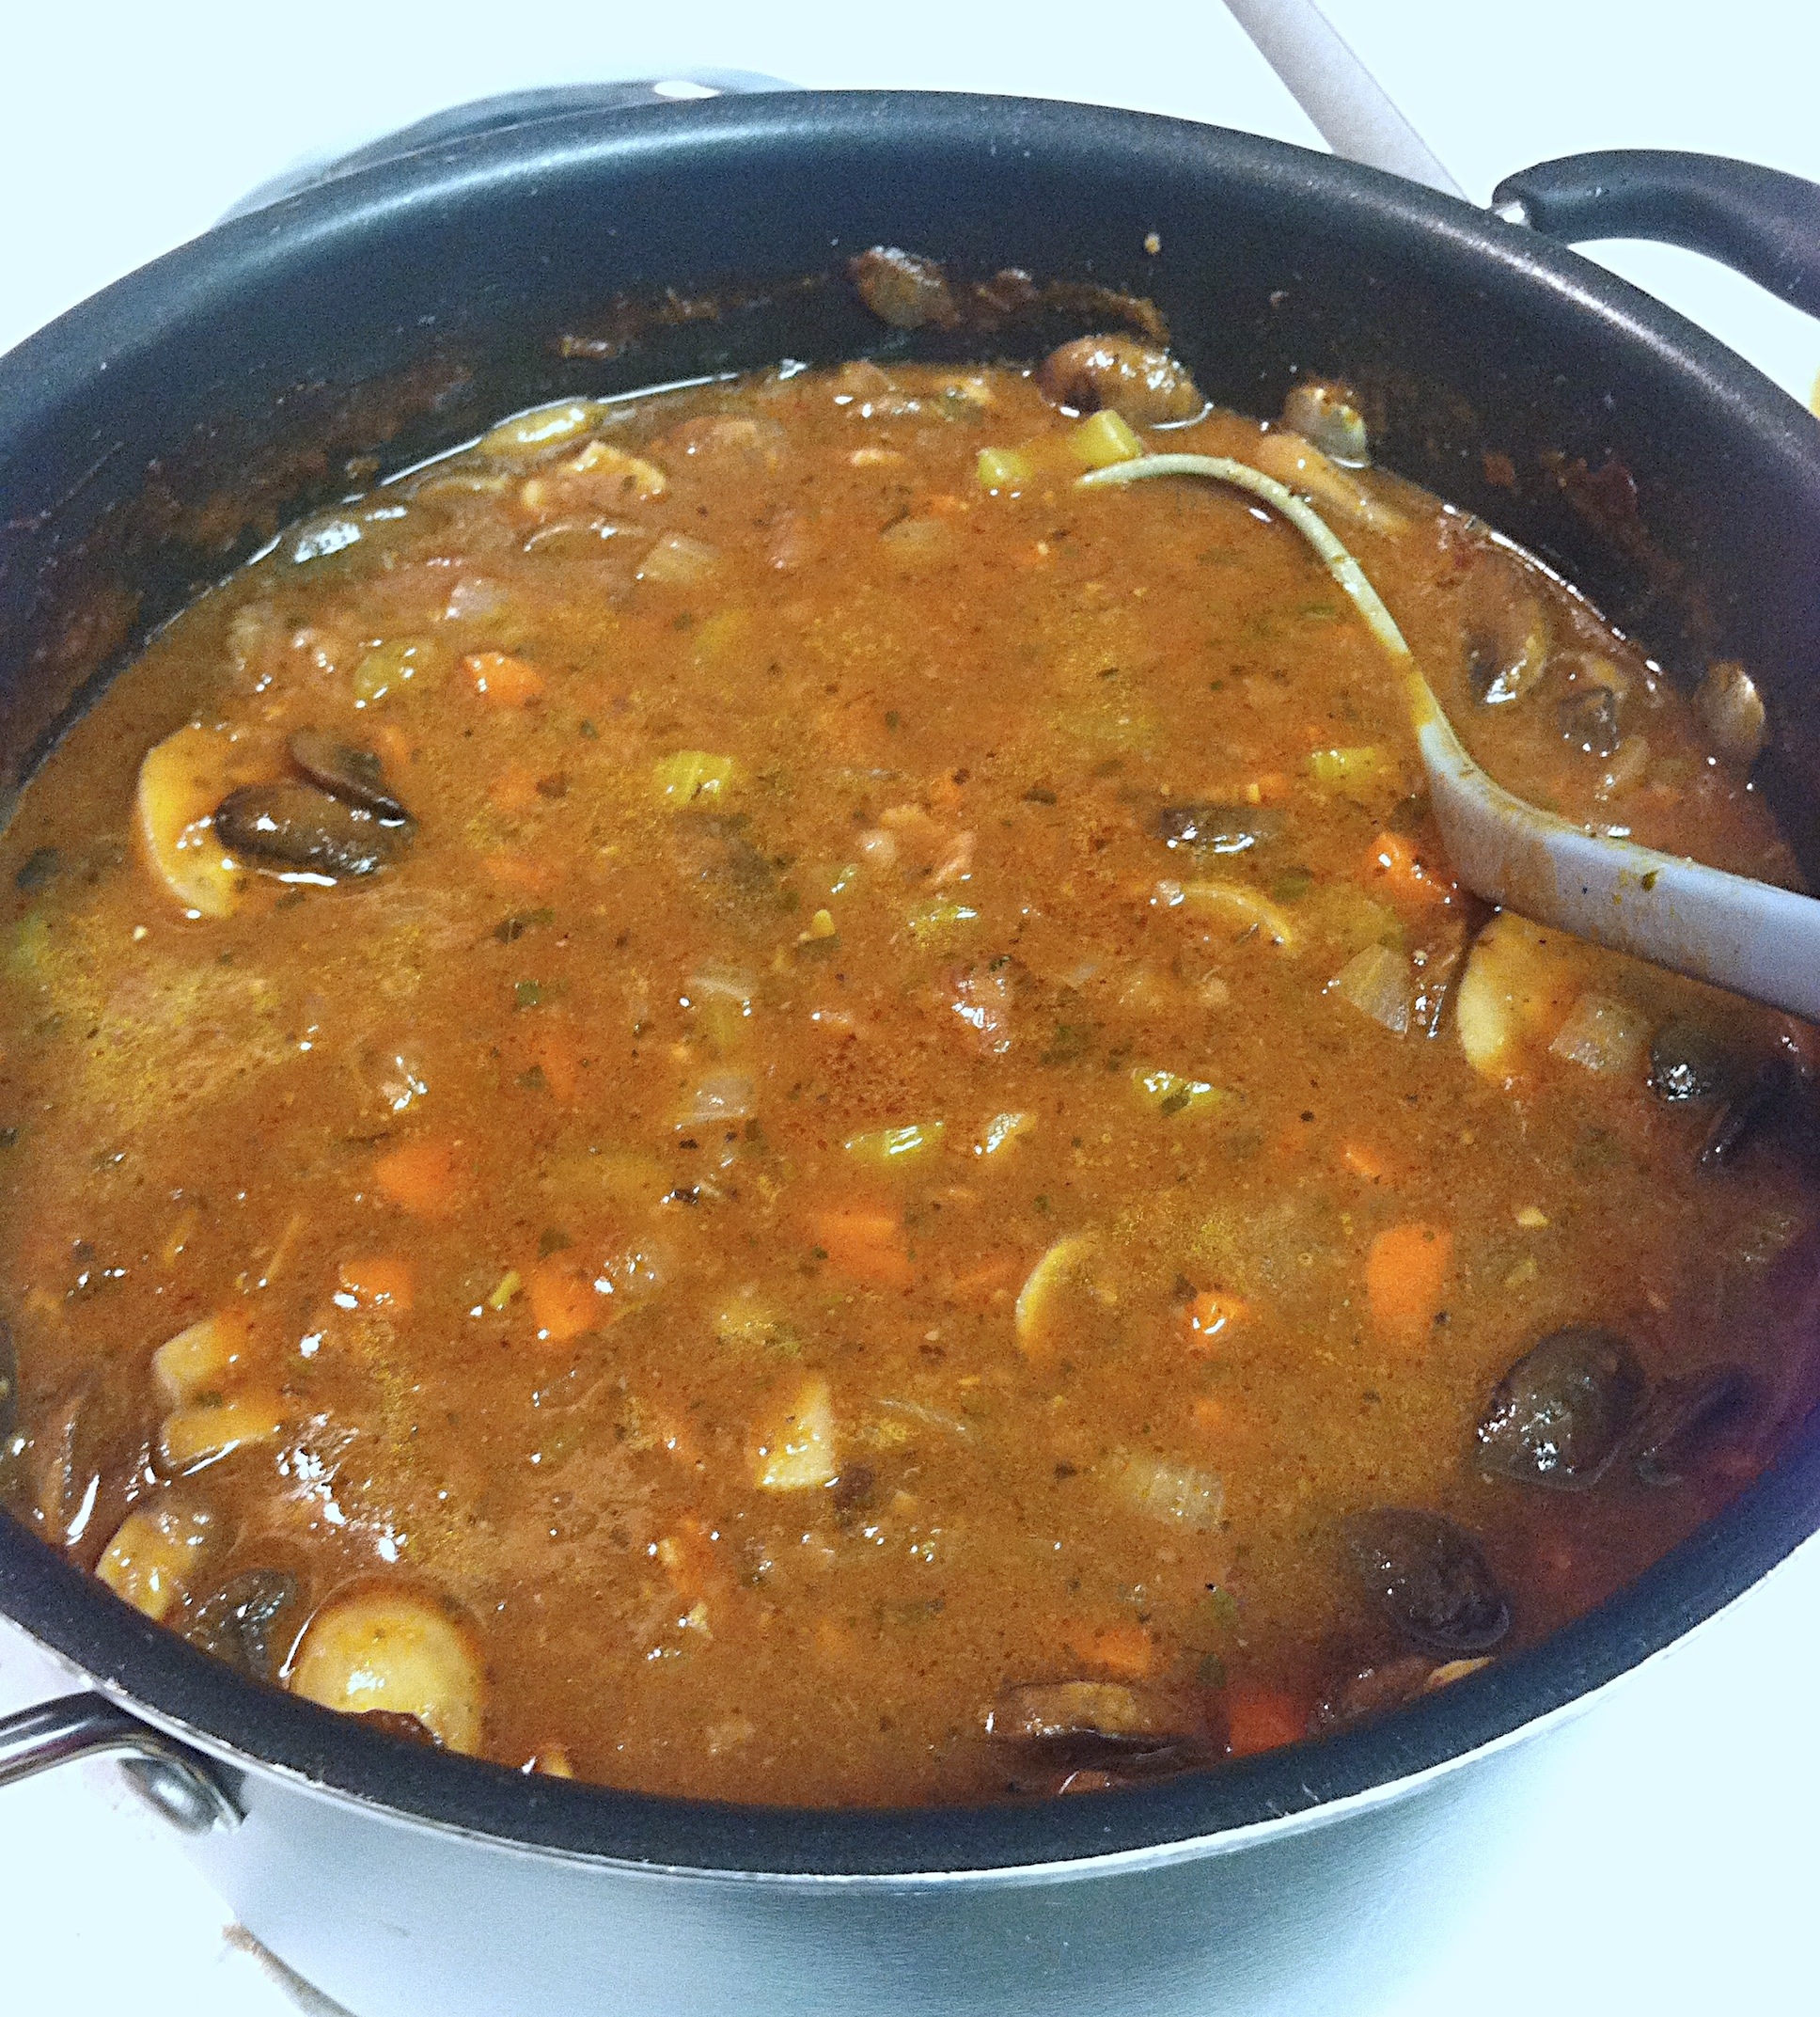
Beef Bourguignon Soup

A little overkill on the parsley. Don’t care. Still delicious!
Happy Sunday! Hope your weekends were all great and relaxing and fun! This is totally a winter comfort food- which I’m posting, not in winter. I’m not that organized. Get over it 🙂
I love a good Beef Bourguignon and when I saw a soup rendition, I was all for it. Most are kind of stew-like anyway, so why not go all in?!
I served this with my great grandmothers Homemade German Potato Dumplings and it was to. die.for.
This is actually a pretty rich and decadent version of a beef bourguignon. It takes a little but more time that more recipes I feature on here, but I promise that it will be worth it! 🙂
Ingredients:
3-4 thick cut slices of bacon
2 tablespoons flour
1 ½ teaspoons salt
½ teaspoon freshly ground black pepper
2 pounds stew beef meat, cut in 1/2-inch dice
1 onion, chopped in 1/4-inch dice
3 medium cloves garlic, minced
6 tablespoons tomato paste
2 cups red wine
6 cups beef stock
4 medium fresh thyme sprigs
1 large bay leaf
5 tablespoons pesto, prepared or homemade (Costco has the BEST pre-made pesto on the planet)
2 teaspoons brown sugar
2 stalks celery, diced
8 medium carrots, peeled and diced
2 tablespoons butter
8 ounces mushrooms, sliced
Instructions:
1. Cook bacon over medium low heat until golden brown and crisp, but not hard. Remove bacon with a slotted spoon and set aside. Remove half of the bacon drippings and set aside.
2. Combine flour, salt and pepper in a large bowl and stir to combine. Add beef and toss with your hands to coat.
3. In a large Dutch oven or heavy duty pot, heat bacon fat over medium high heat until hot, but not smoking. Add ½ of the beef and spread out to cover the bottom of the pan. Cook until the beef is golden brown on the underside, about 5-7 minutes. Don’t mess with it too much. Let it get a good golden brown coat. With a large metal spatula, flip beef to uncooked side and cook until second side is golden brown too. Remove with a slotted spoon to a clean plate. Add the rest of the bacon fat to pot. Heat until hot, add remaining beef and repeat cooking process as directed above.
4. Once second batch of beef is browned, return first half of beef to pan. Add onion and garlic, tomato paste and 1 of cup wine. Bring to a boil then lower heat to maintain a low simmer. Continue cooking, stirring occasionally. Simmer until most of the wine is absorbed, about 20 minutes then add the remainder of the wine and simmer until almost completely absorbed .
5. Add the beef stock, thyme, bay leaf, pesto and brown sugar and return to a boil. Reduce to a low constant simmer, cover and cook for 1 hour or until beef is tender. Remove bay leaf and thyme sprigs (if you used real thyme)
6. Add celery, carrots and potatoes, cover loosely and cook till tender, about 20-25 more minutes.
7. While vegetables are cooking, melt butter in a sauté pan over medium-high heat. When butter is bubbly, add mushrooms and salt. Cook, stirring occasionally until mushrooms are golden brown, about 10-15 minutes. Add mushrooms to soup and stir. If soup is too thick add a bit more stock or water.
8. Serve it up. Like I said, I served over some German Potato Dumplings, but served by itself or with some good crusty french bread would be amazing too!

Yum. Yum. Yum. I want this again right now!
xoxo


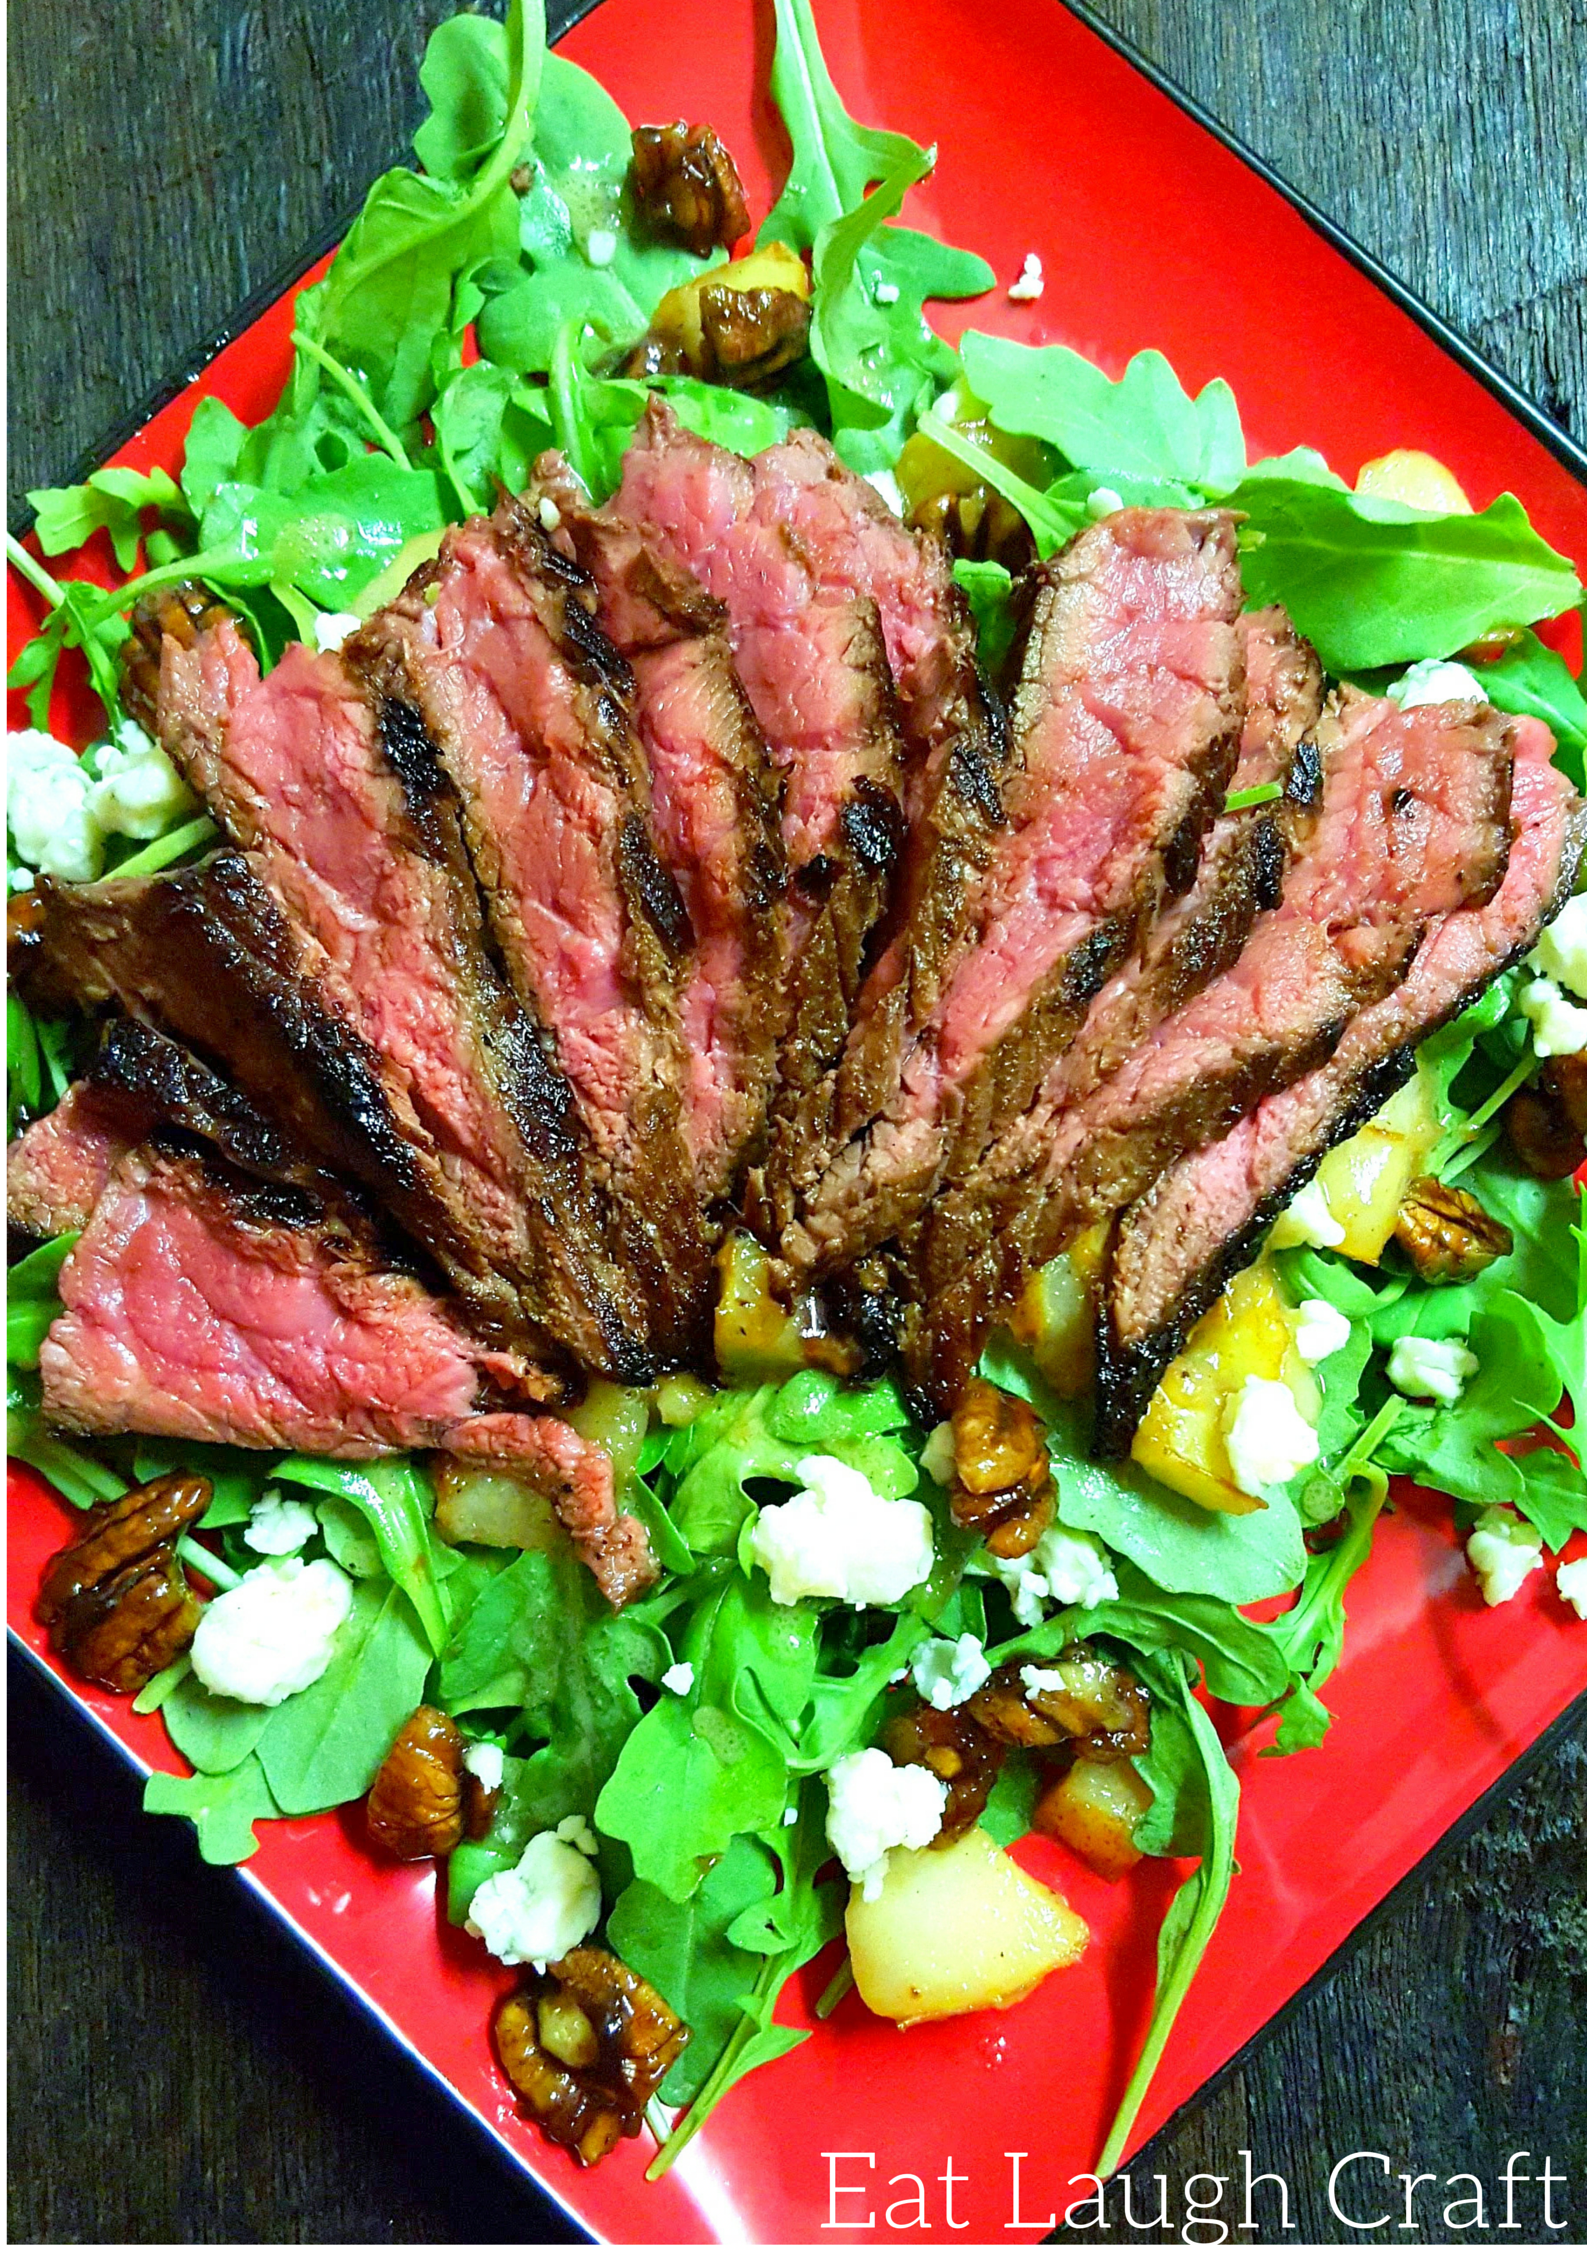 Holy. Moly.
 The pears caramelizing
  The final product:
 Thanks for stopping by and checking out the blog! Also check out our new weekly feature on our Instagram page called ‘Follow Friday’ where we’ll highlight a fellow blogger or creative friend who inspires us! This week is Simply Maggie Made who makes seriously the cutest purses, bags, clutches (and other things too!) that you’ll want to buy stat. Go check her out!