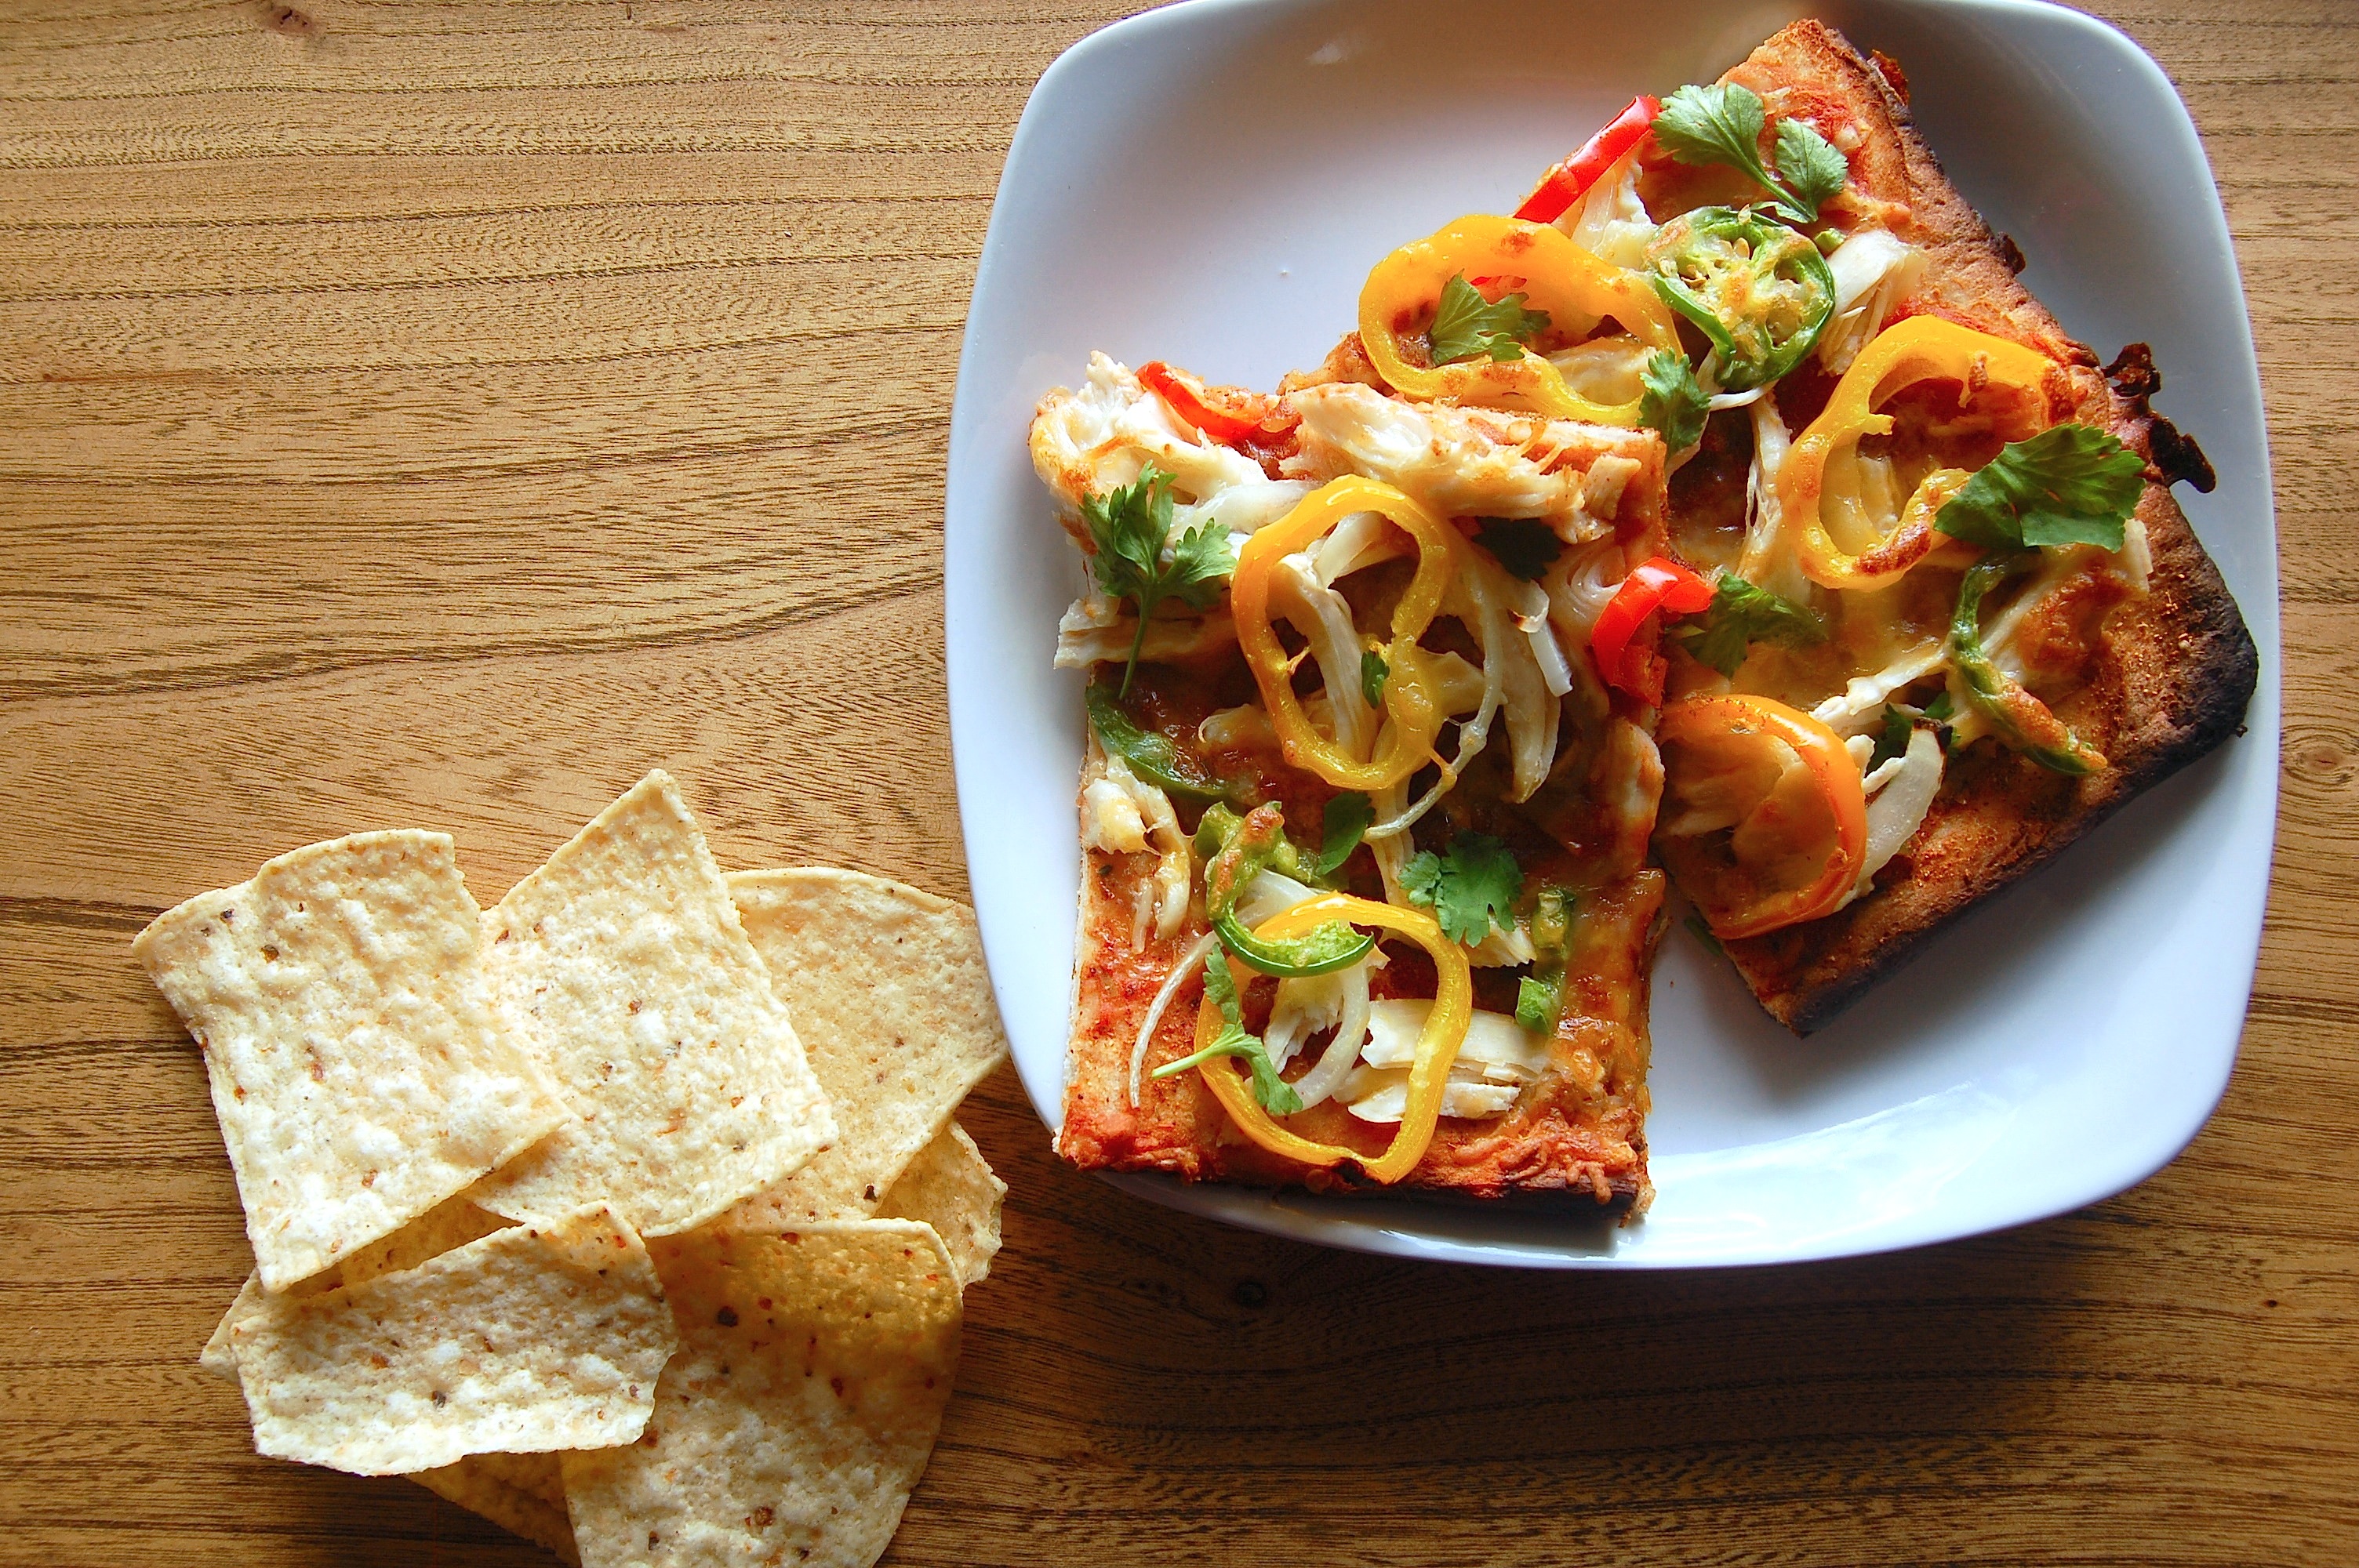
Chicken Fajita Pizza

Helllooooooo fabulous readers!
So can you believe it’s September? I can’t. Although I’m pretty happy about it. Fall is hands down, 1000%, no doubt about it, my favorite season. Today I went for a walk and it was still a nice day (75) but the air was cooler and the breeze was awesome, and it just got me so excited for Fall to come. I’m all prepped for it. I have THESE amazing new boots in brown (thats dad!!!) and I am just pumped for the first day I can wear them! Also have some new scarves and a beautiful jacket (similar). Not to mention some pumpkin recipes 🙂
Jake and I also have our engagement pictures this fall! Sometime in October so we have that to prep and look forward to! Tonight I’m going to Jake’s football game (he’s the coach) and yesterday the regular season football season started (on a bad note for my beloved pack) but none the less all signs point to Fall!!!!!! And I’m loving every minute.
As summer comes to an end you may be drowning in some veggies (hello tomatoes and peppers!!). Here is a great way to use them up. So delicious. Jake loves anything pizza related and I enjoy that you can make so many different varieties.
I modified the recipe to this a bit- feel free to add/change/remove anything you don’t like 🙂
INGREDIENTS:
1 (11 oz) package Pillsbury pizza dough (although I made my own with this. THE BOMB!)
1/2 cup salsa
1/4 cup re-fried beans
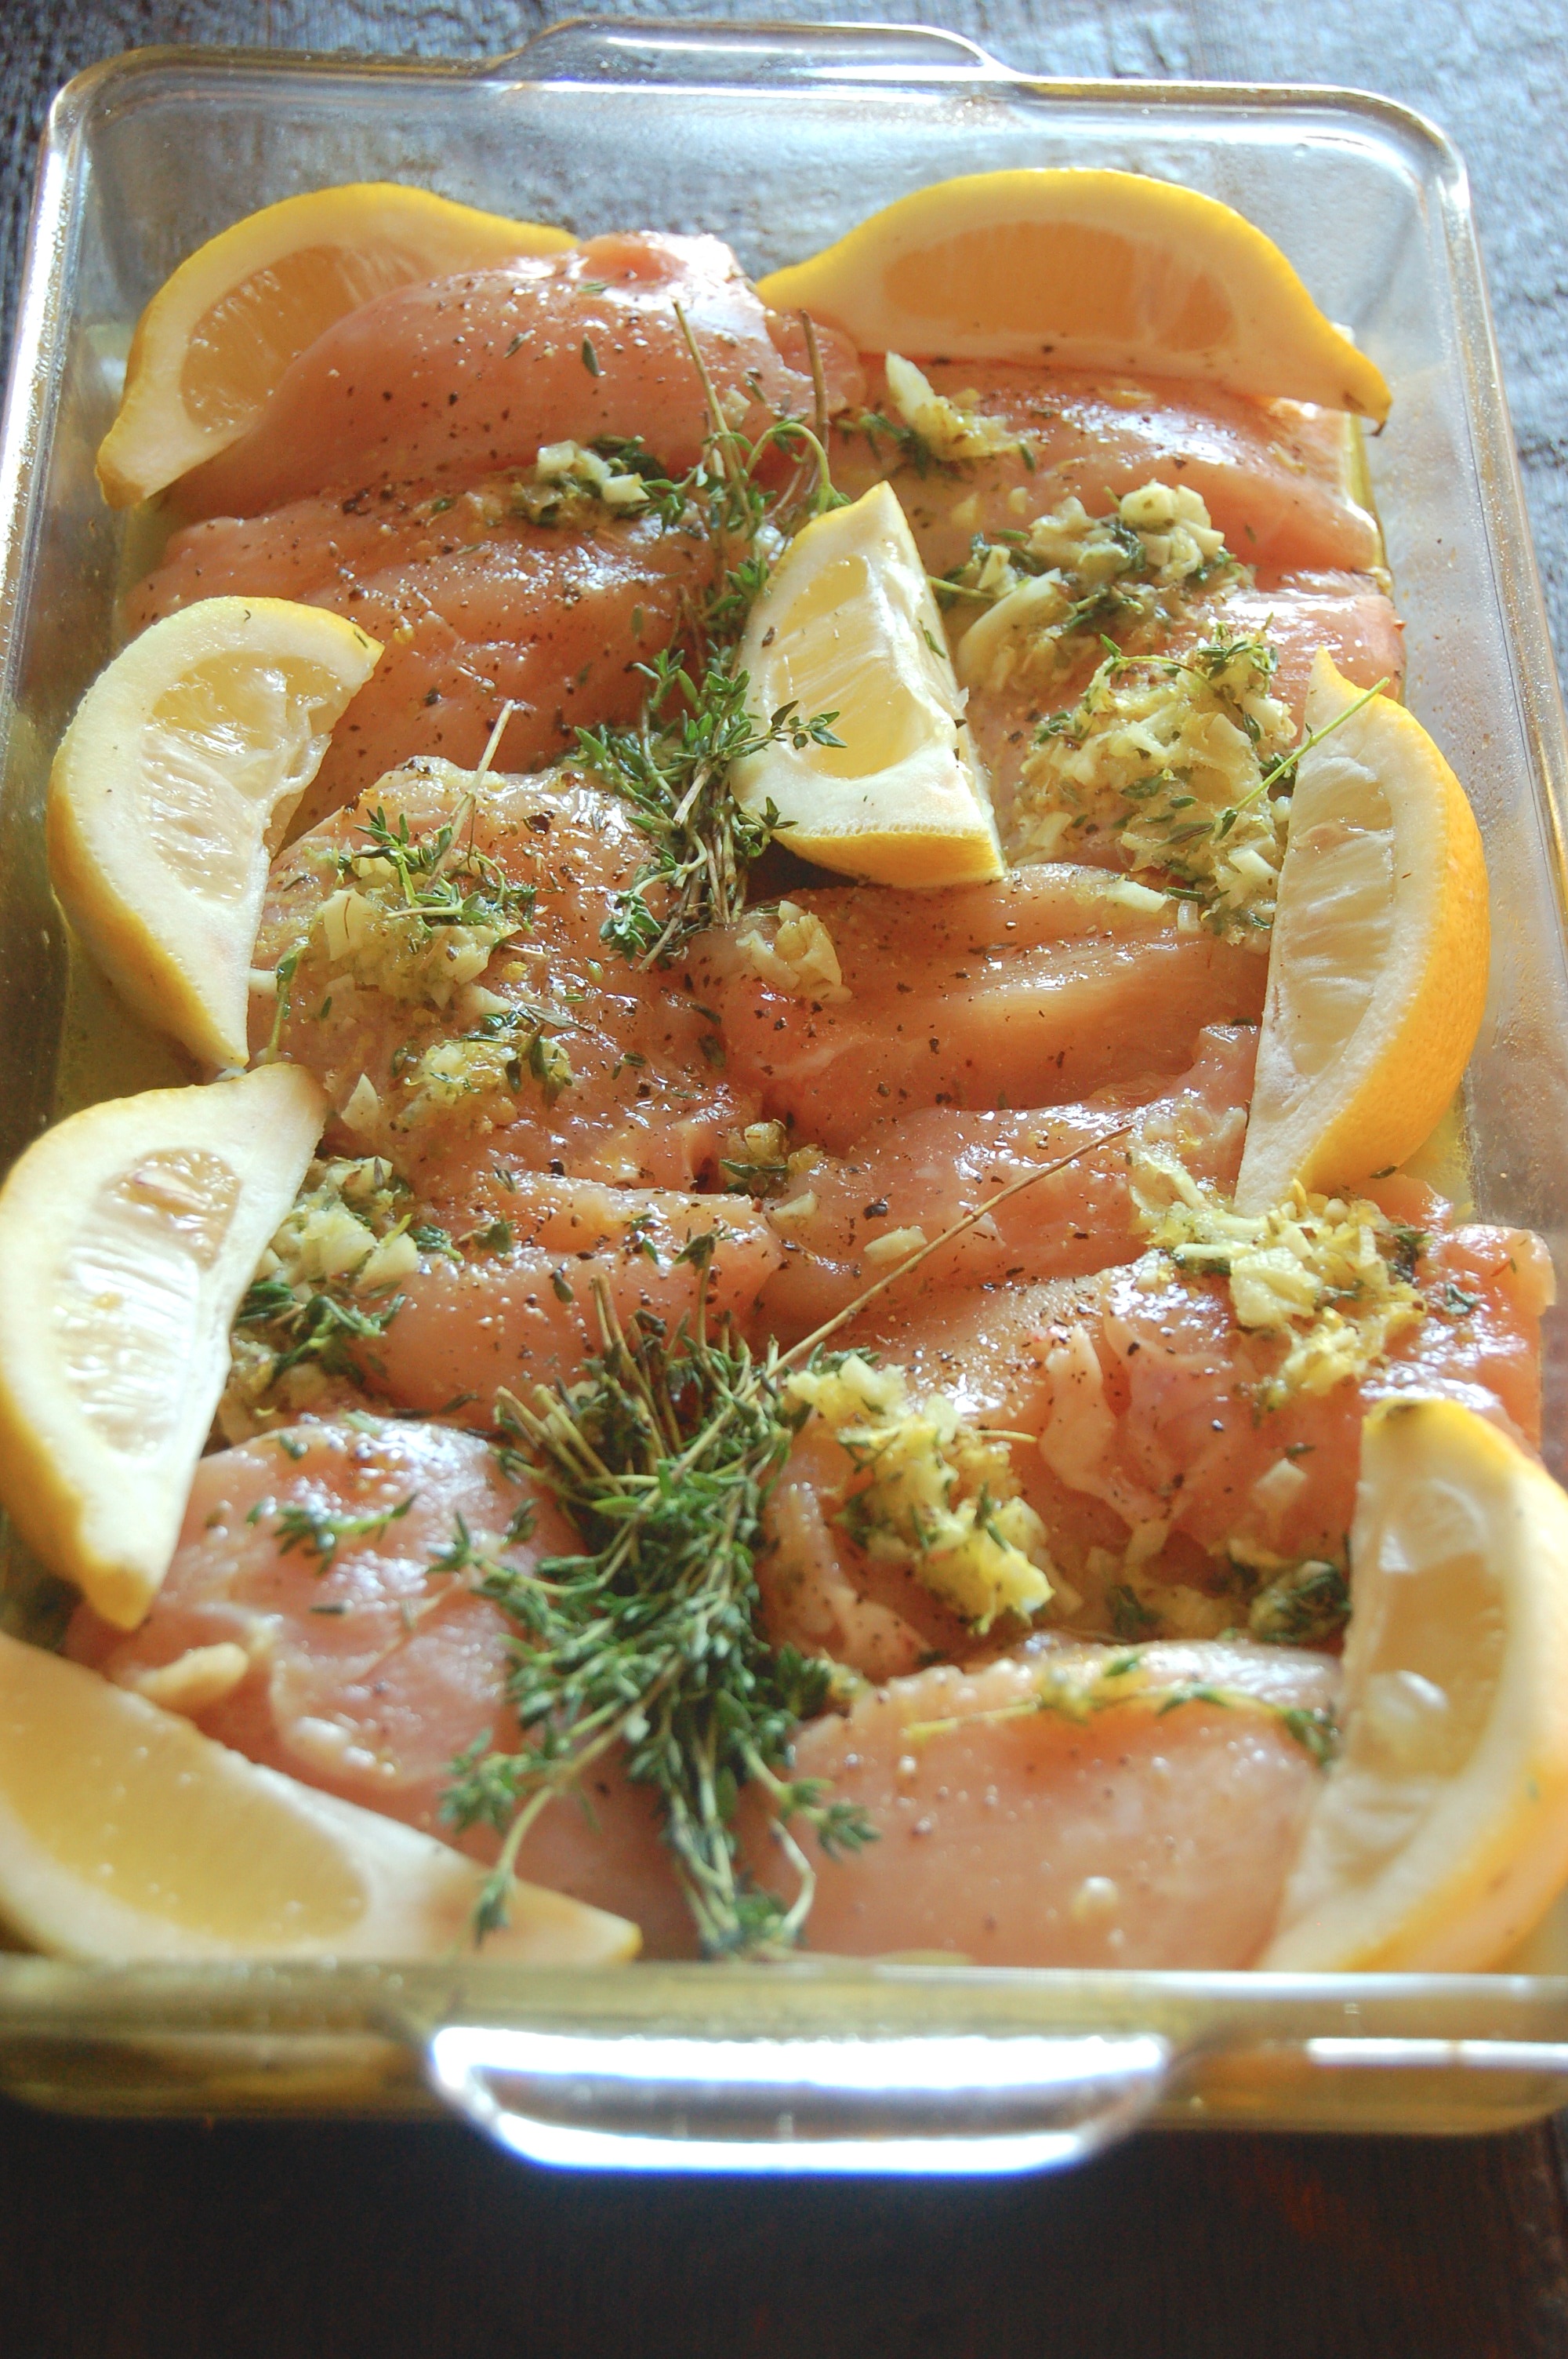
2 cups shredded cooked chicken
1 1/2 cups red, green and yellow sliced peppers or jalapenos depending how much you like heat!
1/4 cup sliced onion
2 cups shredded cheese of your choice
2 tablespoons freshly chopped cilantro, for garnish
DIRECTIONS:
– Heat oven to 400°. Stretch dough to the size of a jelly roll pan. Or follow the directions of the Pizza crust you are using. Once it’s ready to have toppings do the following:
– Mix together the re-fried beans and the salsa in a small bowl and then spread salsa mix over crust as the base.
– Sprinkle 1 cup of the shredded cheese over salsa.
– Top with chicken, bell peppers and onion and then the rest of the cheese.
– Bake according to crust directions or until cheese has melted and pizza is starting to brown around the edges.
– Garnish the pizza with fresh cilantro and some avocado if you’d like.
Sooo good!
There you have it! Another delicious pizza idea in the never ending world of pizza possibilities! Thank you for stopping by and don’t forget about the awesome giveaway coming up this month on the blog!!
xoxo

Links: