I have something exciting to share! Exciting to me anyway, and hopefully you feel the same way 🙂
I decided to part take in a local Community Supported Agriculture (CSA) program this summer. For those of you that aren’t familiar with this basically what you do is you buy a “share” of a your chosen farm’s vegetables (or fruit or eggs or whatever options they have available) and each week (or other frequency) you pick up fresh organic locally grown vegetables!
I had been thinking about doing this anyway but my health insurance company offers a $100 rebate if you participate in one! So that made up my mind for sure. I opted to do a vegetable only share, because that is mostly what we eat and I also chose an Every Other Week (EOW) share. Which means that I get a box of veggies every other week instead of weekly. I thought this was a good place to start because I have no idea what the expect as far as quantity and I don’t want to be drowning in produce and end up wasting any!
I was a little late in the game signing up for a CSA so the farm I wanted to join most, had sold out of shares. I only really had my heart set on them because they are from where I grew up and I know most of the people that work on the farm. But it turns out that a LOT of farms that do this program are from where I grew up anyway, so I could still feel good about my choice! I decided to go with Keewaydin Farms out of Viola, WI and so far I’ve love them. They send newsletters and are very involved with their “customers” they also had a pick up day and location that worked really well for me. I want to point out one other farm that I looked at and absolutely fell in love with their website. Take a look at their site and tell me you don’t love their vegetable background?!?! So cute.
Anyway- if at this point in the post you’re wondering “why the hell do I care you bought some vegetables?” Wellllll let me tell you- I thought that it would be a fun summer blog ‘series’ so post about the CSA box that I’ll be getting every other week. One of the great things about CSA’s is that you’ll get some great stuff that you’ve either never heard of or never tried before!
So I thought I would share my journey with you- share some great recipes and ideas for the fresh produce we get and if and when we get items we have noooo idea what to do with- I’ll share that with you too! It will be fun to see the harvest change with the season. The first pick up was 6/4 and the last one will be 10/8 so we’ll get a wide variety! Every other week it will be my goal to share 2 or 3 new recipes that I used my CSA goodies for.
I am lucky to live in a town (Madison, WI) where there is a big focus on organic and locally sourced food. I had so many farms to choose from that I had to work to narrow it down. I know I’m lucky and don’t take it for granted. Which is just another reason why I’m happy to spend my money to provide better quality and tasting food for my family and support local farmers. Farming is hard business and it takes even more work to organize a CSA and bring it to a place local to me so I can conveniently pick it up after work and not have to go to the farm. I want to say THANKS! to the farmers and definitely try to twist your arm to look into the possibility of a CSA yourself. Here is a great site to help you find some options near you!
Now– onto the good stuff! What is in my CSA box this week?

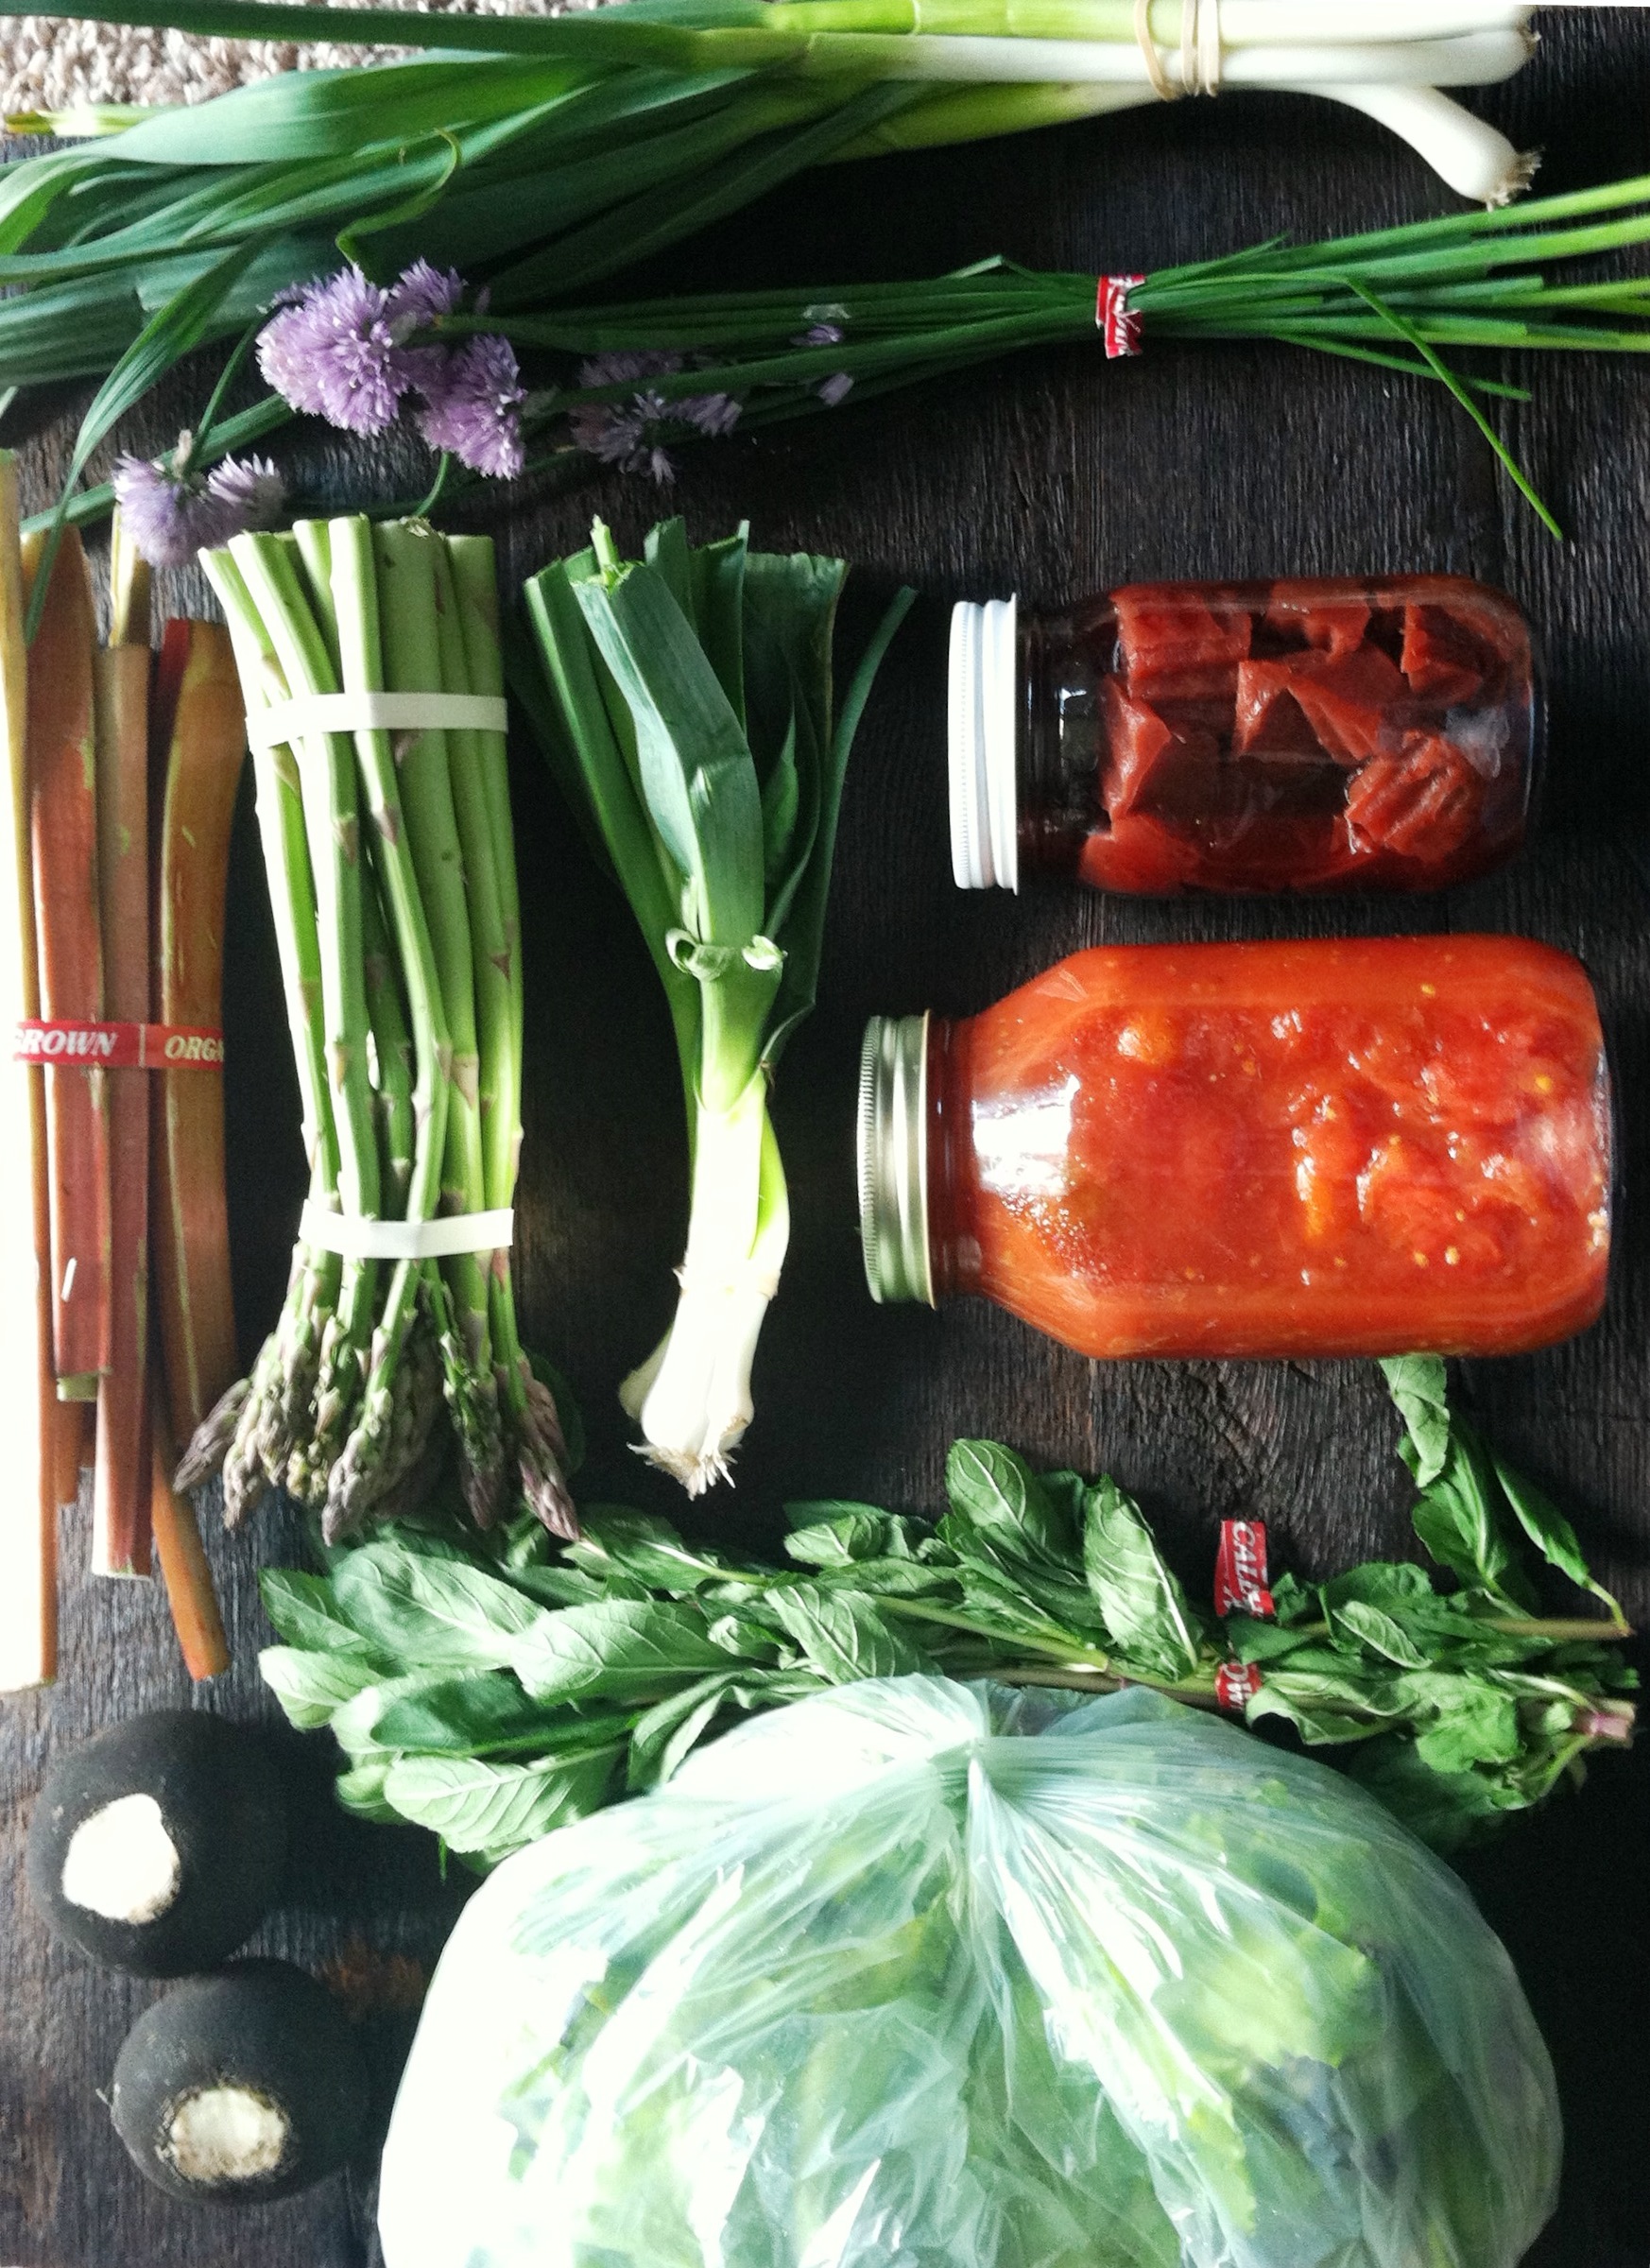
1 bag salad mix
1 bunch Green Garlic*
1 bunch Leeks
1 bunch flowering Chives
1 lb Asparagus
1 lb Rhubarb
2 Black Spanish Radish (this was a “what the ?!” item)
1 bunch Mint
1 pint pickled Beets
1 quart Tomatoes

Immediately I was excited for the asparagus and rhubarb most. I’ve already eaten my body weight in asparagus this spring and this stuff looked gorgeous! And won’t lie but the black radishes were strange looking. They are hard and have a tough outer skin that is black, black black. I had no idea if they were just like larger radishes or what or how to cut them prepare them. I figured something out, see below.
*Green Garlic- this is the item on the far right of the picture above. Looks like spring onions. Everyone thought I was crazy when I said I received Green Garlic. They thought it would have been ramps or garlic scapes but this is an entirely different thing. It has a very mild garlic flavor but it’s without a doubt garlic and not onion-ey. I found out it’s just a young garlic plant before the bulb and cloves begin to form. There ya go! Learn something every day!
HERE IS WHAT I ENDED UP DOING WITH THE GOODIES!
Salad mix– nothing to inventive here we just had a lot of really good salads either me taking some to work for lunch or one day we weren’t really hungry after having a big lunch so we just had a tasty salad 🙂
Green Garlic- I threw half in a thai curry dish that I made, just cut into 1 inch pieces and then the other have I cut up and put in this awesome Roasted Butternut Squash Enchilada Lasagna. It was delicious.
Pickled Beets- Ate right out of the jar 🙂 and also threw some on a salad one day with some goat cheese and walnuts.
Tomatoes- I haven’t used these yet but they’ll be great for a pasta sauce one day!
Flowering Chives- I cut up some of these real small and put them on some scrambled eggs(my fav thing to do with them) and then I still had some leftover so I used those in my salmon dish described below.
Rhubarb– 1st I made a rhubarb simple syrup to make some rhubarb mint mojitos (see below) and then I also made a Strawberry/Rhubarb crisp(I didn’t add the extra sugar on the berries)! It is Jake’s favorite.
Leeks and Asparagus: I used these (along with my left over chives) and made an amazing springy salmon dish. It was soooo good and springy and light and delicious. See below!
Black Spanish Radish – as I said before I wasn’t sure what to do with these babies. I came across a recipe for pickled regular radishes and thought I’d give it a try with the black. They are just refrigerator “pickles” so it’s really easy and they turned out great. See below!
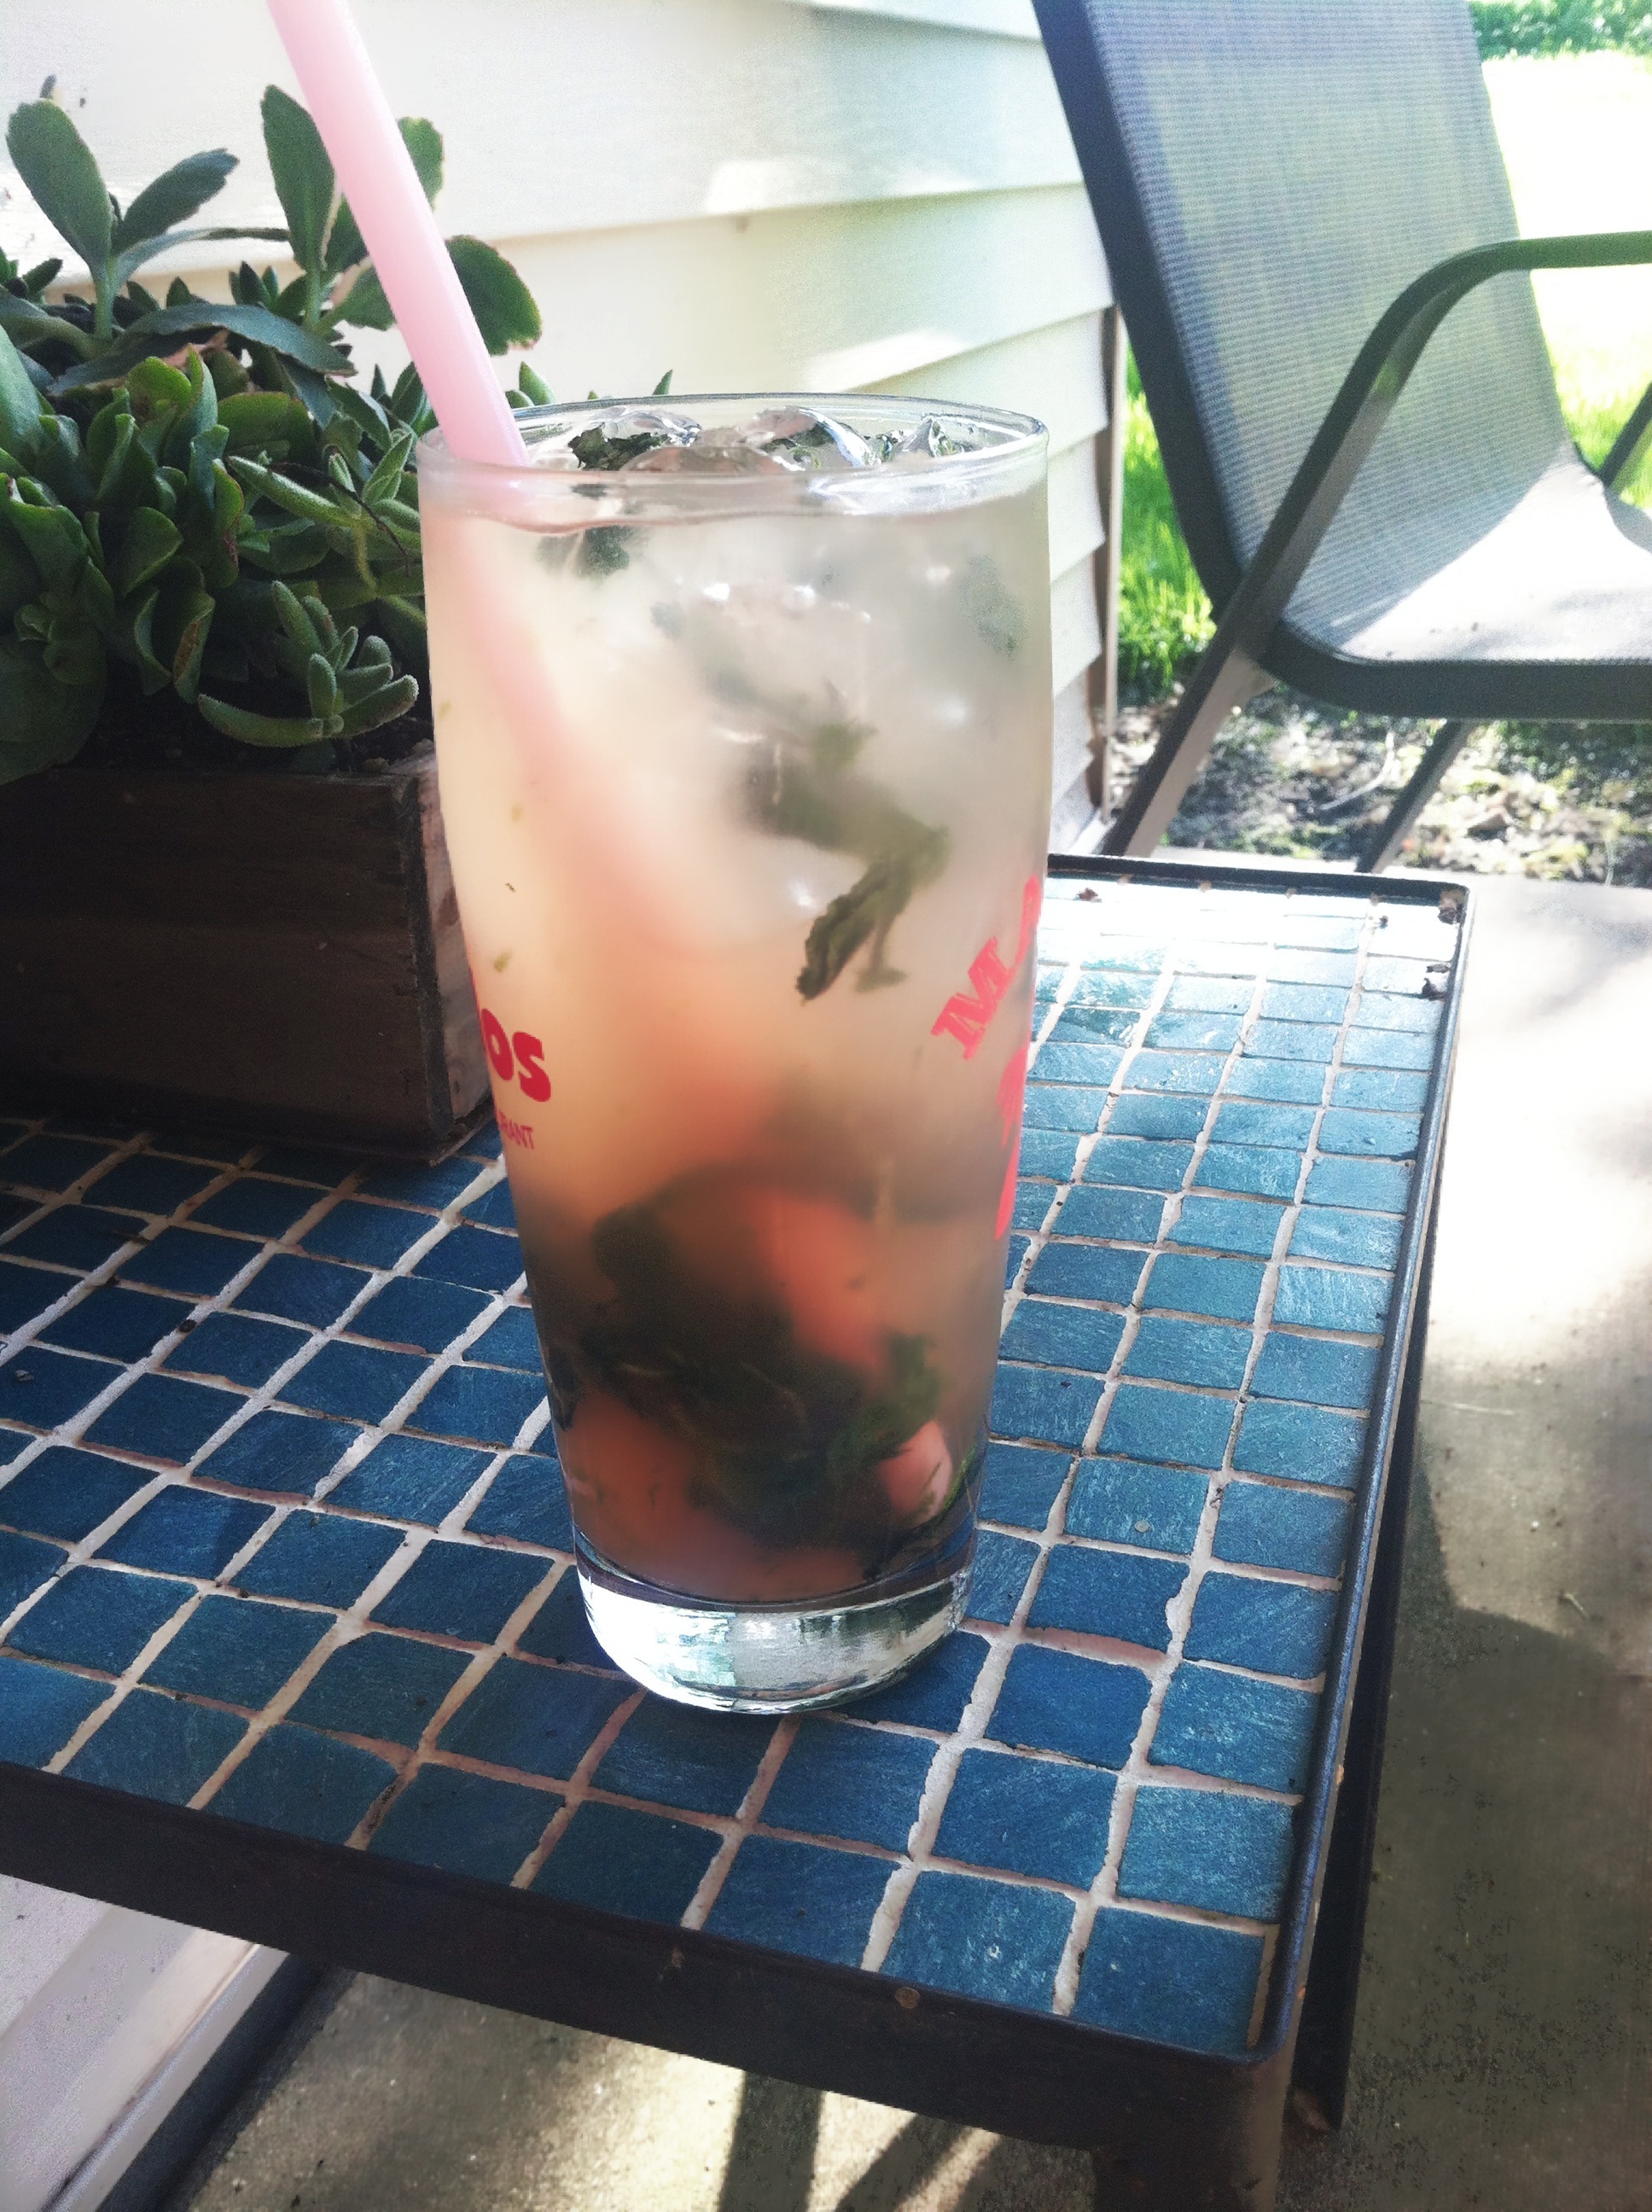
Mint- What else do you do with mint besides make…..MOJITOS! 🙂 And I made special ones. Rhubarb Mojitos. They turned out really good and to my surprise, you can really taste the rhubarb! See below.
This week’s CSA recipes
Leek & Asparagus Salmon:
- 1 lb asparagus trimmed and thinly sliced on the bias
- 2 small leeks, white and pale-green parts , thinly sliced (Make sure to wash leeks well!)
- 2 tablespoons olive oil
- Salt and freshly ground pepper
- 4 skinless wild caught Salmon fillets
- 1/4 cup fresh herbs, I used thyme, lavender, chives, and tarragon.
- 4 Lemon wedges
Instructions:
-
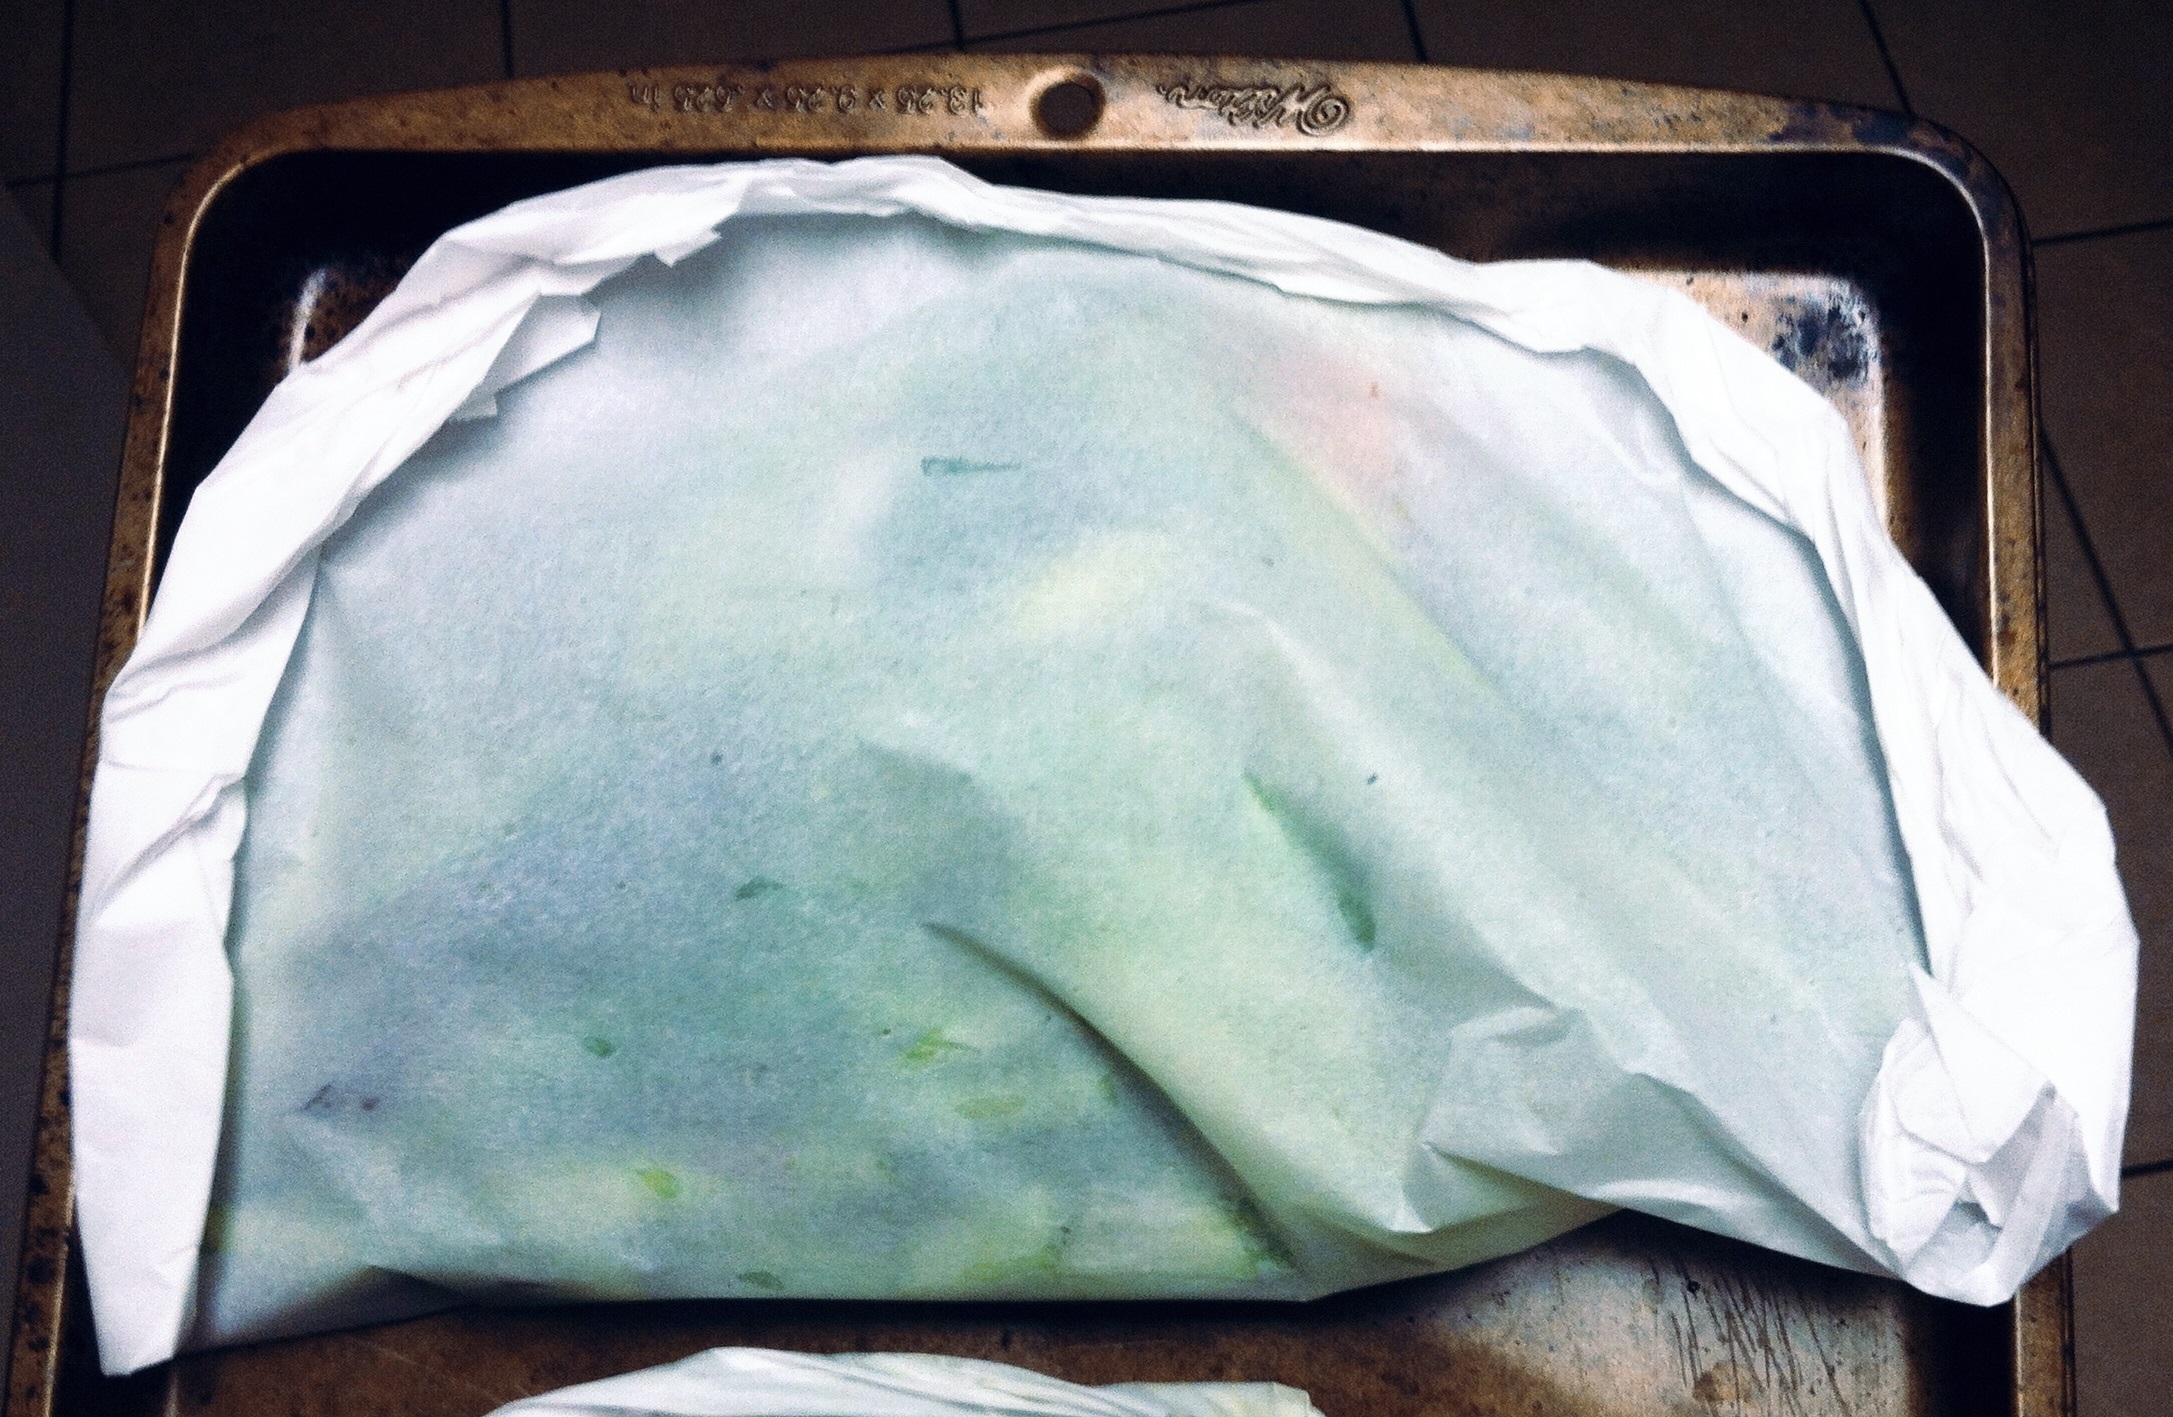
Preheat oven to 400 degrees. Cut four 12-by-17-inch pieces of parchment. Fold each in half the long way to make a crease, then unfold and lay flat.
-
Toss asparagus and leeks with the oil in a bowl. Season with salt and pepper to taste.
-
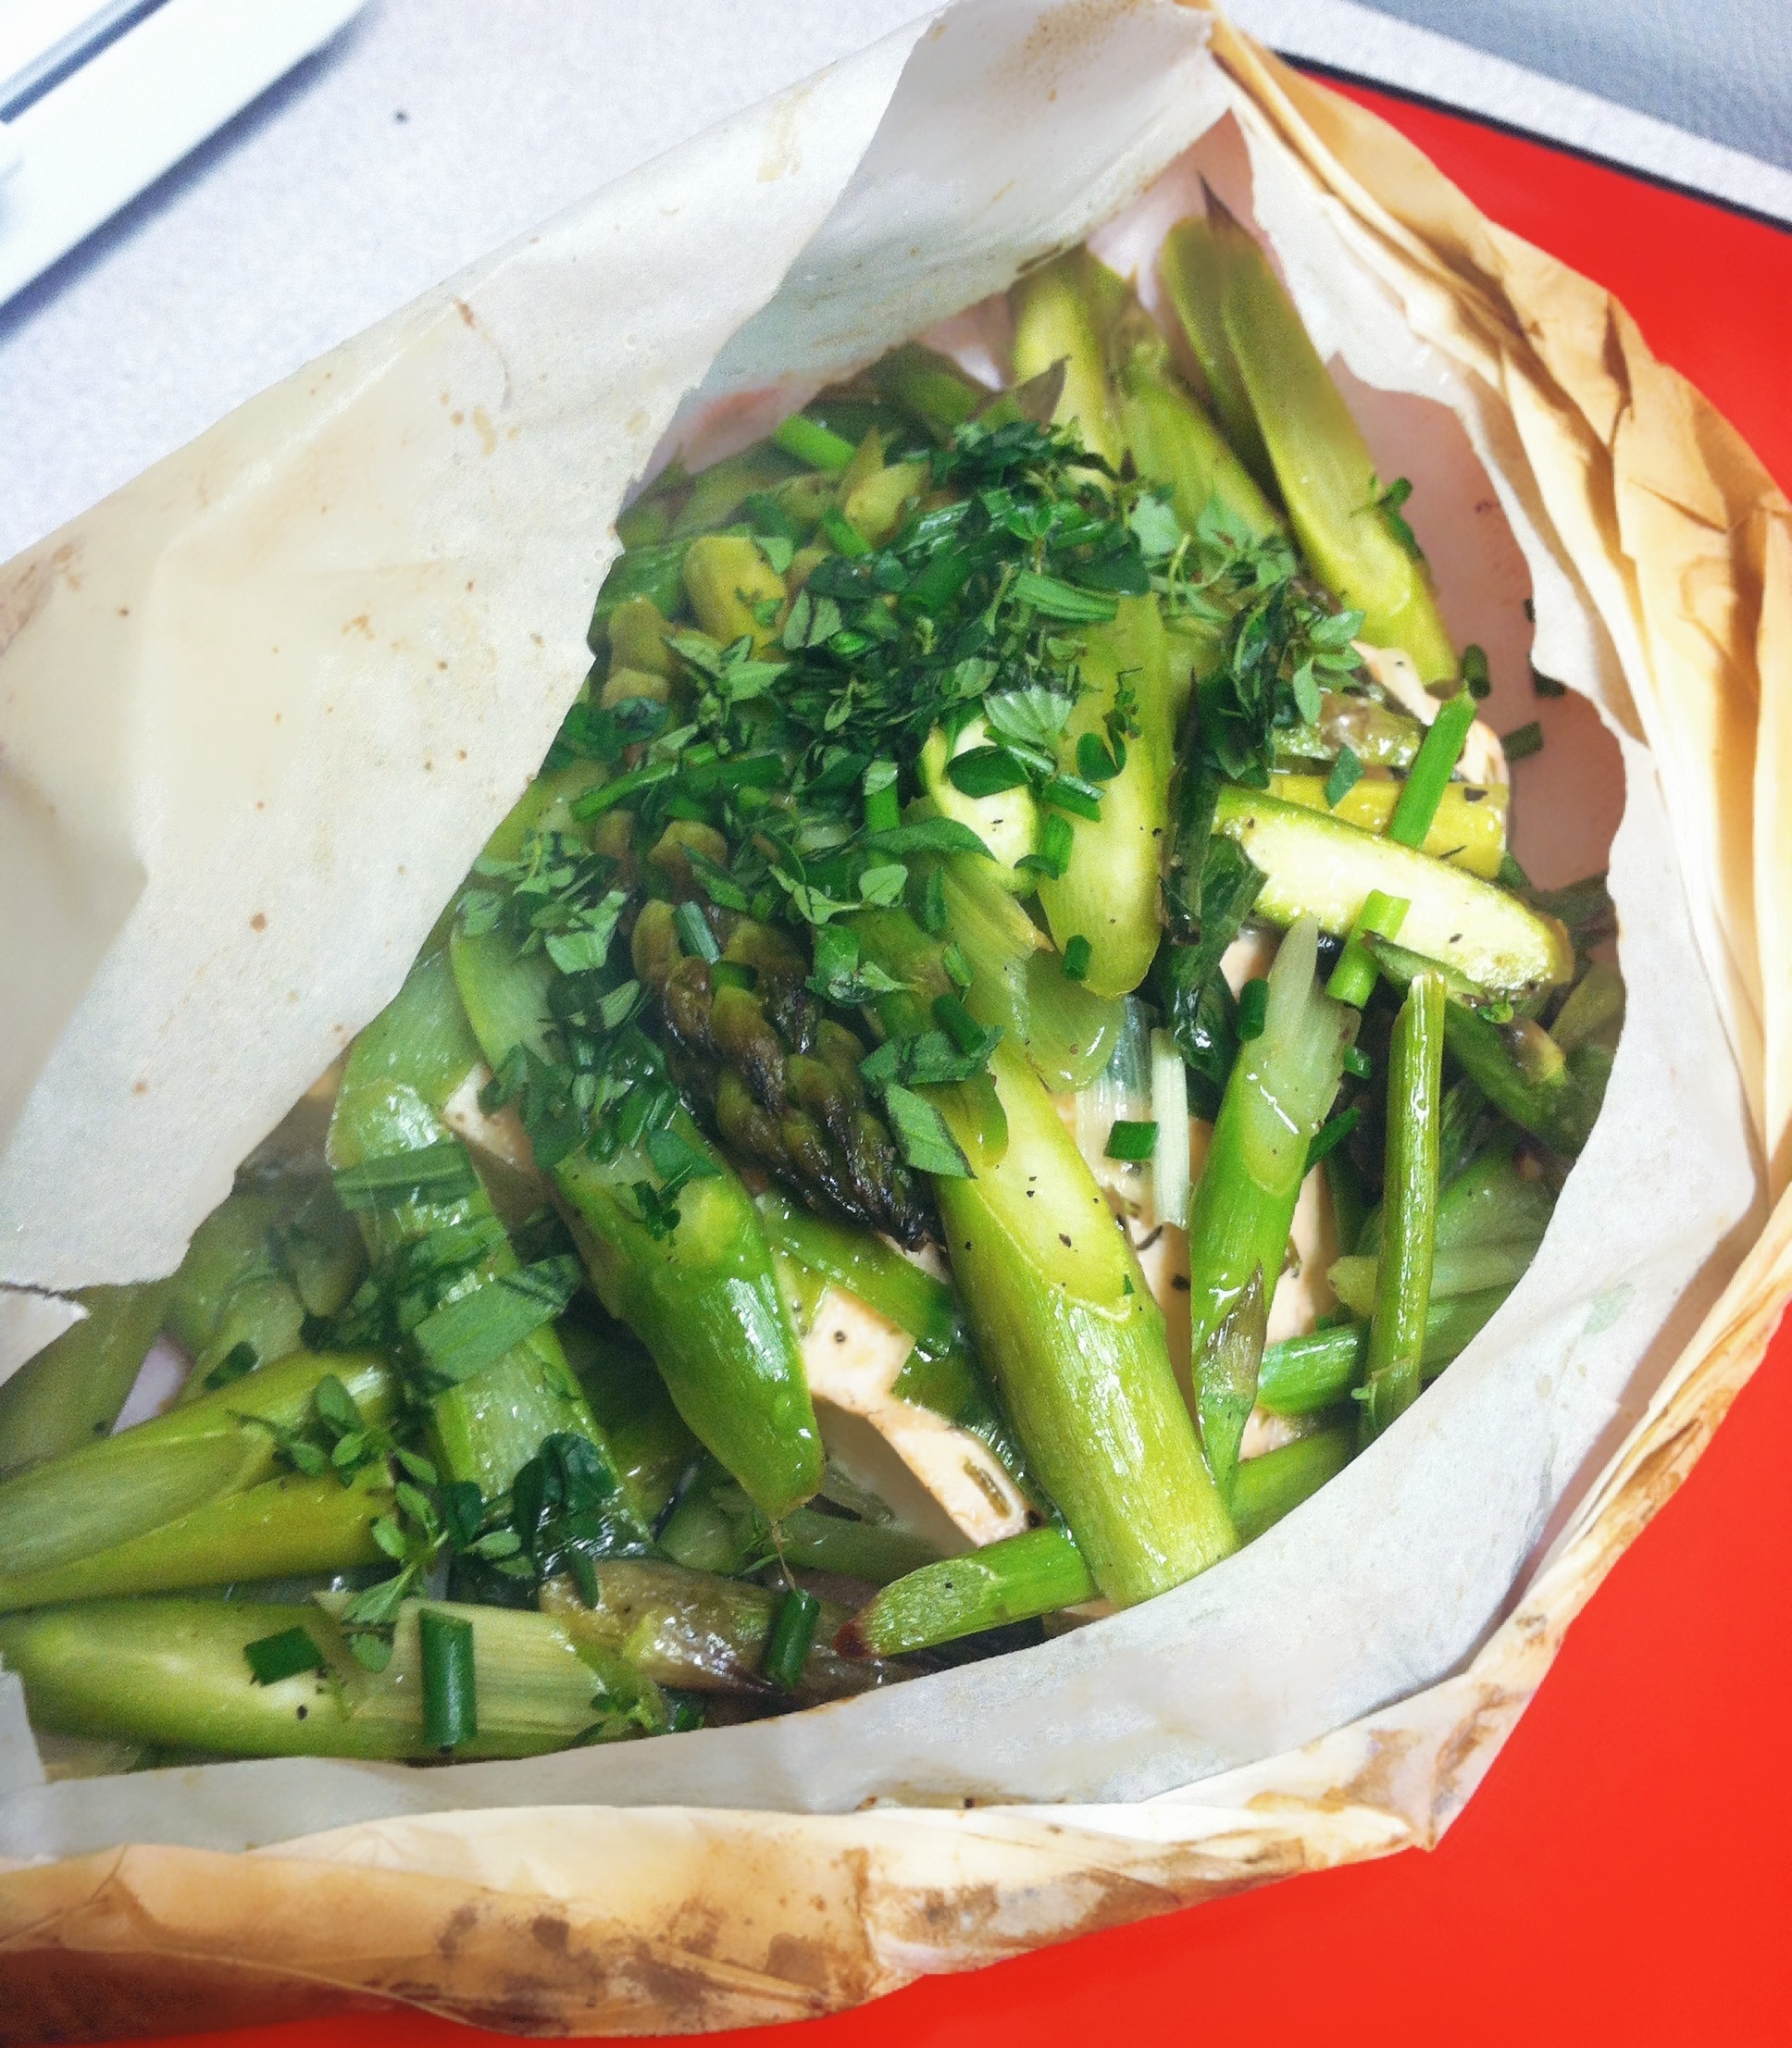
Season fish with salt and pepper. Arrange a fillet on one side of the crease on each piece of parchment. Top with asparagus/leek mixture, dividing evenly. Fold each piece of parchment over, then roll the edges in towards the middle to seal open sides, creating half-moon-shaped packets. (See picture)
-
Bake on rimmed baking sheets, about 10 minutes for medium-rare. Transfer to plates and carefully cut packets open (steam will come out so be careful!). Serve, topped with herbs and some freshly squeezed lemon juice.

The rolled up packet.

Delicious finished product 🙂
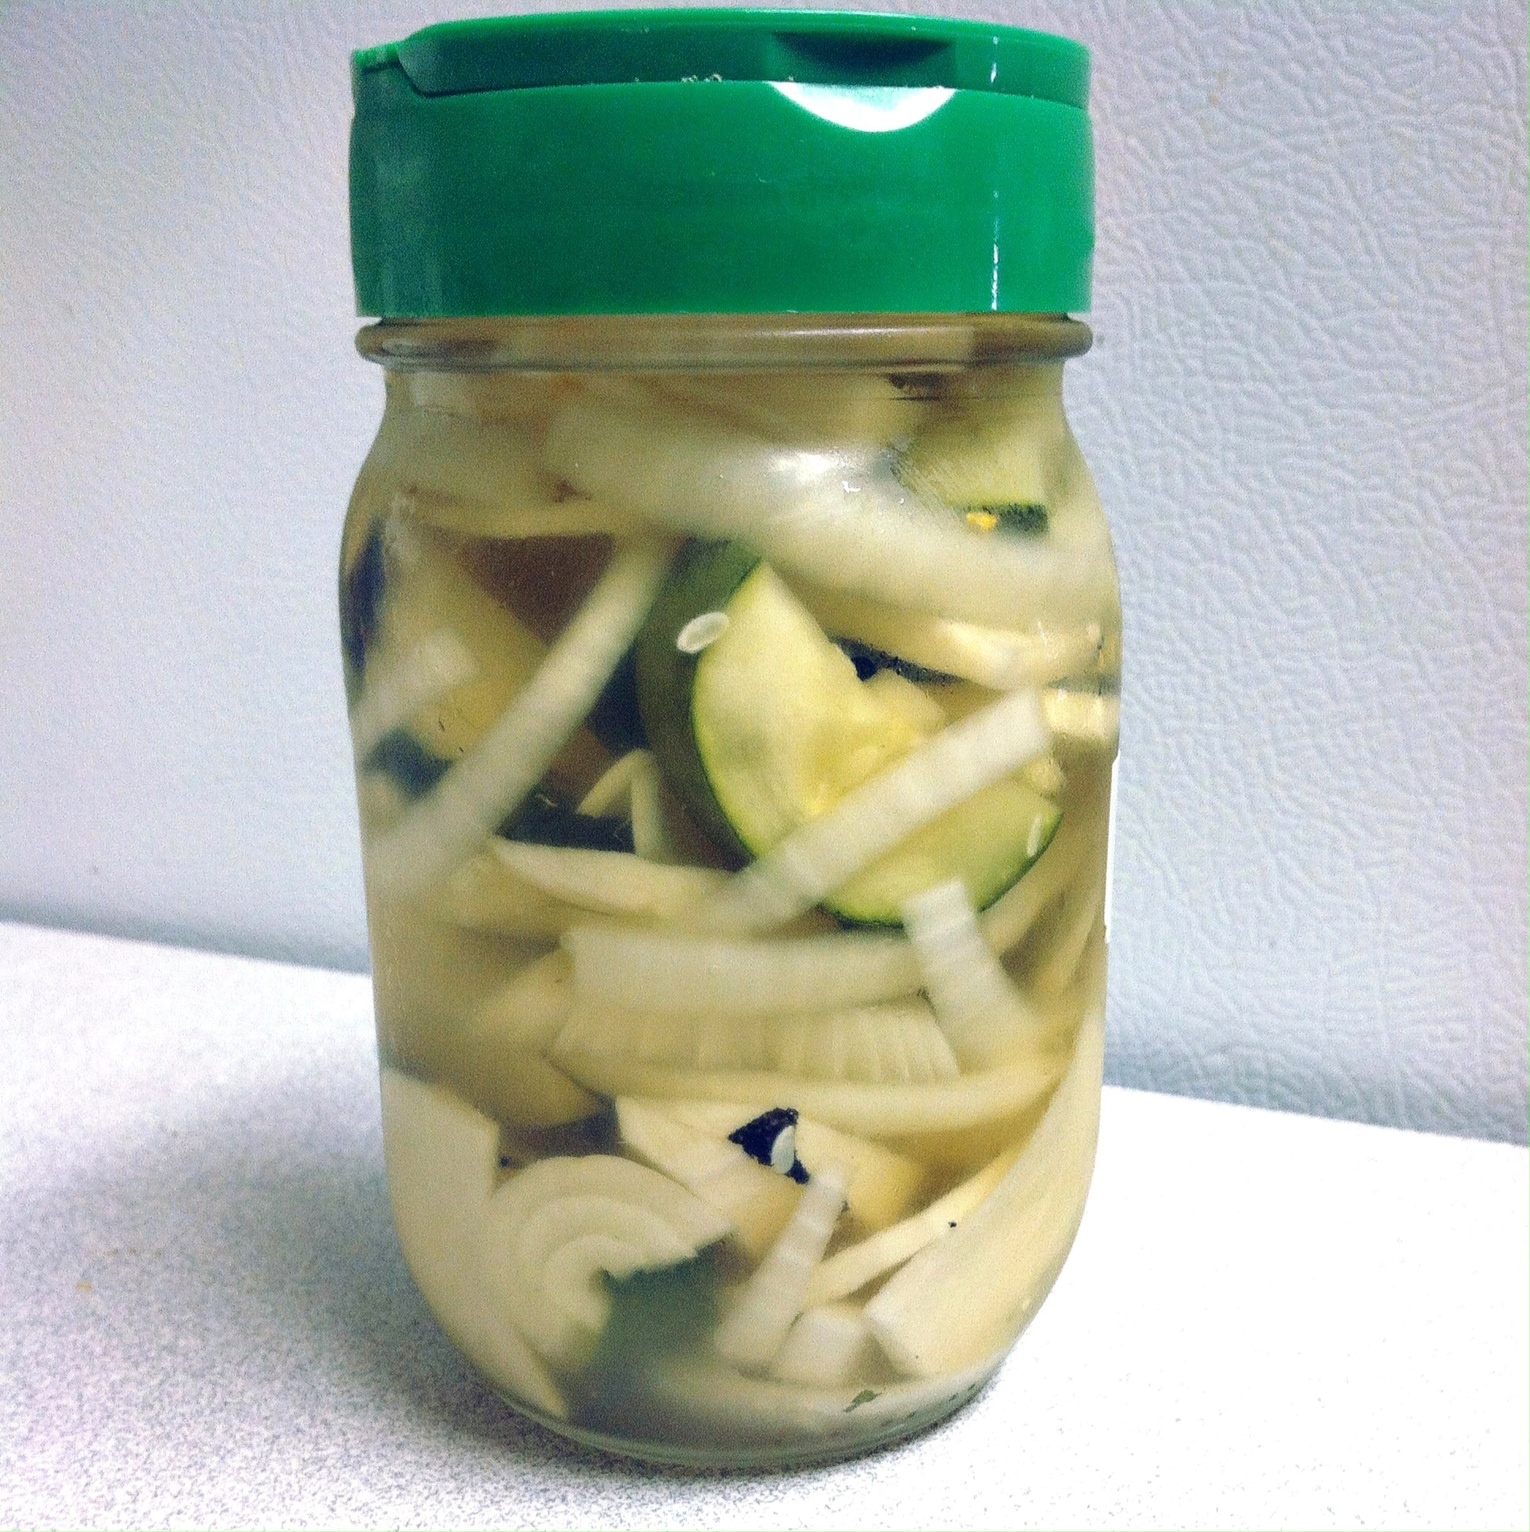
Pickled Black Radishes:
5 Black Spanish Radish’s
1 yellow onion
2 cloves of Garlic, peeled and rough big chopped
1/2 teaspoon Fresh crushed Peppercorns
1 Dried hot chili pepper cut in half lengthwise
3 teaspoons honey
1 teaspoon kosher salt
1 cup Water
1 cup Vinegar
- In a saucepan, bring the water, vinegar, salt, and honey to a boil, until salt and honey are dissolved. Remove from heat and add the crushed peppercorns, garlic, and chile pepper.
- Tightly pack the sliced radishes and onion in a clean quart-sized jar, and pour the hot liquid over them, making sure to pack the garlic, chile, and all those crushed peppercorns into the jar, too. Cover and cool. Stick in the fridge and enjoy!

*Note that I only had 2 radishes so I added half a cucumber to my jar instead to make up for it. Tastes really great!
Rhubarb Mint Mojitos:
For the Rhubarb Simple Syrup:
1 cup chopped rhubarb (3-4 small stalks)
1 cup sugar
2 cups water
¼ teaspoon cinnamon
¼ teaspoon nutmeg
½ teaspoon vanilla (optional)
Combine all the ingredients in a small pot. Bring to a boil then reduce to a simmer. Simmer for 5-7 minutes. Let cool completely.
Strain the ‘solids’. Reserve the rhubarb to top some yogurt, ice cream or oatmeal (seriously save it. Soooo good.)
The syrup will keep covered in the fridge for up to two weeks.
For the Rhubarb Mojitos:
3 oz white rum
5 oz rhubarb syrup
5 (roughly) mint leaves
1 Tablespoon fresh lime juice
Club Soda
lime zest
nutmeg
In the bottom of a glass add a bit of nutmeg, lime zest, mint leaves and the lime juice. Using a muddler or the end of a wooden spoon muddle the ingredients. Fill the glass with ice. Add the rum and syrup, give a light stir then top with a splash of club soda. Perfect for summer sitting on the patio!

So- what do you guys think? Are you as excited for this series as me? I just love being able to share it with you! Do any of you parttake in community supported agriculture? Tell me about your favorite things about it and or some of the crazy and fun veggies/fruits you’ve received before. Thanks for making it to the end of this post- it was a long one, I know. But I had to explain everything for the 1st time too! 🙂 So the future ones won’t be quite as long.
As always, thank you for stopping by and checking out my blog! HAVE A FABULOUS WEEKEND!
xoxo


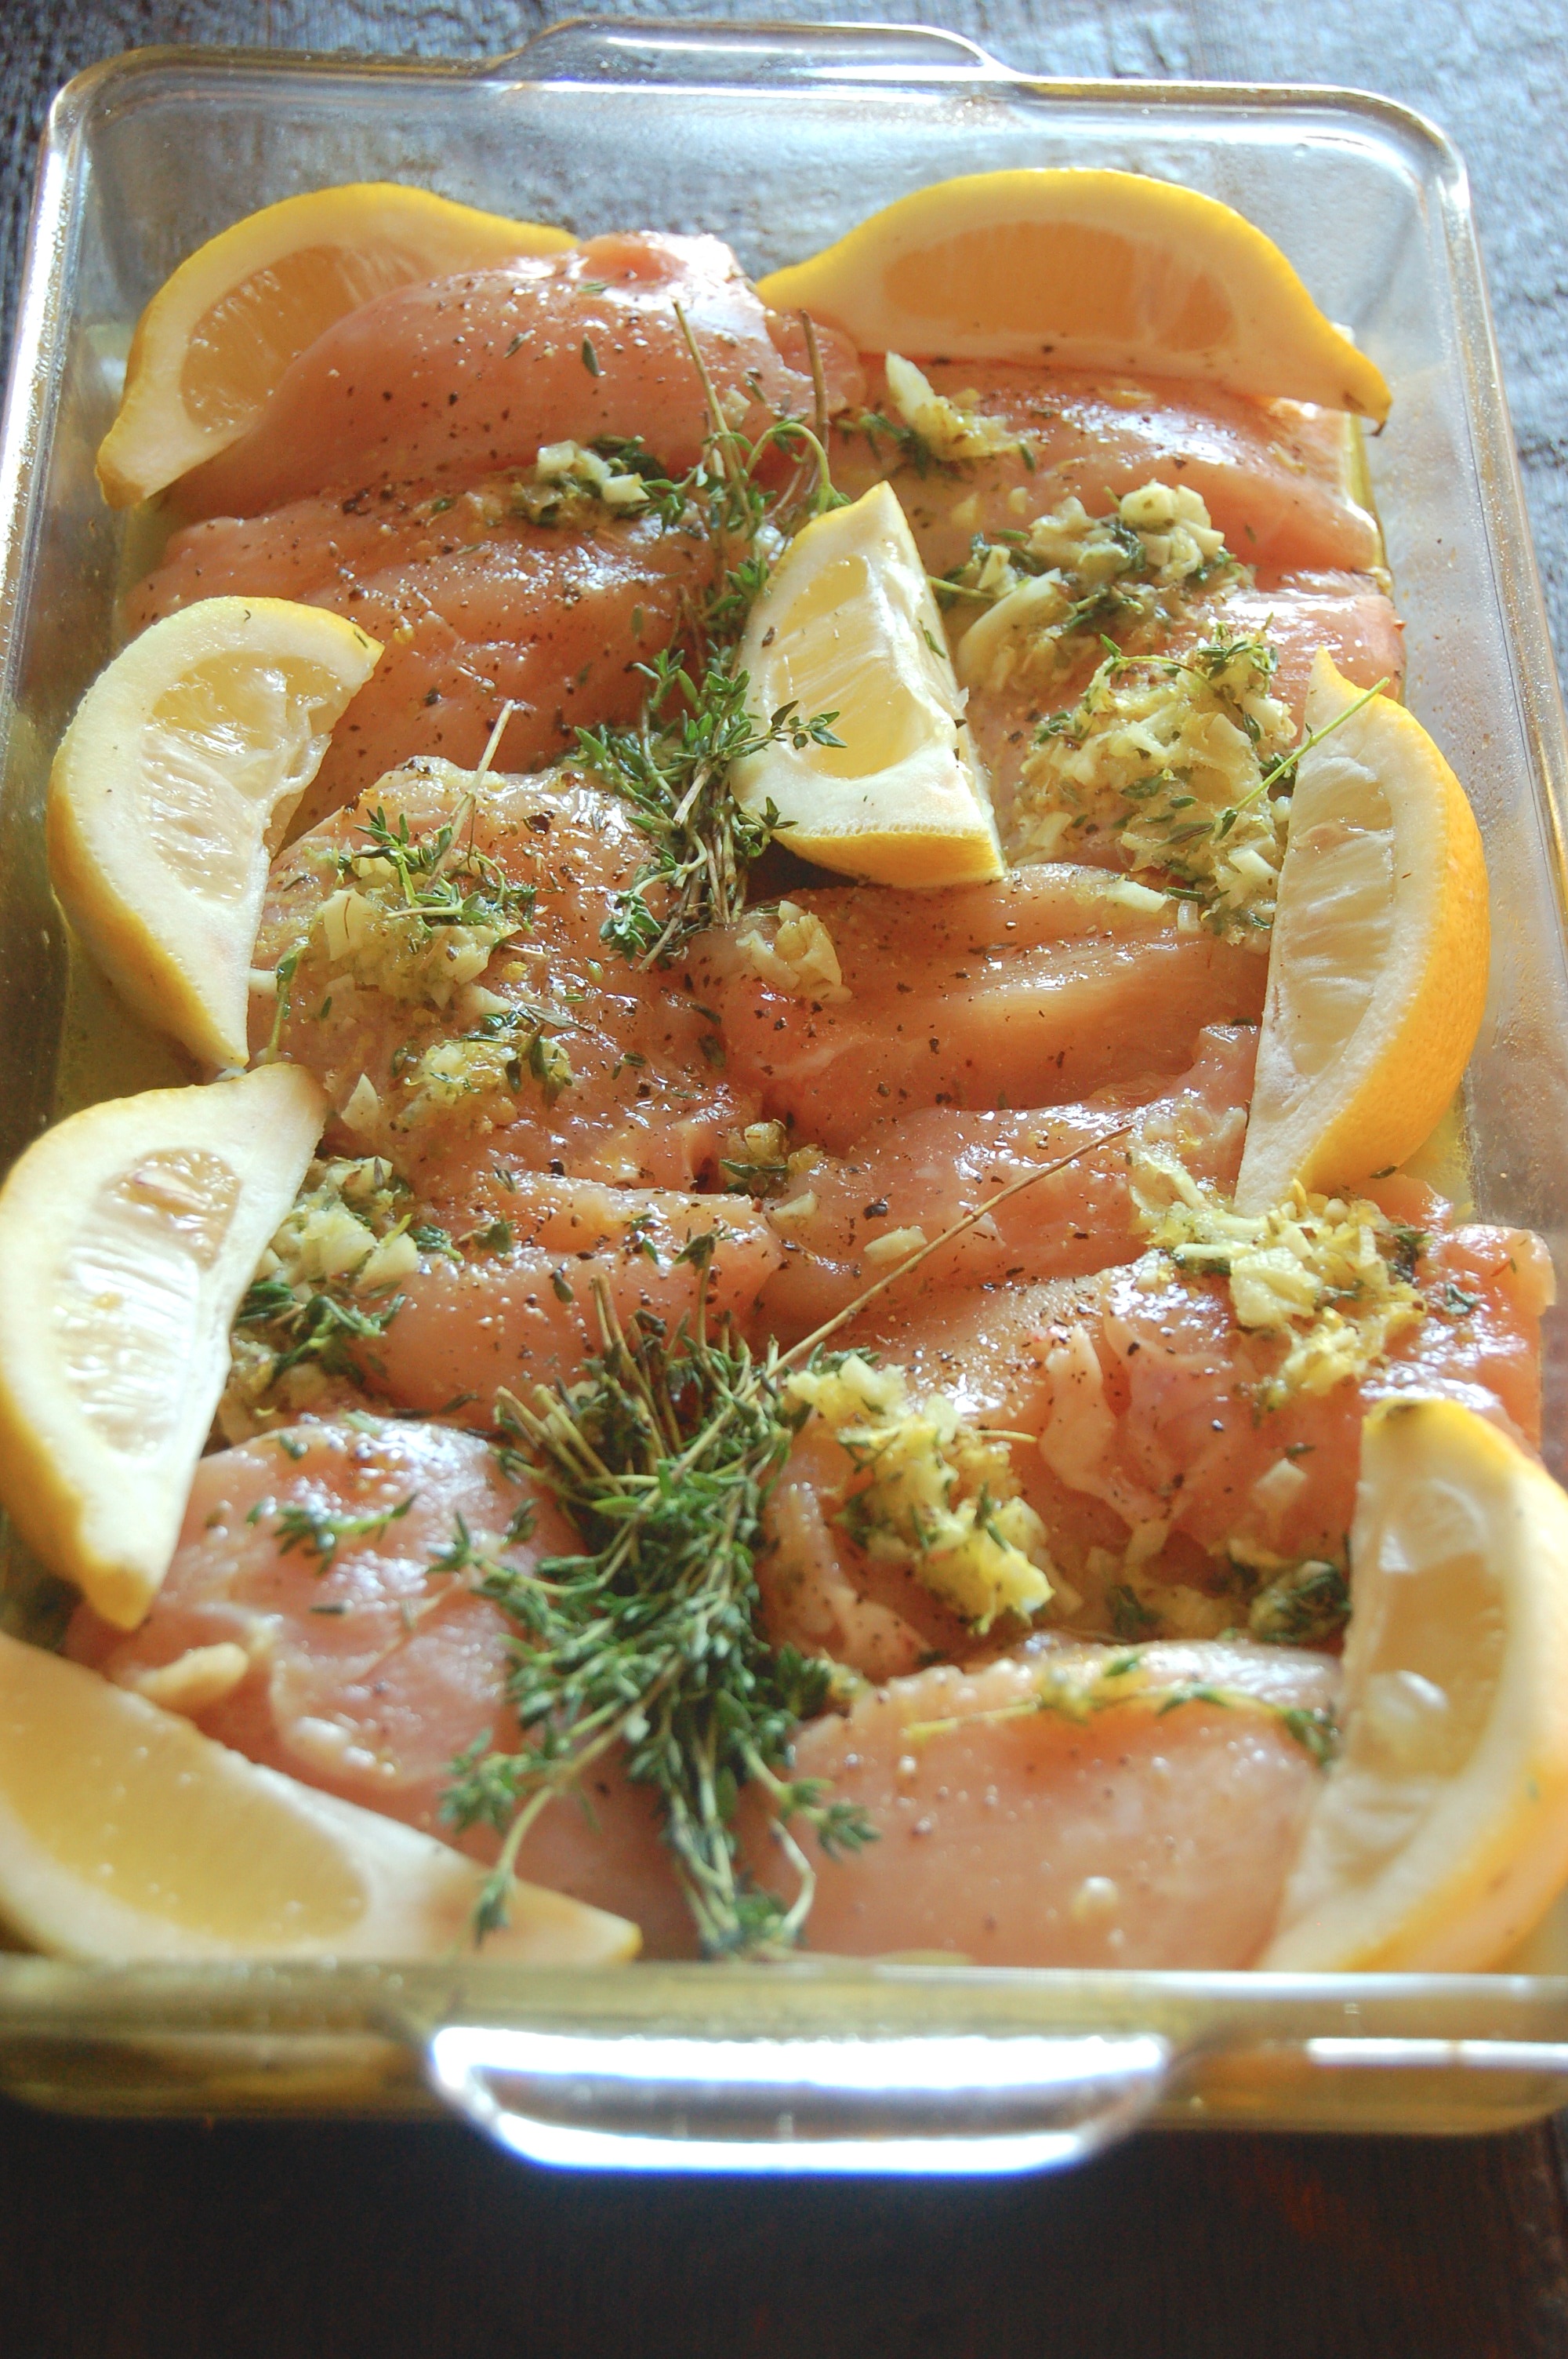
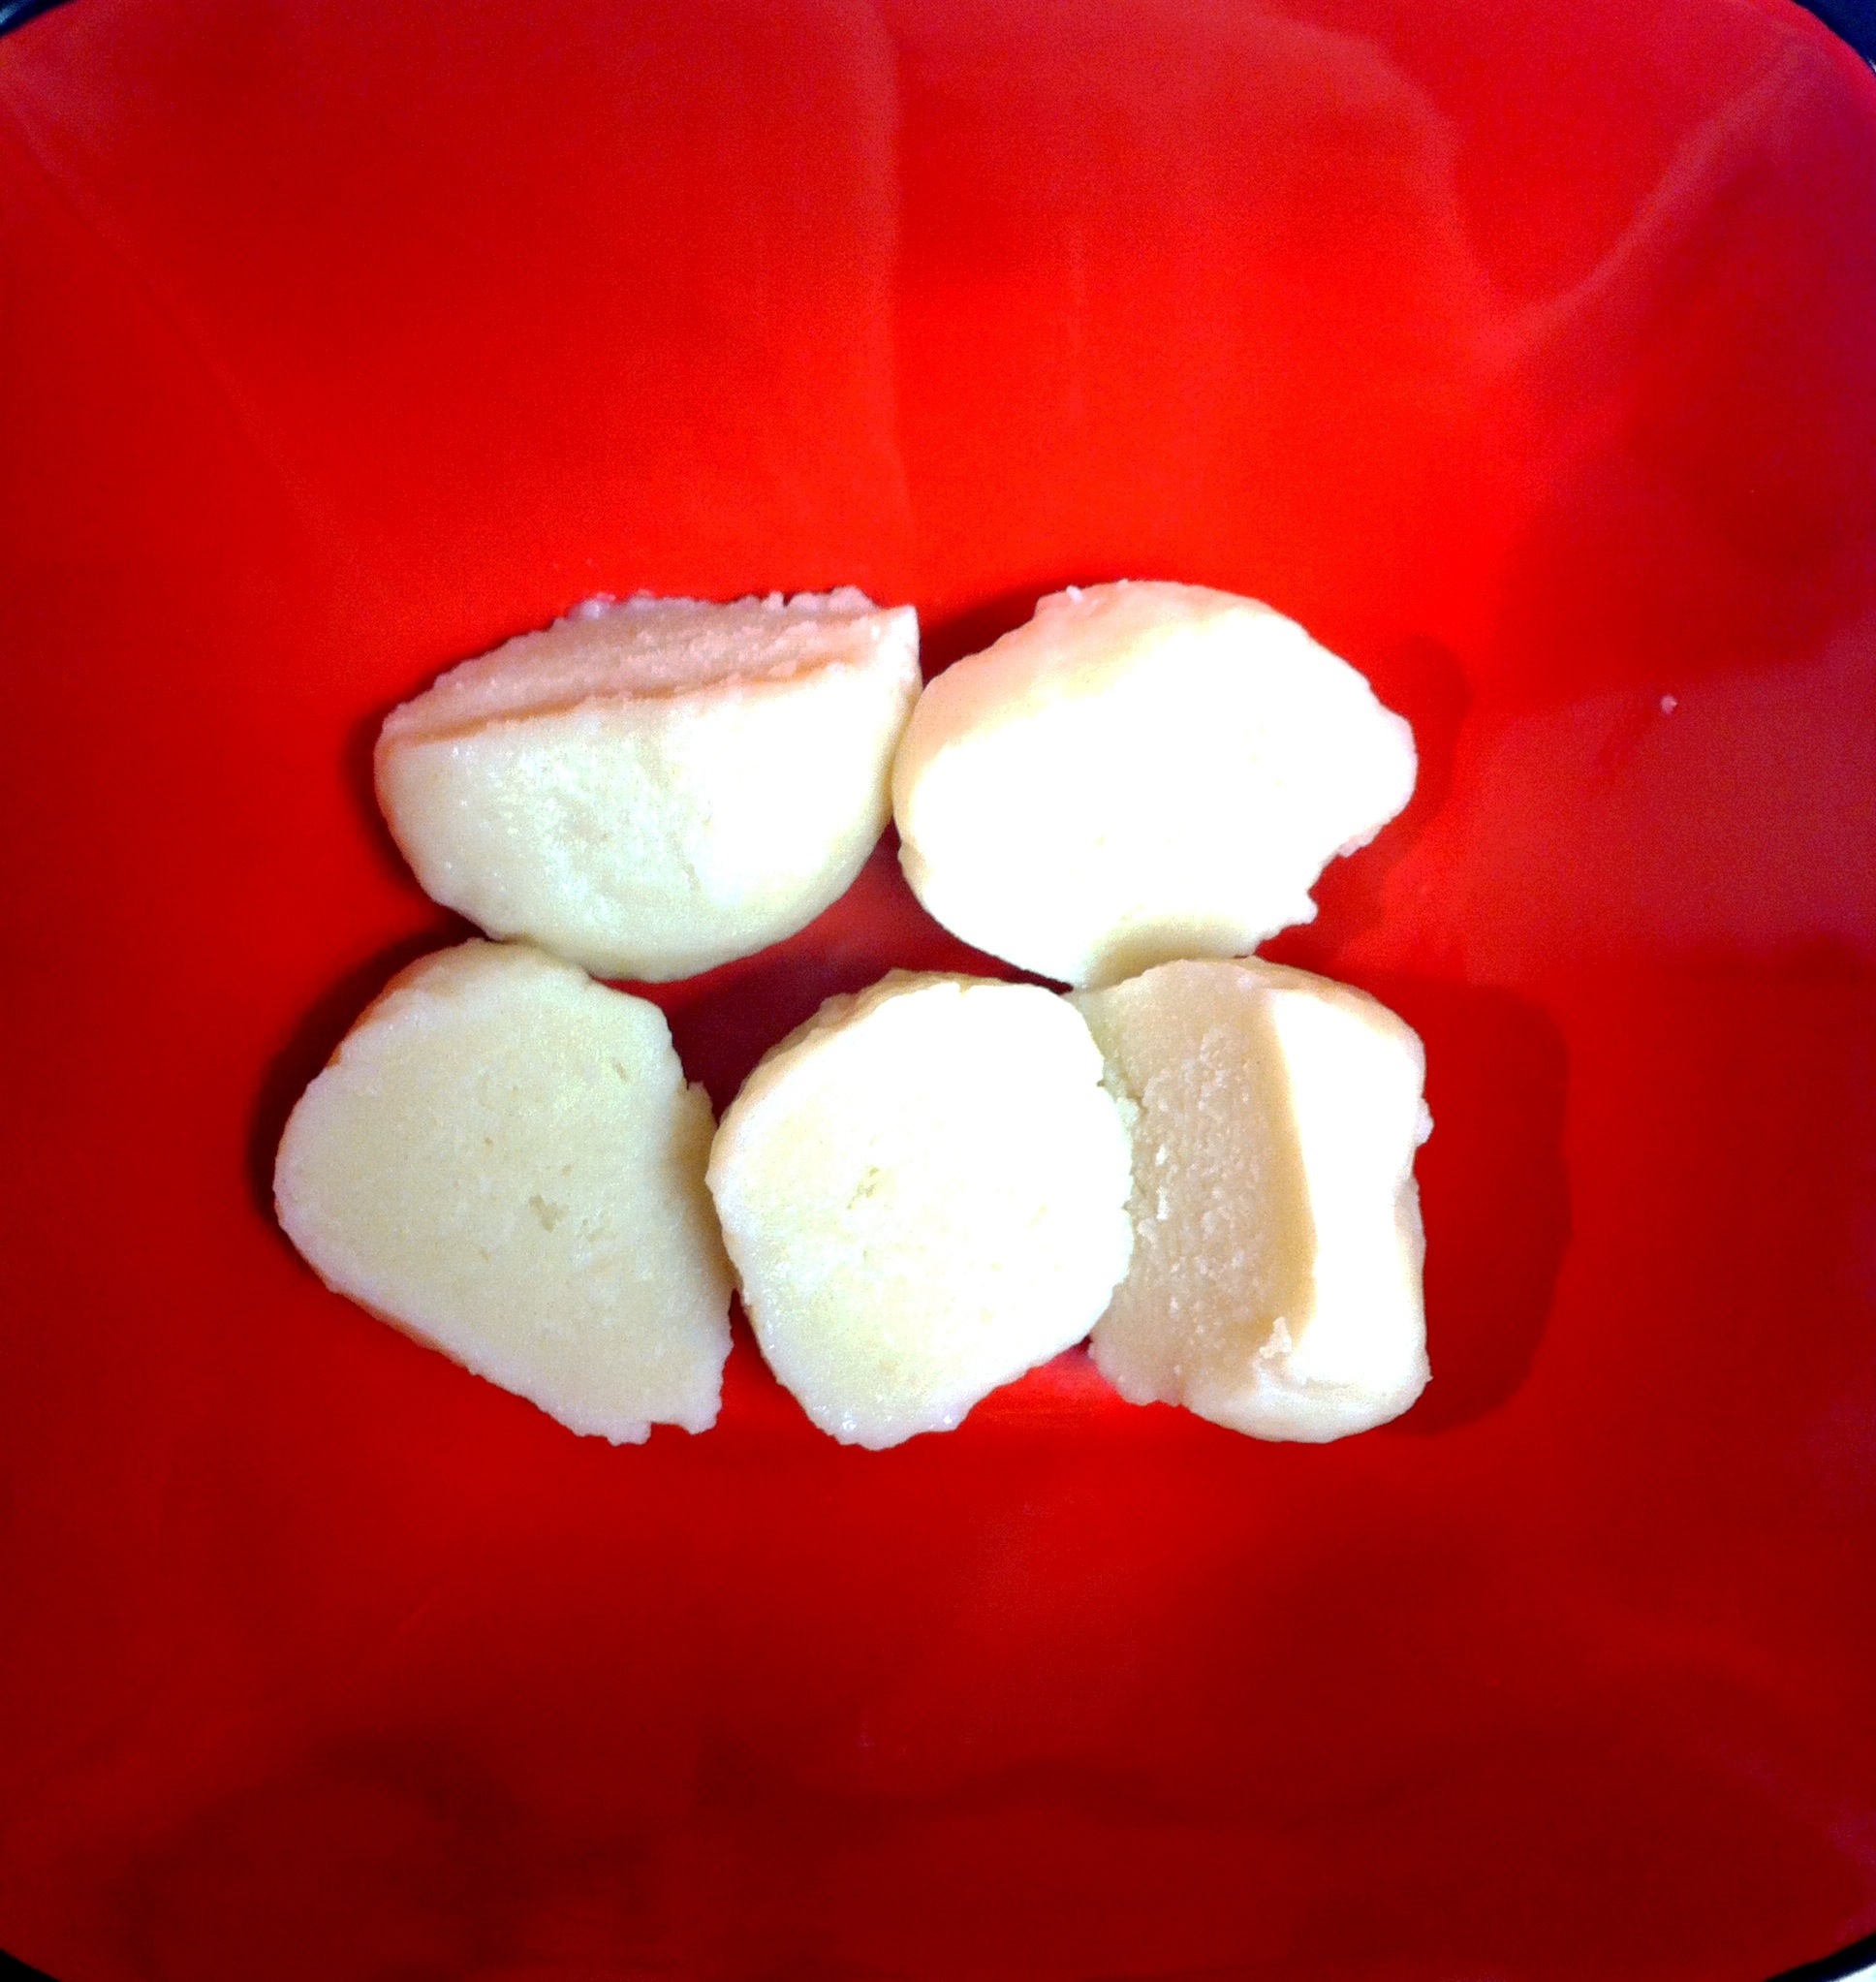
 I am a sucker for anything with lemon, or garlic and love chicken so naturally I want to put them all together! This is a reallllly simple and delicious meal. It’s easy and quick enough for a weeknight but also tasty and ‘fancy’ enough for a weekend or dinner party with friends.