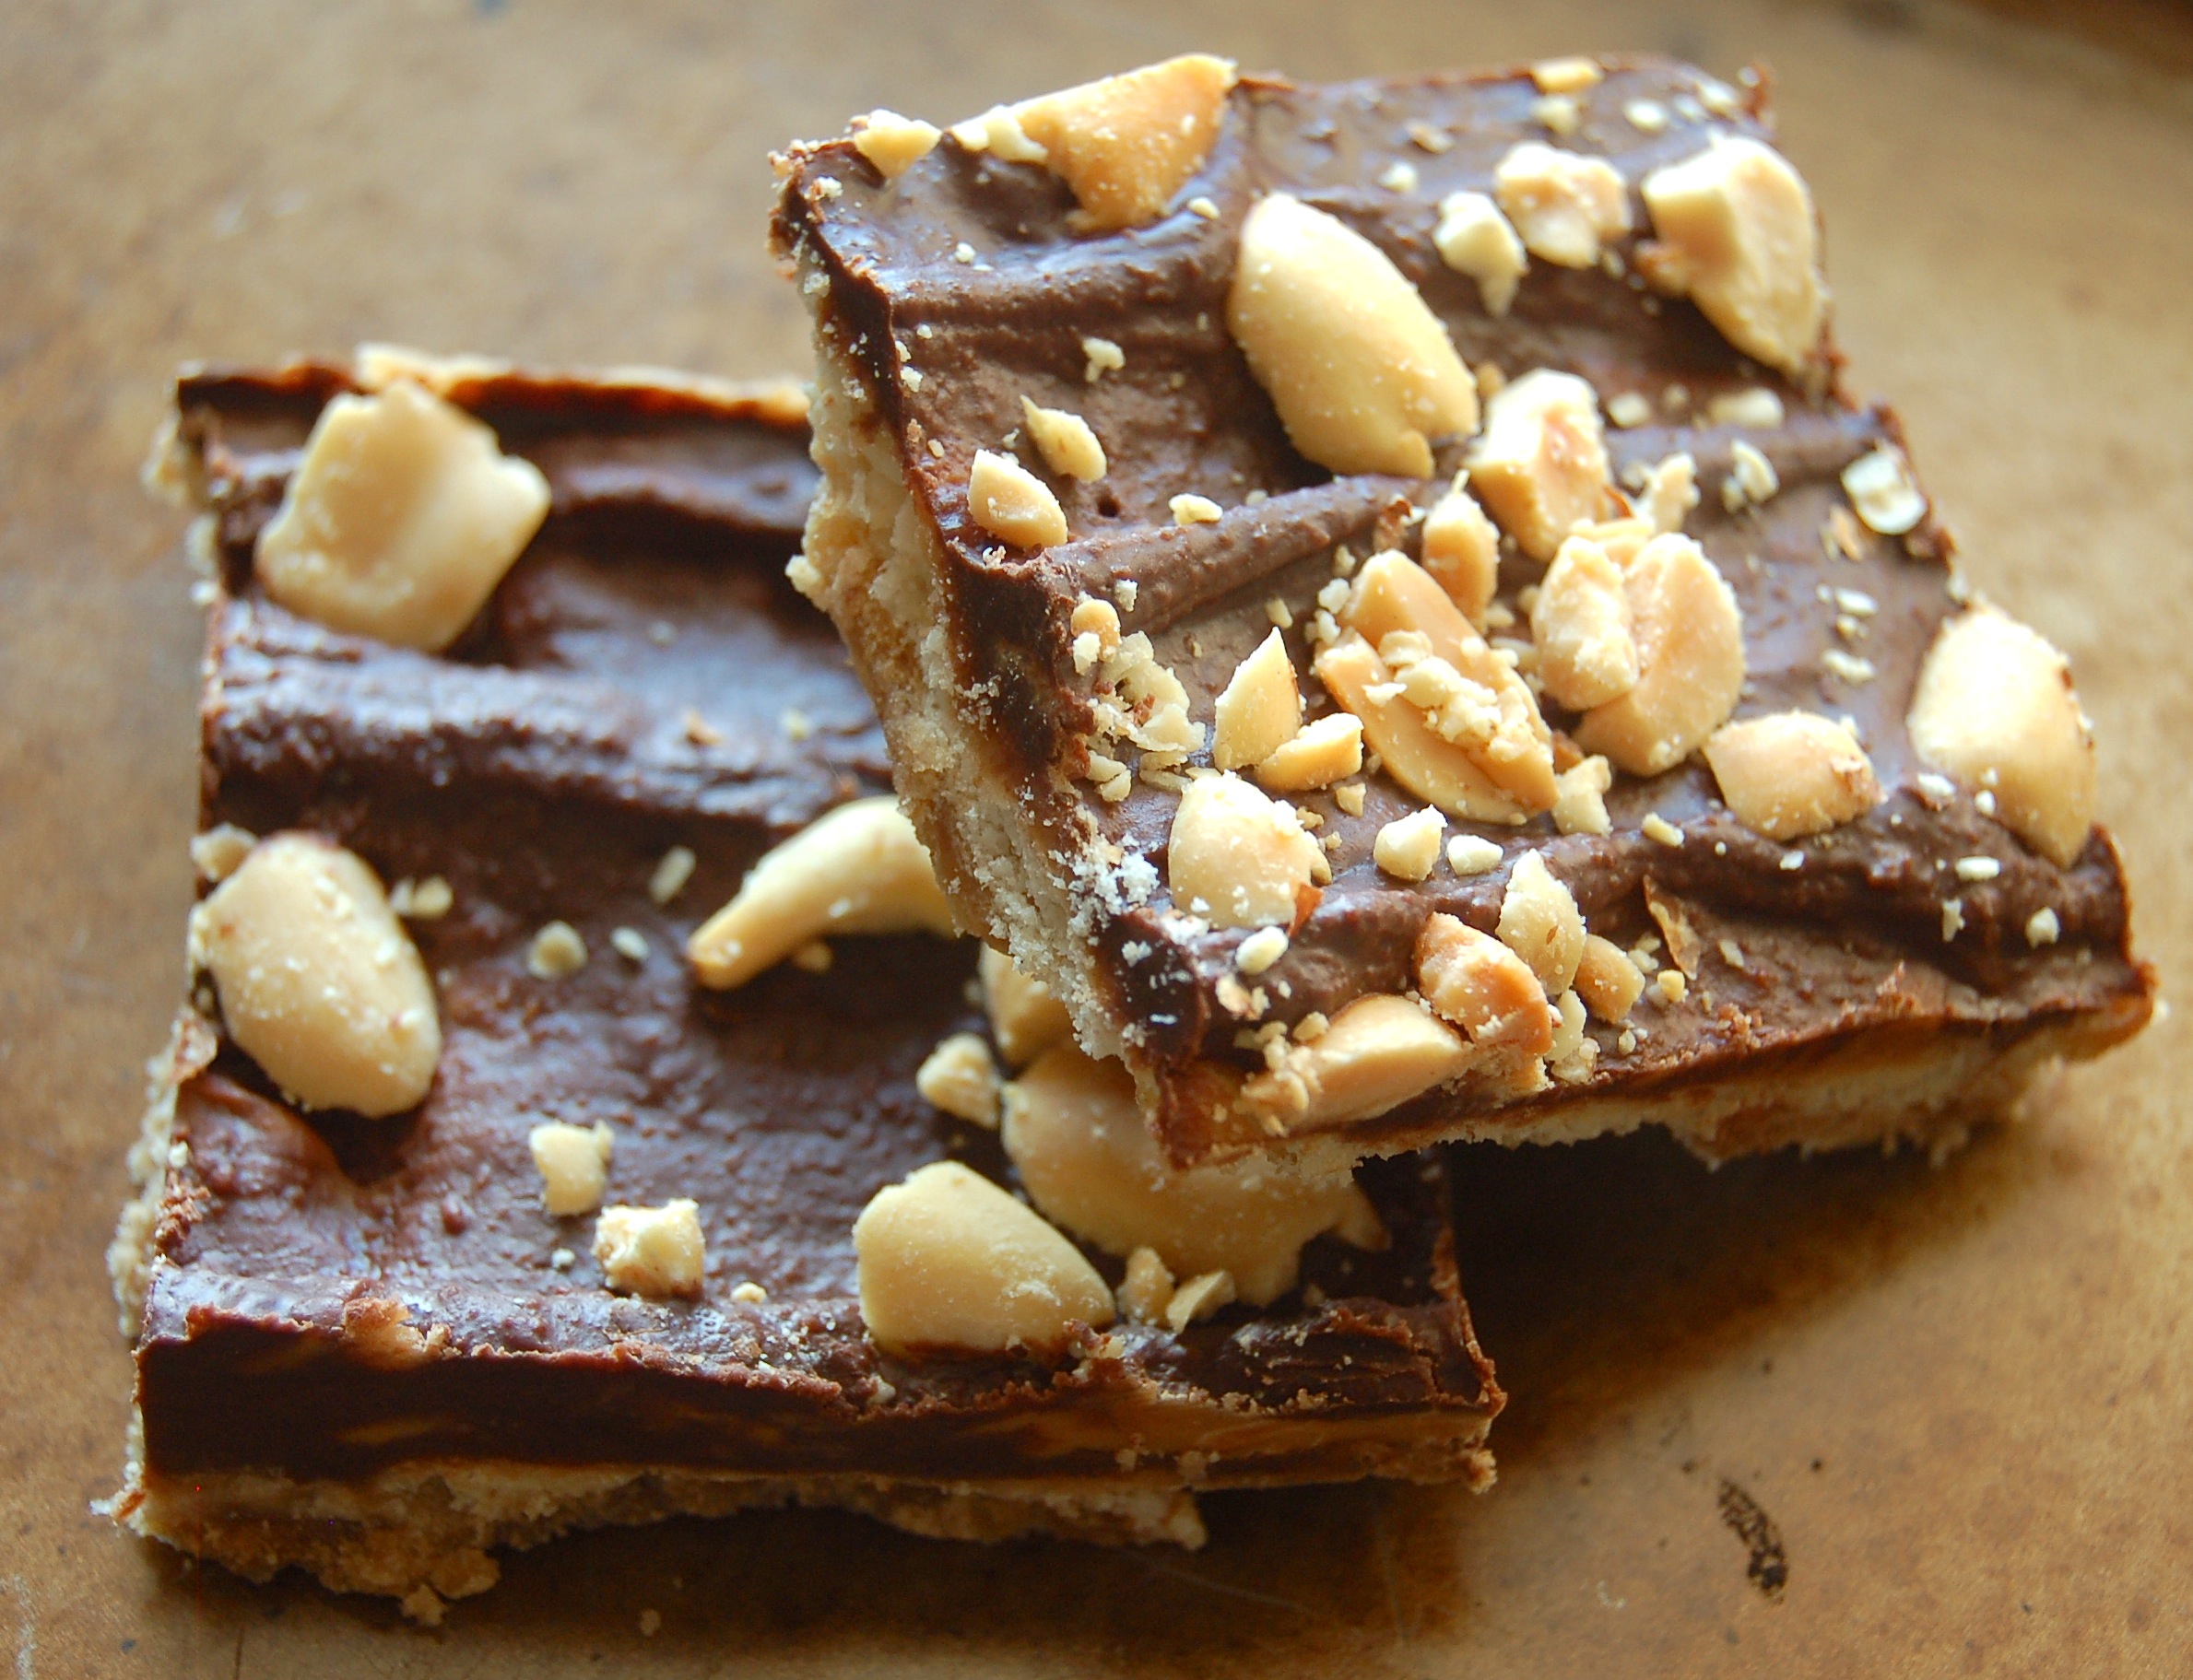
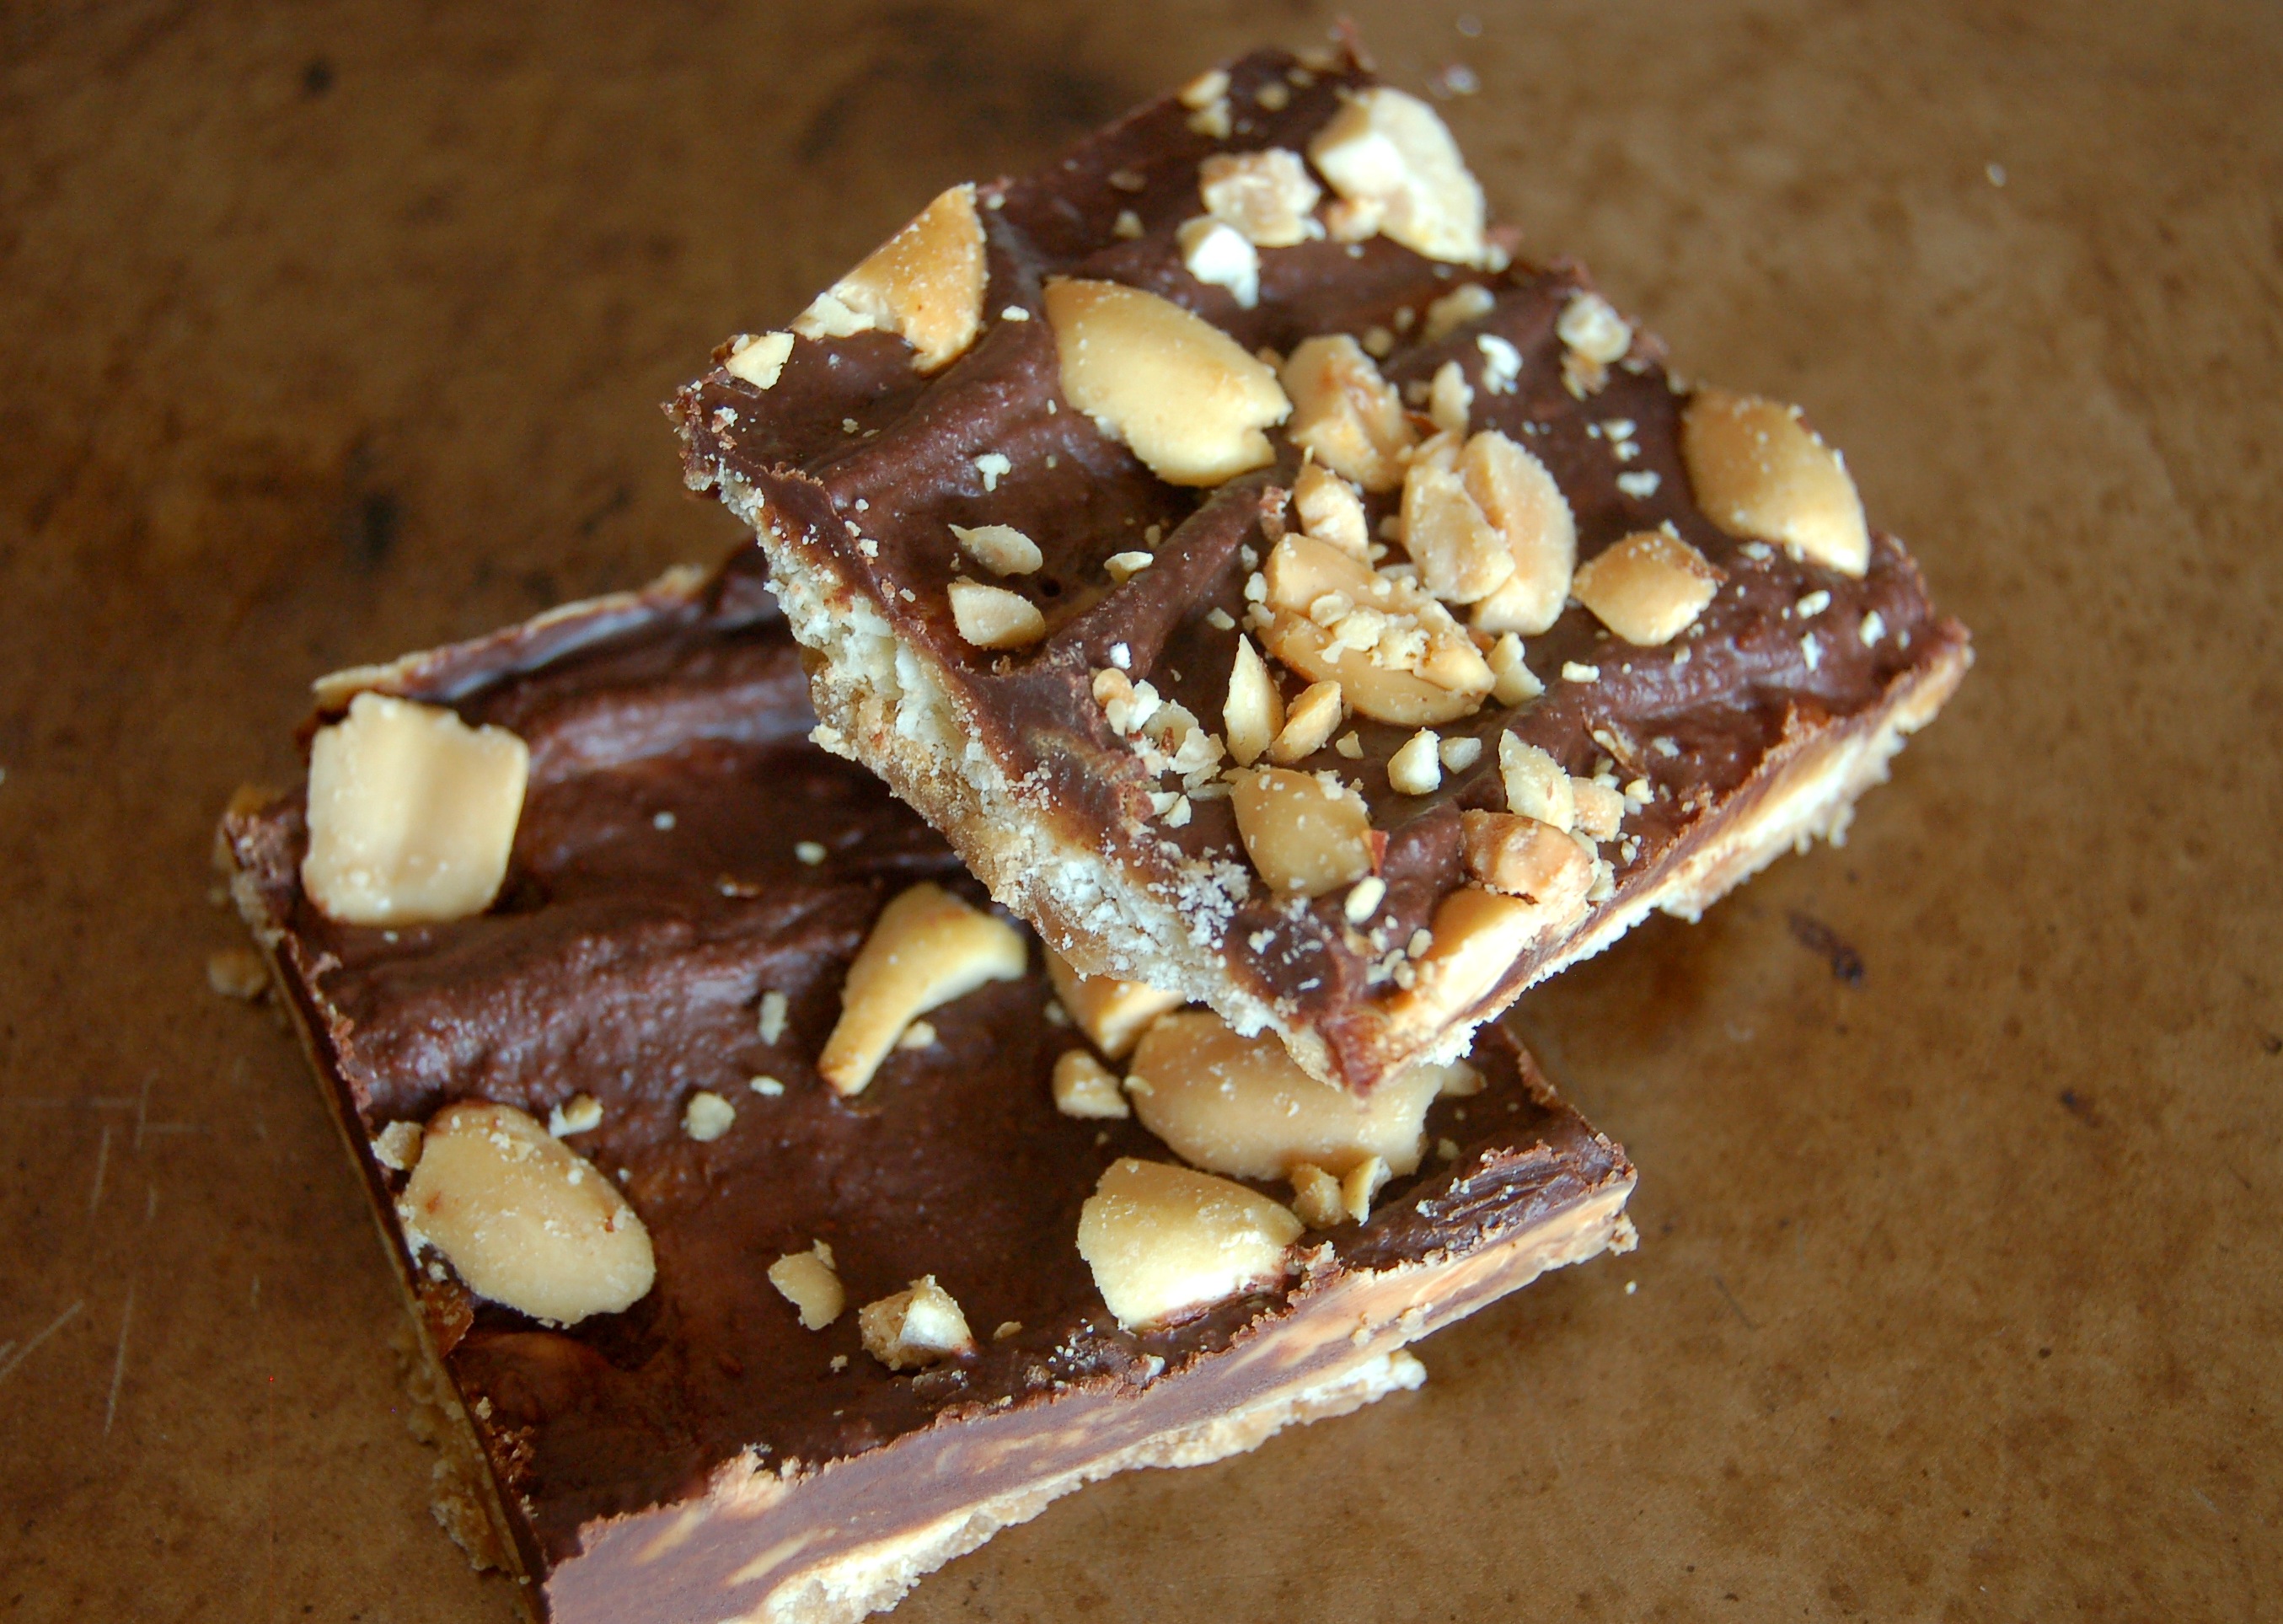
Saltine Toffee Bars

Saltine Toffee Bars

EDIT of DSC_7813

Sometimes do you ever just get a sweet tooth? And nothing can satisfy it except something unhealthy? Yeah me too.

I think it’s important to treat yourself every once and a while! I love the saying, “one bad meal won’t make you make you unhealthy, just like eating one salad doesn’t make you healthy”. It’s so true- living a healthy lifestyle and being healthy doesn’t mean that you can never treat yourself. Everything in moderation.

For me, these super easy treats remind me of childhood and my and my sister working so diligently to lay out the crackers juuuuustttt right in the pan so mom could pour the “toffee” over it. Funny how little things like this spark memories right?

Well enough chitter chatter, I’m sure you’re dying to make these for yourself 🙂 So here we go!

Ingredients:

  • Saltine Crackers (1 sleeve is probably enough but this depends on your pan)
  • 1 cup of butter
  • 1/2 cup brown sugar
  • 1/2 cup sugar
  • 1 cup chocolate chips
  • 1 cup peanut butter chips
  • chopped nuts or toffee pieces for topping

Directions:

1) Preheat the oven to 350 degrees. Prepare a baking sheet(with sides) by lining it with aluminum foil and spraying the foil with nonstick cooking spray or greasing with butter or coconut oil.

2) Arrange the crackers in a single layer on the baking sheet so that there are no empty spaces in between them. I usually cut some in half so they fit perrrrfectly to the edges since I’m slightly OCD 🙂

3) Place the butter and sugar in a small saucepan over medium-high heat. Stir while the butter melts, and bring the mixture to a rolling boil. Boil for one minute, stirring constantly.  Then carefully pour the sugar-butter mixture over the crackers on the baking sheet in an even layer, trying to cover most of the crackers. If you miss some spots, don’t worry as the toffee will spread in the oven.

Put the pan in the pre-heated oven and bake the toffee crackers at 350 degrees for five minutes. Remove the pan from the oven and allow to cool for a few minutes.

Sprinkle the chocolate and peanut butter chips on top of the hot toffee, and allow them to sit for a minute or two to soften and melt. Once they are softened, use a spatula to spread the melted chocolate over the entire surface of the toffee in an even layer. While the chocolate is still soft, sprinkle the top with your desired toppings.

Refrigerate the pan to set the toffee and chocolate for about 30 minutes. Once set, break or cut into small  pieces and enjoy! Store in an airtight container and enjoy for up to a week.

EDIT of DSC_7823

How easy right? Plus it’s a great one to make with kids because they love helping lay out the crackers on the tray/pan. I can attest to that since It’s 20+ years later and I still remember it 🙂 This could also make a great treat to bring to a Christmas party or make a great gift!

Hope you enjoy and I hope that you have a great weekend! Make the most of it and spend time with those you love ❤

xoxo

669058772380712020613

Friday Faves

Friday Faves

HAPPY HALLOWEEN! It snowed here in Wisconsin this morning (or late last night) sooo that’s fun………………

Moving on to happier things: I’ve been wanting to start something like this to keep you up to date with things that I love. I want my readers to know more about me. What better way to do that then share more about me? My intention is that maybe once a month or so, I’ll post some of my latest things I’m into or loving. It could be food, clothes, shoes, makeup, quotes. Really this is my blog so I make the rules 🙂 And the rules are that there are no rules! It’s a free for all. As I usually post on Friday’s I thought the title Friday Faves would be appropriate. I hope you find this as fun as I do!

In no particular order here are some of my favorite things and things I’m obsessed with lately. ENJOY!

1) This scarf: 

b727c5815061cf22455c8a3670d80b21

How adorbs is this?! Funny thing is growing up, my dad had (probably still has) a scarf like this and I’m sure I thought it was old fashioned and sooo not cool. Now I want to steal it from him! But lucky me, lucky him, and lucky you, I’ve found a fo’ cheap one that is sooo similar HERE.

2) This peanut butter:

Crunchy Salted Peanut Butter with Flax & Chia Seeds

Trader Joe’s, oh how I love you. And peanut butter, ohhh how I love you! I’m a crunchy peanut butter girl and this is crunchy to the max! Not only is it crunchy peanut butter but it has the crunch of flax and chia seeds too! The extra fiber, protein, and omega 3’s are sure to fill you up! This is cheap and delicious and you need to try it now.

3) This Toothpaste:

Pure Mint Toothpaste from ArbonneThis natural toothpaste is TO.DIE.FOR. Seriously. I don’t know about you but I’ve tried some other all natural toothpastes and I just didn’t get that “clean” feeling. This stuff tastes great, has made a noticeable difference in the whiteness of my teeth and is all natural. It’s an Arbonne product which are all pure, safe, beneficial, natural What does that mean for this toothpaste?That there’s no fluoride, no triclosan, no parabens,(all of which are in traditional toothpaste) it’s 100% vegan, no artificial colors or sweeteners. It also has antioxidants in it from other ingredients (white tea, ginger, and many more). If you are looking for a safe alternative, this is IT! You can send me an email if you would like to find out where to get some!

4) This Show: 

So hear me out. My sister introduced me to this show and she started this conversation by “I’m going to tell you about this weird show. But you have to watch it before you say you don’t like it.” 3 am and 10 episodes later into a binge watch, I came to the conclusion I liked it 🙂 It’s a Canadian television show called Lost Girl. You can find and watch all of the episodes on Netflix too.  It has all you could want from a show, humor, love, violence, mystery! I love it. I just heard that they’re about to air (Dec 8th) the last season, Season 5. I’m mildly heartbroken. So if you find yourself needing a new show or sick and home (that season is almost upon us again) you have a new show you can watch! You’re welcome in advance! 🙂

5) This picture:

storyboarded-17


What the?!?? Isn’t that you?  Yes, yes it is. Here is a picture from my fiance’s and mine, recent engagement pictures! Our photographer is Dani Stephenson and I’m mildly obsessed with her. I mean we love all the same things so it only makes sense. We are 100% style twins. It puts me so at ease knowing she is capturing our day and I know it will turn out amazing. I love this photo because Jake and I both look so happy and those are our true smiles. If you want to catch more pics, you can look at her blog here. Otherwise, I’m sure I’ll be doing a post of more later 🙂

Love you all!

xoxo

669058772380712020613

*Again I want to share that Eat Laugh Craft is in no way being compensated for these reviews or suggestions. They are just some of our favorite things that we want to share. 

“Sharpie” Mugs

“Sharpie” Mugs

IMG_4075

Hi all!

So I’m sure a lot of you have probably seen these “sharpie” mug craft ideas floating around the internet lately. Don’t be fooled, you cannot use regular old sharpies and have this work. This craft isn’t really as simple as just writing on a mug and voila! Lucky for you the first time I totally biffed it and failed BIG TIME at this but learned from my mistakes and perfected it the 2nd time around. 🙂

Key points to remember are: 
Oil based PAINT Sharpie Markers (or any oil based PAINT pen)
– Clean your surface with rubbing alcohol!
– Only one layer of paint
– HOT oven

Let’s get started and I’ll take you through step by step. If you know these steps it’s really an easy and fun craft!

Supplies:

  • Cheap ceramic mugs (the cheaper the better)
  • Oil-based Sharpie marker (NOT regular sharpies!)
  • Cotton balls and 1-2 Q-Tips
  • Rubbing alcohol
  • A pencil

Instructions:
Wash your mugs with soap and warm water. Dry completely. Then use a cotton pad or swab to clean your surface with rubbing alcohol. This will take any residual soap or other things off the surface and insure your paid will hold better. Let that dry too (takes like 2 seconds).

Use a pencil to sketch your design on each mug. There are some really cute ideas out there but you could make up your own, draw a picture, or whatever your heart desires. Once you are happy with your sketch, trace over it with your paint pen. It’s not an easy task drawing on a curved surface but that’s where the extra rubbing alcohol and Q-Tips come in! You’re going to mess up. Trust me. Probably like 5 times and if you’re a perfectionist like me, then probably like 50 times. Once you are happy with your design you have to let the paint dry.

I let my mugs air dry for a good 24 hours before I baked them and I think that is a crucial step, based on my first mishap. To bake, all you need to do is put your mugs on a cookie sheet and place in a COLD oven and turn the heat on to 425. You want the mugs to heat up with the oven to prevent cracking and allow it to seep into the glaze of the mugs. Once your oven is preheated, bake the mugs for 40 minutes. Once the 40 minutes is up, turn the oven off but leave the mugs in the oven with the door closed and allow them to cool completely. This will also help prevent cracking by avoiding fast temperature changes. After about 2 hours they were cool and I took them out.

As far as care for the mugs after they are complete, I’ve heard some people say they are fine in the dishwasher but I don’t risk it, I just wash them by hand and they still look as good as new! I’ve washed them probably about 20 times so far.

This is such a great simple and easy gift to make. The possibilities are literally endless. I want to make more but a girl can only use so many coffee mugs. But this is definitely on my list for Christmas time 🙂 Here are a few of my favorite ones I’ve seen and ones that I want to try and ones I just like!

Presentation1

*None of these pictures are my own

  Yay! Hope yours turn out perfect and fun. Stop back and show me some of your designs. I’d love to see them.

xoxo

669058772380712020613


* Update. Since doing this craft the colored paint has chipped off a bit, but the black is still perfect. I just went over the colored part again and baked and so far so good. Let me know if you have any tips to keep this from happening 🙂 

White Chocolate Fall Bark

White Chocolate Fall Bark

IMG_2044

Hellllloooo!

I’ve had major writers block lately and little inspiration for new blog post ideas. Sometimes I am just IN. THE.ZONE. and I’ll write up like 5 blog posts in a day. My little dirty secret is that I’ll store them as drafts to be used later on. It’s hard work to write posts every week! Don’t get me wrong I love every minute of working on my blog and creating things to share with you all but I might not have made every recipe that you see in the week it was posted. Take for instance this post you’re reading right now and the recipe below, this was something that I made 2 YEARS AGO! Yes. Two+ years. Hence the crappy iPhone photo making a return. But this was just something that I had drafted a while ago and never got around to posting it. Most drafts I only hold onto before posting for a week or so, sometimes a month. This is definitely the longest standing item in the draft box of Eat Laugh Craft and it feel so good to finally share it 🙂 haha.

This is a really fun recipe too. Perfect to have kids help you make as it’s pretty much a free for all. It’s a perfect fall snack or treat that looks great to bring to a party. You could add or take out anything that you wanted (like if you cant have nuts at your kids school or something like that). Hope you enjoy and HAPPY FALL!!!!!

White Chocolate Fall Bark

Ingredients

  • 1/2  pound white chocolate (chips,coating,big ole’ block of it etc…)
  • 1  cup pretzels(I broke mine into pieces but you don’t have to)
  • 1/2  cup  candy corn
  • 1/2 cup of walnuts broken into small pieces
  • 1/3  cup  dried cranberries

Directions

  1. Line an 8-inch square baking pan with parchment, leaving an overhang on 2 of the sides.
  2. Heat the chocolate in a double boiler (or in the microwave at 50% power for 1 minute increments until desired consistency) until melted and smooth.
  3. Spread the chocolate in the prepared pan and sprinkle with the pretzels, candy corn, and dried cranberries.( I sort of carefully pressed all of the ingredients into the chocolate so they were ‘stuck’. Chill in fridge or freezer until firm, about 1 hour.
  4. Remove the bark from the pan and break into pieces & EAT!

How cute and fun is this, right?! Thanks for stopping by!

xoxo

669058772380712020613

Quick Pickled Jalapenos

Quick Pickled Jalapenos

 IMG_4806.JPG
Hello my favorite blog readers 🙂
So if you have been following my blog for any amount of time you know that I absolutely LOVE LOVE LOVE spicy food. Seriously sometimes I cause myself pain for the love of spicy food. This was one of those times. My mom has a ginormous garden and also some friends who also have ginormous gardens, long story short, I went home one time and she asked if I wanted some of their home grown organic jalapenos.
Um duh yes I do.
Fast forward she gives me a bag of about 100. Not lying. Fast forward more- I wanted to just dice some and throw in the freezer to use for recipes and various things throughout the year but I also wanted to try this at home pickling recipe. I love pickled jalapenos but sometimes they are so mushy and sort of gross and not that spicy.
Ok soooooooo not to sound pompous but I don’t really think that jalapenos are that spicy. Sometimes you get a spicy one but more often than not, they’re just sort of a warm heat in your mouth. Anyway, I never use gloves or anything when I cut them up normally because I just wash my hands when I’m done and go on my merry way. I’m sure you can tell where this story might be going- I’ll get to the point.
HOLY SHIT. The peppers my mom gave me were soooo effing hot. Mind you I didn’t even cut them all my hand. (I washed, cut the tops off and cut in half lengthwise and then diced with this bad boy) well after about 5 (of the 100) I’m like whoa- I am having a hard time breathing. I started coughing and my eyes burned. I licked one of the peppers and hot damn my mouth was on fire. Well I couldn’t just stop in the middle so I kept going.
I had to take approximately 10 breaks to cough/ gag/drool/die in the sink, literally my mouth and eyes had saliva and tears flowing out of them at a rate beyond my control. Then to top this all off, my hands started throbbing. Like on FIRE. Especially my finger tips and cuticle areas. Seriously, my anxiety brain had thoughts of paralysis running through my mind and they were getting swollen and hurt so bad I could barely bend my fingers. You think I’m being dramatic. I am not. Swear on my life.
Anyway- I’m crazy and apparently a masochist so I finished all the peppers, cleaned up, washed everything twice, washed my hands like 50958209348 times and put ice on my hands. Ok. How fun was that?!?
Ahhhhh, next day,  I wake up and start getting ready for work, doing my makeup, get something in my eye, use my finger get said thing out of my eye, ruin all my makeup because my eye starts burning and watering like cray cray again………….. I mean jesus. I called my mom asking her what she was trying to do to me with these killer psycho jalapenos. She said they mayyy have cross pollinated with some hotter ones…… perf.
Anyway, after about 3 days my hands returned to normal and I was able to touch my face without breaking out in tears.
You’re probably thinking “this story is supposed to make me want to make these freaking peppers?!”….. um yes. Yes, it is. These babies are soooo freaking good. Crisp and spicy (as the story above eludes to 🙂 ) and not full of any chemicals that you’ll get in the store bought kinds. The story’s main point was to make you laugh and also caution you don’t by lethal grade jalapenos and if you do, wear a HAZMAT suit or at the very least gloves and possibly goggles too 🙂
You need to try these- but be careful!
IMG_4806.JPG
Ingredients: 
3/4 cup water
3/4 cup white vinegar
3 T white sugar
1 T kosher salt
1 clove garlic, crushed or chopped
1/2 tsp oregano
15-20 jalapeno peppers, sliced into rings
Directions:
1.  Combine water, vinegar, sugar, kosher salt, garlic, and oregano in a saucepan over high heat.  Bring to a boil, stir in jalapeno peppers and remove from heat.  Let cool for 10 minutes or longer.
2.  Pack peppers into jars using gloves or tongs, cover with vinegar mixture, cover, and refrigerate until ready to eat!
I love these. And so fast and simple. This is 100%, without a doubt, one of those things that I will no longer buy store bought versions of. There is no comparison taste and texture wise. I’ll just be more cautious with prep next time!
Thanks for stopping by. Make sure to follow us on Twitter, Facebook, and Pinterest to keep up to date with our activities!
xoxo
669058772380712020613