String Art

String Art Tutorial

ANNOUNCEMENTIt’s been a while since I’ve shared a craft with you! Not that I haven’t been making any, but I forget to document them throughout the process. I made a bunch of stuff for the Holidays including all the crafts I did that were sponsored by JoAnn Fabric and Craft Store for the TV Segment back in December, but never really got around t0 posting them.

One of the things I did make for a Christmas gift for a friend of mine was a little cute string art heart. It was small (like 6 inches by 6 inches) but it turned out really good! When I gave it to her she decided we should have a crafting weekend (that is our “thing” we do together) so she could make something else for herself too! And of course I was up for it to actually make myself something too!

I brought the supplies and told her all she needed to do was print off the image or pattern she wanted to do. I show up at her house and with no discussion about it, we both printed the exact same thing to do our string art with. The great state of Wisconsin! 🙂 At first I had plans to do a heart around the Madison area but then I decided I just wanted a plain jane one, which is more my style.

It’s really not hard to do it takes a little time and you need to do the whole “stringing” part in one sitting, but it doesn’t take a whole lot of “skill”.
STRINGARTTUTORIALString Art Tutorial
Materials:

  • Soft (non hardwood) wood
  • Shape print out
  • Hammer
  • Short Nails ( I used ones similar to these)
  • String/thread (I used something similar to this)
  • *Optional small needle nose pliers

Instructions/Steps:

  • First things first, you need to find a piece of wood. Obviously whatever size you want but it’s also important to find a piece that’s not too hard as you’re nailing in a million little nails, you want to make it easy on yourself. Lots of craft stores actually sell cheap low quality (which is ok in this case) wood that is soft and perfect for these types of projects.
  • Next you need to find whatever shape you want to do. The first time I did a simple heart shape. For this one, I did the outline of Wisconsin. It’s really up to you. Pinterest is filled with ideas for this. Some of my faves right now are this, this, and this. Print out whatever shape or words you choose and then cut your image out.
  • Using one small piece of tape, place your paper shape cut outs on your wood. Begin pounding in nails just along the outer edge of your chosen shape. You want to try to space them as evenly as you can, but no need to drive yourself crazy.

20160109_180315

  • Sometimes it does get hard to pound in all the nails without pounding your fingers, especially when you get into tight areas (like the Door County of Wisconsin). If that is the case, you can use a needle nose pliers to hold the nail steady and in place while you hammer it in.
    af424277bb0800b59c4d16d7004ba69f
  • You want to pound the nails in far enough that they’re really “in there” but leave enough of the nail exposed so you a) don’t poke through the back of your wood, depending how thick your piece is and b) have enough nail to wrap your string around it several times.
    20160109_180321
  • Once you have surrounded your entire shape with nails, carefully remove the paper shape and tape. You’ll be left with just the nail outline of your shape(s).
    20160109_184127
  • Now comes the part that once you start, you can’t stop until you’re done. So take a bathroom break and get a snack 🙂 But for real, because you’re really just wrapping the string around the nails over and over and over again, pulling it tight(not tooooo tight) throughout the whole time, you can’t stop or it will all unravel.
  • Start by just tying a double knot with the string around one of the nails. Any nail, doesn’t matter, and you just cut the “tail” of the string off close to the nail rather than trying to get the end knotted perfectly around the nail. Now just start wrapping the string up, down, across, sideways, backwards, upside-down (kidding just running out of directions here) around the nails. Basically just weaving it all around the nails. Here’s a close up:
    20160109_19111120160109_191106*As you can see, I’m not tying anything off, just continuously wrapping the string around and back and forth between the nails. You want to keep the string tight so it doesn’t unravel or come off the nails but not soooo tight that it puts too much pressure on the nails that they pull out. This will make more sense once you’re doing it.
  • Just keep going until it looks “full” enough and even to your liking. Once you are done just tie off the string on one of the nail and again, don’t worry about the “tail” just double knot and then cut off very close to the nail.
  • Then you’re done!! Hang on your wall and admire your handy work 🙂
    20160226_182730

This is a really fun and pretty simple craft that can be done in an afternoon and produces such a cute and customized finished product. If you have kids who you are worried about them with nails and a hammer, you could even do the outline of a shape in nails and then let them do the “stringing”.

I hope this tutorial was easy to follow but if you have any questions, feel free to ask away and I’ll do my best to help!

We will have a few other crafts to share soon as we were asked again by JoAnn Fabric and Craft Stores and Madison ABC affiliate WKOW 27  to come back and do another on air spring crafting special! Could not be happier to be asked again and have the great opportunity to make some really adorable stuff again!!! If you’re in the area tune in on the morning of Sunday, March 6th to WKOW 27 Madison. I mean if you don’t want to wake up early for that, or if you’re not in the area, I’ll make sure to post a link to the video!

Thanks for checking out our string art tutorial!

xoxo

669058772380712020613

Advertisement

Gold Painted String Lights

Gold Painted String Lights

1So remember that time I told you I had become obsessed with gold spray paint? Well….. I wasn’t kidding.

It pretty much all started because of the wedding. Our colors were green and gold and there were some items (like these) that I liked but wanted to have them be gold.

Enter liquid gold.

Then things got pretty serious and I was spray painting anything I could get my hands on. Napkin rings, rocks, vases,string lights…you name it!

I think I just saw an idea like this on Pinterest and decided I wanted to have some of the lights gold for my wedding. My mom found these knock off “cafe” lights on clearance the day after Christmas and snatched them up for me. I only did three strings of them but they turned out great for the wedding and I am also planning and looking forward to using these around the holidays! I’m a traditional green and gold type of girl so these will look amaze-balls around the house for Christmas!2All you need is: 

  • Spray Paint (this is my favorite gold)
  • Painters tape (or any tape I guess)
  • String lights
  • an open area to spray paint and cardboard boxes or something like this to paint in/over.
  • This amazing tool (ok. you don’t NEED this but it will make it 100% easier and you get a really even coat)

Then you just:

  • Tape up the areas you DON’T want paint on . My bulbs unscrewed so I just took them all off and put a tiny piece of tape over the LED light and also taped the ends as shown below.

3

  • Make sure you’re in well ventilated area and following these rules.

{Spray Paint Tips}

  • Then just go to town! I did two full coats and then some touchups on some weird spots. It’s a little hard to not have fingerprints when you do the whole thing at once as you have to pick  it up and move it and twist it and turn it. But the final 3rd spray down for just those spots will leave you with perfectly even paint.

So there you go! Beautiful makeover to make something cheap look fancy and sophisticated. Someone please remember to remind me to take a picture of these around my house at Christmas 🙂

Thank you so much for checking in! Hope you all have fabulous weekends.


xoxo669058772380712020613

Napkin Rings {Makeover}

Napkin Rings {Makeover}

RevampedSooo last week’s post talked about how I went a little spray paint crazy. It all started by wanting to try to paint some string lights gold (for the wedding) call me crazy but I thought it would look awesome (it does). But to see those, you’ll have to tune in next week! 🙂 After spraying the lights and seeing how beautiful the gold paint went on and how glam it looked, I started rummaging around the house for other items to paint. Enter these napkin rings. Now you’re probably thinking “why do you have napkin rings” (I don’t know either) “do you really use napkin rings?” (like one time ever) – BUT they were my grandmas and while going through her stuff after she passed away, I came across these and thought they were rustic and cute and when if I have a dinner party then I’d use them. Then I thought I’d glam them up a little bit, also  my heart wouldn’t break if the grand idea didn’t work out anyway. So I taped them up: 
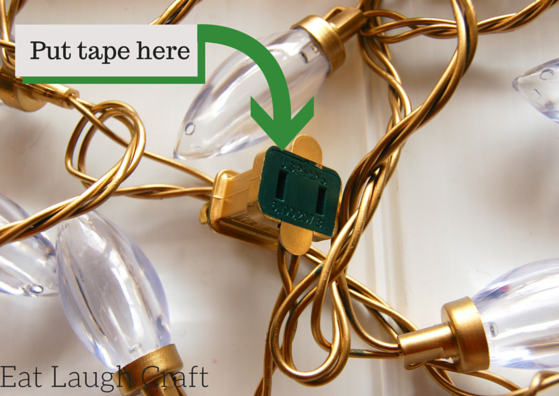
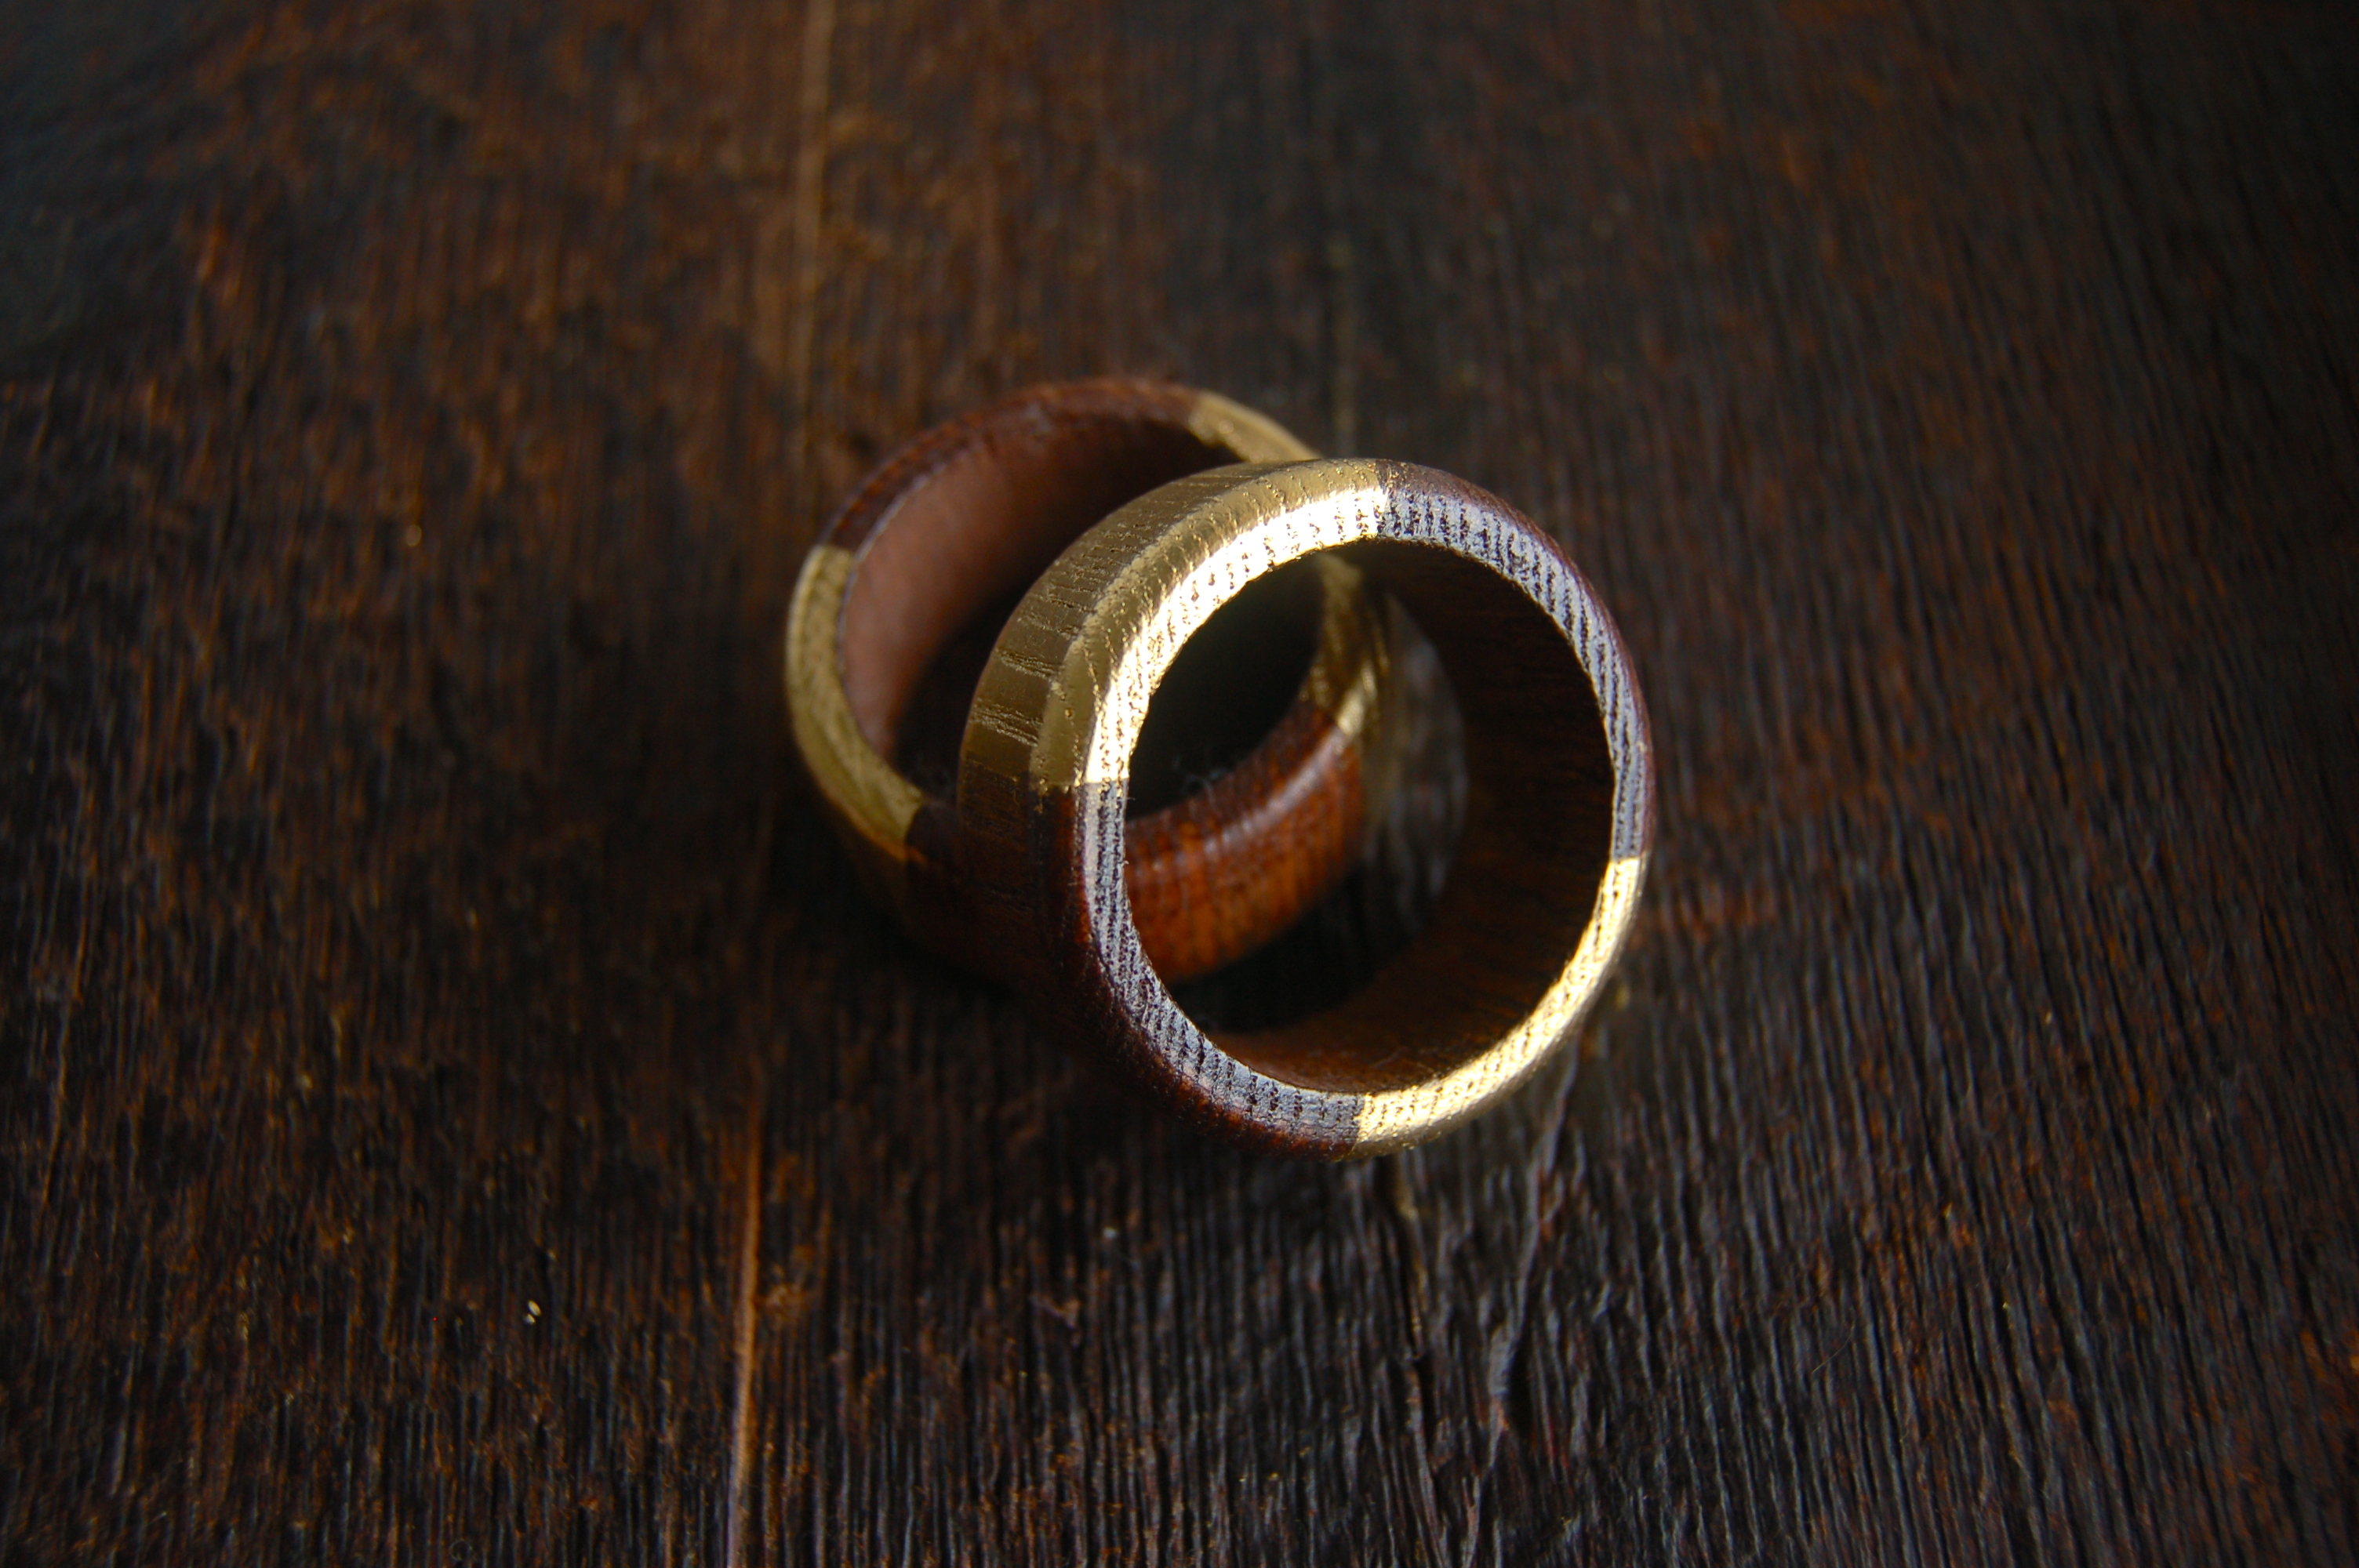
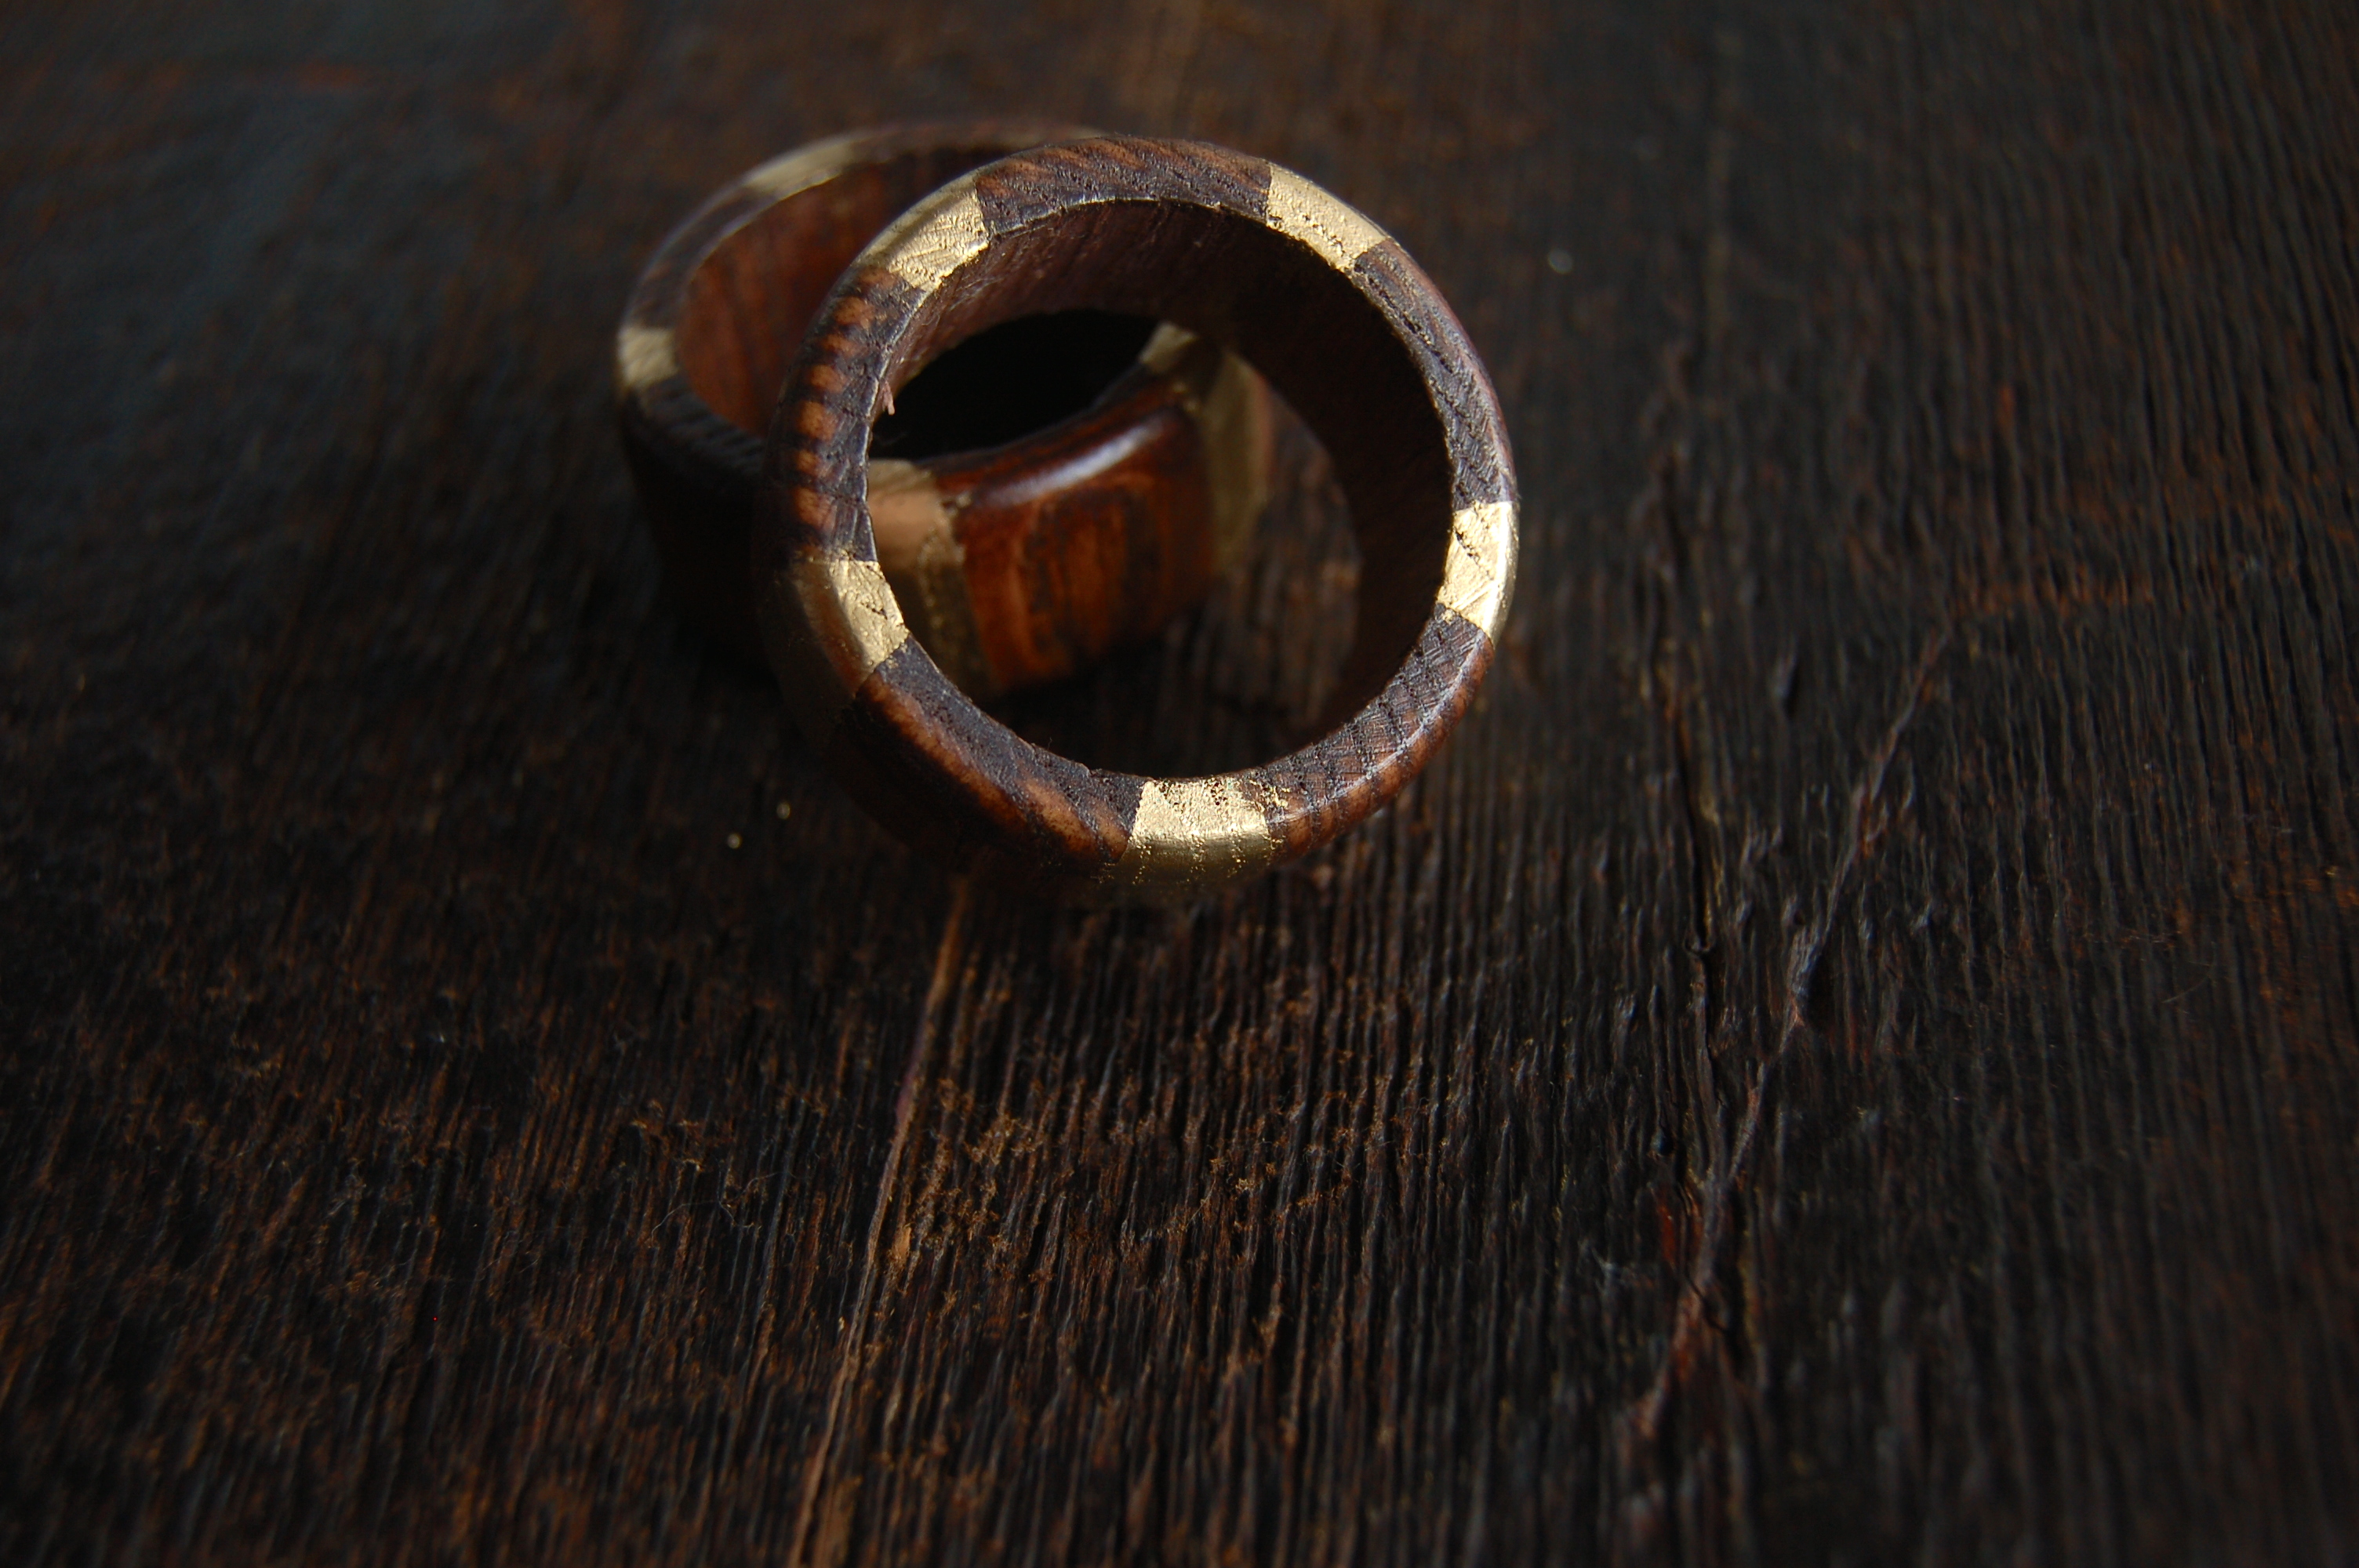
Both the inside and outside. I couldn’t decide on a pattern so I thought it would look cute if I did a variety. It was a little difficult to adequately tape the inside because it’s a circle and it kept trying to lift in certain places but it ended up working pretty good. I used a Qtip in rubbing alcohol to clean up some minor “leaks” in the tape and surprisingly that worked really good. DSC_9696 copyThere are 7 rings total (used to be 8 but I broke one by shutting a drawer a little aggressively one day) so I ended up doing 3 that I taped two spots like this: DSC_9704 copyAnd then two of 4 spots like this: DSC_9706 copyAnd two of 5 spots: DSC_9708 copyHonestly the one top one is my favorite (the two spots ones) and I half wish I would have done them all like that, but I also like the ones split in 4, the 5 is not my favorite. BUT I do like variety so I’m fine with it. DSC_9686 copyFor other tips and tricks on spray painting see HERE. So what do you think?!? Cute? Lame? I’d love your thoughts! I’ll just be sitting over here waiting to use these babies for all my non existent dinner parties 🙂 HAPPY FRIDAY! Thanks for reading and checking out the blog. Have a great weekend!

xoxo

669058772380712020613

New Spray Paint Obsession

Spray Paint Obsession

Gold Spray Paint

Happy Sunday! A few weekends ago I went a little spray paint crazy and was basically painted anything in  my house that wasn’t tied down.

It’s because I found the magic that is………. GOLD SPRAY PAINT.

It’s for lack of a better term, liquid gold, literally.

It started because I had a few things that I was test spray painting for my wedding and it was sooooooo amazing that I started painting other things too. Like lots of random things.

Which I’m going to share with you bit by bit here on the blog but first as this was my first time using and crafting with pray paint, I thought I would go over a couple basics.

First things first- which spray paint should I use? 

First of all I was primarily interested in GOLD spray paint. So I did some research on this and relied heavily on other bloggers testing out of spray paints brands to get the best “true gold” look.

Here, Here, and Here are my trusty sources- see for yourself!

So I purchased the Rustoleum Metallic Gold paint as well as the little sprayer nozzle thing. It’s worked great (HIGHLY RECOMMEND) it just was easier to handle and I felt made things go on smoother.

I also made this highly complex and state of the art spraying “station” out of old shoe boxes (I have a small shoe obsession) as seen here:

photo

*Sarcasm*

I was so desperate to paint I literally THREW this together. It worked great though!

Yes that is snow on the ground and no it’s not recommended to spray paint in very cold temperatures but believe it or not this day got up to like 40 degrees and lets face it I might not see those temps for a few more months so I had to jump at the opportunity!

Everything worked out just how I wanted. But I did learn a few things.

{Spray Paint Tips}

– With all the fumes that are just a part of spray paint, make sure you do it outside or in a HIGHLY ventilated area (like garage with the door open at a minimum) and also make sure to ware a mask or pant ventilator. For your own health, you don’t want to inhale that stufff.
– Make sure it’s not windy! Paint particles all over everything in your painting area is not probably how you want it to go and that WILL happen if it’s windy. Also you really shouldn’t spray paint below 50 (I did 4o) degree weather apparently this is because it makes it hard for the paint to properly bond and dry on the item(s)
– You don’t need a primer, most likely. Unless you are doing a super high glossy item or furniture with lots of nooks and crannies. I didn’t use primer for any of my items and they turned out great.
– A few thinner coats of paint are better than 1 or 2 THICK ones. Trust me.
– Prep your area that you’ll be painting in (see pic above 🙂 ) and also make sure to test the paint before you start too. Just a test spray on your prep surface or piece of “junk” will do. You just want to make sure everything is working properly.
– SHAKE SHAKE SHAKE (it off- sorry couldn’t resist) that can. SHAKE the hell out of it before you start (I’m talking 2-3 minutes of good shake time) and then shake frequently throughout your project particularly if you take some breaks to rotate or move your item. It will make a world of difference

So now you have all the info you need to be able to do your own fun and gorgeous spray painting crafts and projects!  I did soooo many cute things with this paint….. but I’m going to make you wait a little longer to see what they all were 🙂

Check back soon to see how we painted some vases, some string lights, and some napkin rings!

Do YOU have any other tips or tricks to share? I’d love to hear them!

xoxoxo

669058772380712020613

“Sharpie” Mugs

“Sharpie” Mugs

IMG_4075

Hi all!

So I’m sure a lot of you have probably seen these “sharpie” mug craft ideas floating around the internet lately. Don’t be fooled, you cannot use regular old sharpies and have this work. This craft isn’t really as simple as just writing on a mug and voila! Lucky for you the first time I totally biffed it and failed BIG TIME at this but learned from my mistakes and perfected it the 2nd time around. 🙂

Key points to remember are: 
Oil based PAINT Sharpie Markers (or any oil based PAINT pen)
– Clean your surface with rubbing alcohol!
– Only one layer of paint
– HOT oven

Let’s get started and I’ll take you through step by step. If you know these steps it’s really an easy and fun craft!

Supplies:

  • Cheap ceramic mugs (the cheaper the better)
  • Oil-based Sharpie marker (NOT regular sharpies!)
  • Cotton balls and 1-2 Q-Tips
  • Rubbing alcohol
  • A pencil

Instructions:
Wash your mugs with soap and warm water. Dry completely. Then use a cotton pad or swab to clean your surface with rubbing alcohol. This will take any residual soap or other things off the surface and insure your paid will hold better. Let that dry too (takes like 2 seconds).

Use a pencil to sketch your design on each mug. There are some really cute ideas out there but you could make up your own, draw a picture, or whatever your heart desires. Once you are happy with your sketch, trace over it with your paint pen. It’s not an easy task drawing on a curved surface but that’s where the extra rubbing alcohol and Q-Tips come in! You’re going to mess up. Trust me. Probably like 5 times and if you’re a perfectionist like me, then probably like 50 times. Once you are happy with your design you have to let the paint dry.

I let my mugs air dry for a good 24 hours before I baked them and I think that is a crucial step, based on my first mishap. To bake, all you need to do is put your mugs on a cookie sheet and place in a COLD oven and turn the heat on to 425. You want the mugs to heat up with the oven to prevent cracking and allow it to seep into the glaze of the mugs. Once your oven is preheated, bake the mugs for 40 minutes. Once the 40 minutes is up, turn the oven off but leave the mugs in the oven with the door closed and allow them to cool completely. This will also help prevent cracking by avoiding fast temperature changes. After about 2 hours they were cool and I took them out.

As far as care for the mugs after they are complete, I’ve heard some people say they are fine in the dishwasher but I don’t risk it, I just wash them by hand and they still look as good as new! I’ve washed them probably about 20 times so far.

This is such a great simple and easy gift to make. The possibilities are literally endless. I want to make more but a girl can only use so many coffee mugs. But this is definitely on my list for Christmas time 🙂 Here are a few of my favorite ones I’ve seen and ones that I want to try and ones I just like!

Presentation1

*None of these pictures are my own

  Yay! Hope yours turn out perfect and fun. Stop back and show me some of your designs. I’d love to see them.

xoxo

669058772380712020613


* Update. Since doing this craft the colored paint has chipped off a bit, but the black is still perfect. I just went over the colored part again and baked and so far so good. Let me know if you have any tips to keep this from happening 🙂