
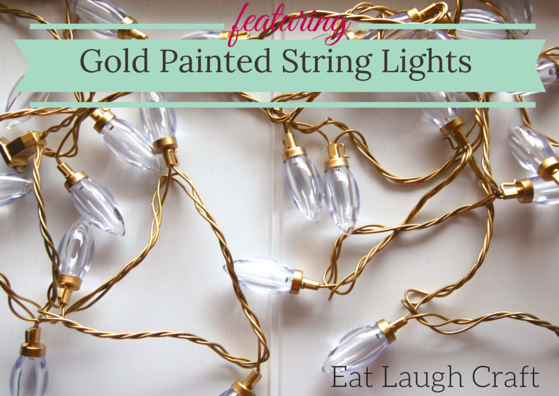
Gold Painted String Lights
 So remember that time I told you I had become obsessed with gold spray paint? Well….. I wasn’t kidding.
It pretty much all started because of the wedding. Our colors were green and gold and there were some items (like these) that I liked but wanted to have them be gold.
Enter liquid gold.
Then things got pretty serious and I was spray painting anything I could get my hands on. Napkin rings, rocks, vases,string lights…you name it!
I think I just saw an idea like this on Pinterest and decided I wanted to have some of the lights gold for my wedding. My mom found these knock off “cafe” lights on clearance the day after Christmas and snatched them up for me. I only did three strings of them but they turned out great for the wedding and I am also planning and looking forward to using these around the holidays! I’m a traditional green and gold type of girl so these will look amaze-balls around the house for Christmas!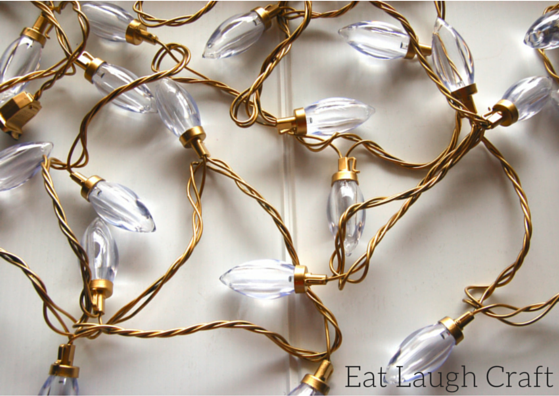 All you need is:
- Spray Paint (this is my favorite gold)
- Painters tape (or any tape I guess)
- String lights
- an open area to spray paint and cardboard boxes or something like this to paint in/over.
- This amazing tool (ok. you don’t NEED this but it will make it 100% easier and you get a really even coat)
Then you just:
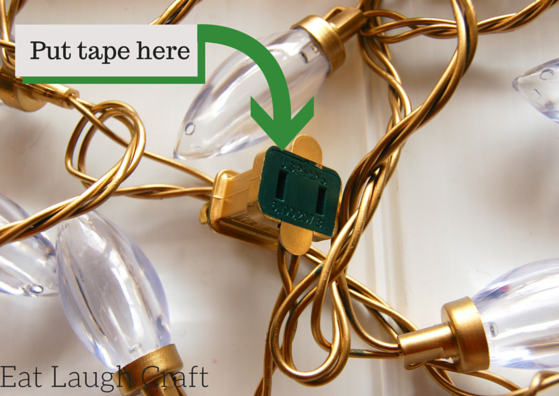
- Tape up the areas you DON’T want paint on . My bulbs unscrewed so I just took them all off and put a tiny piece of tape over the LED light and also taped the ends as shown below.
- Make sure you’re in well ventilated area and following these rules.

- Then just go to town! I did two full coats and then some touchups on some weird spots. It’s a little hard to not have fingerprints when you do the whole thing at once as you have to pick it up and move it and twist it and turn it. But the final 3rd spray down for just those spots will leave you with perfectly even paint.
So there you go! Beautiful makeover to make something cheap look fancy and sophisticated. Someone please remember to remind me to take a picture of these around my house at Christmas 🙂
Thank you so much for checking in! Hope you all have fabulous weekends.
xoxo


