Napkin Rings {Makeover}
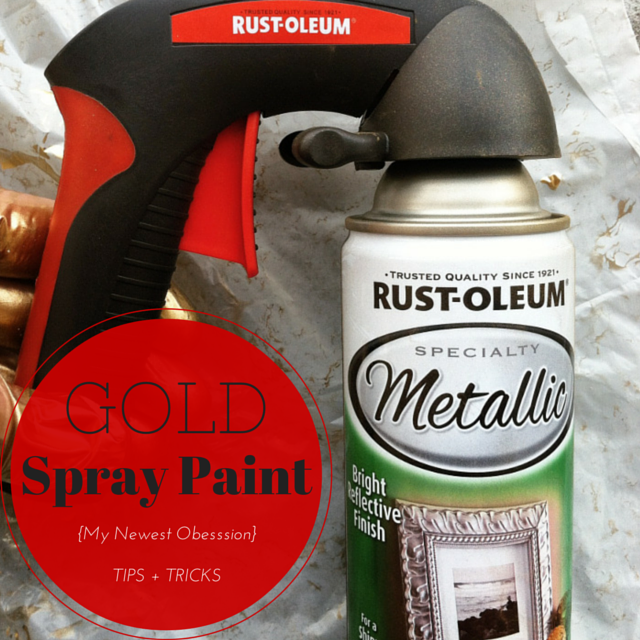
 Sooo last week’s post talked about how I went a little spray paint crazy. It all started by wanting to try to paint some string lights gold (for the wedding) call me crazy but I thought it would look awesome (it does). But to see those, you’ll have to tune in next week! 🙂 After spraying the lights and seeing how beautiful the gold paint went on and how glam it looked, I started rummaging around the house for other items to paint. Enter these napkin rings. Now you’re probably thinking “why do you have napkin rings” (I don’t know either) “do you really use napkin rings?” (like one time ever) – BUT they were my grandmas and while going through her stuff after she passed away, I came across these and thought they were rustic and cute and
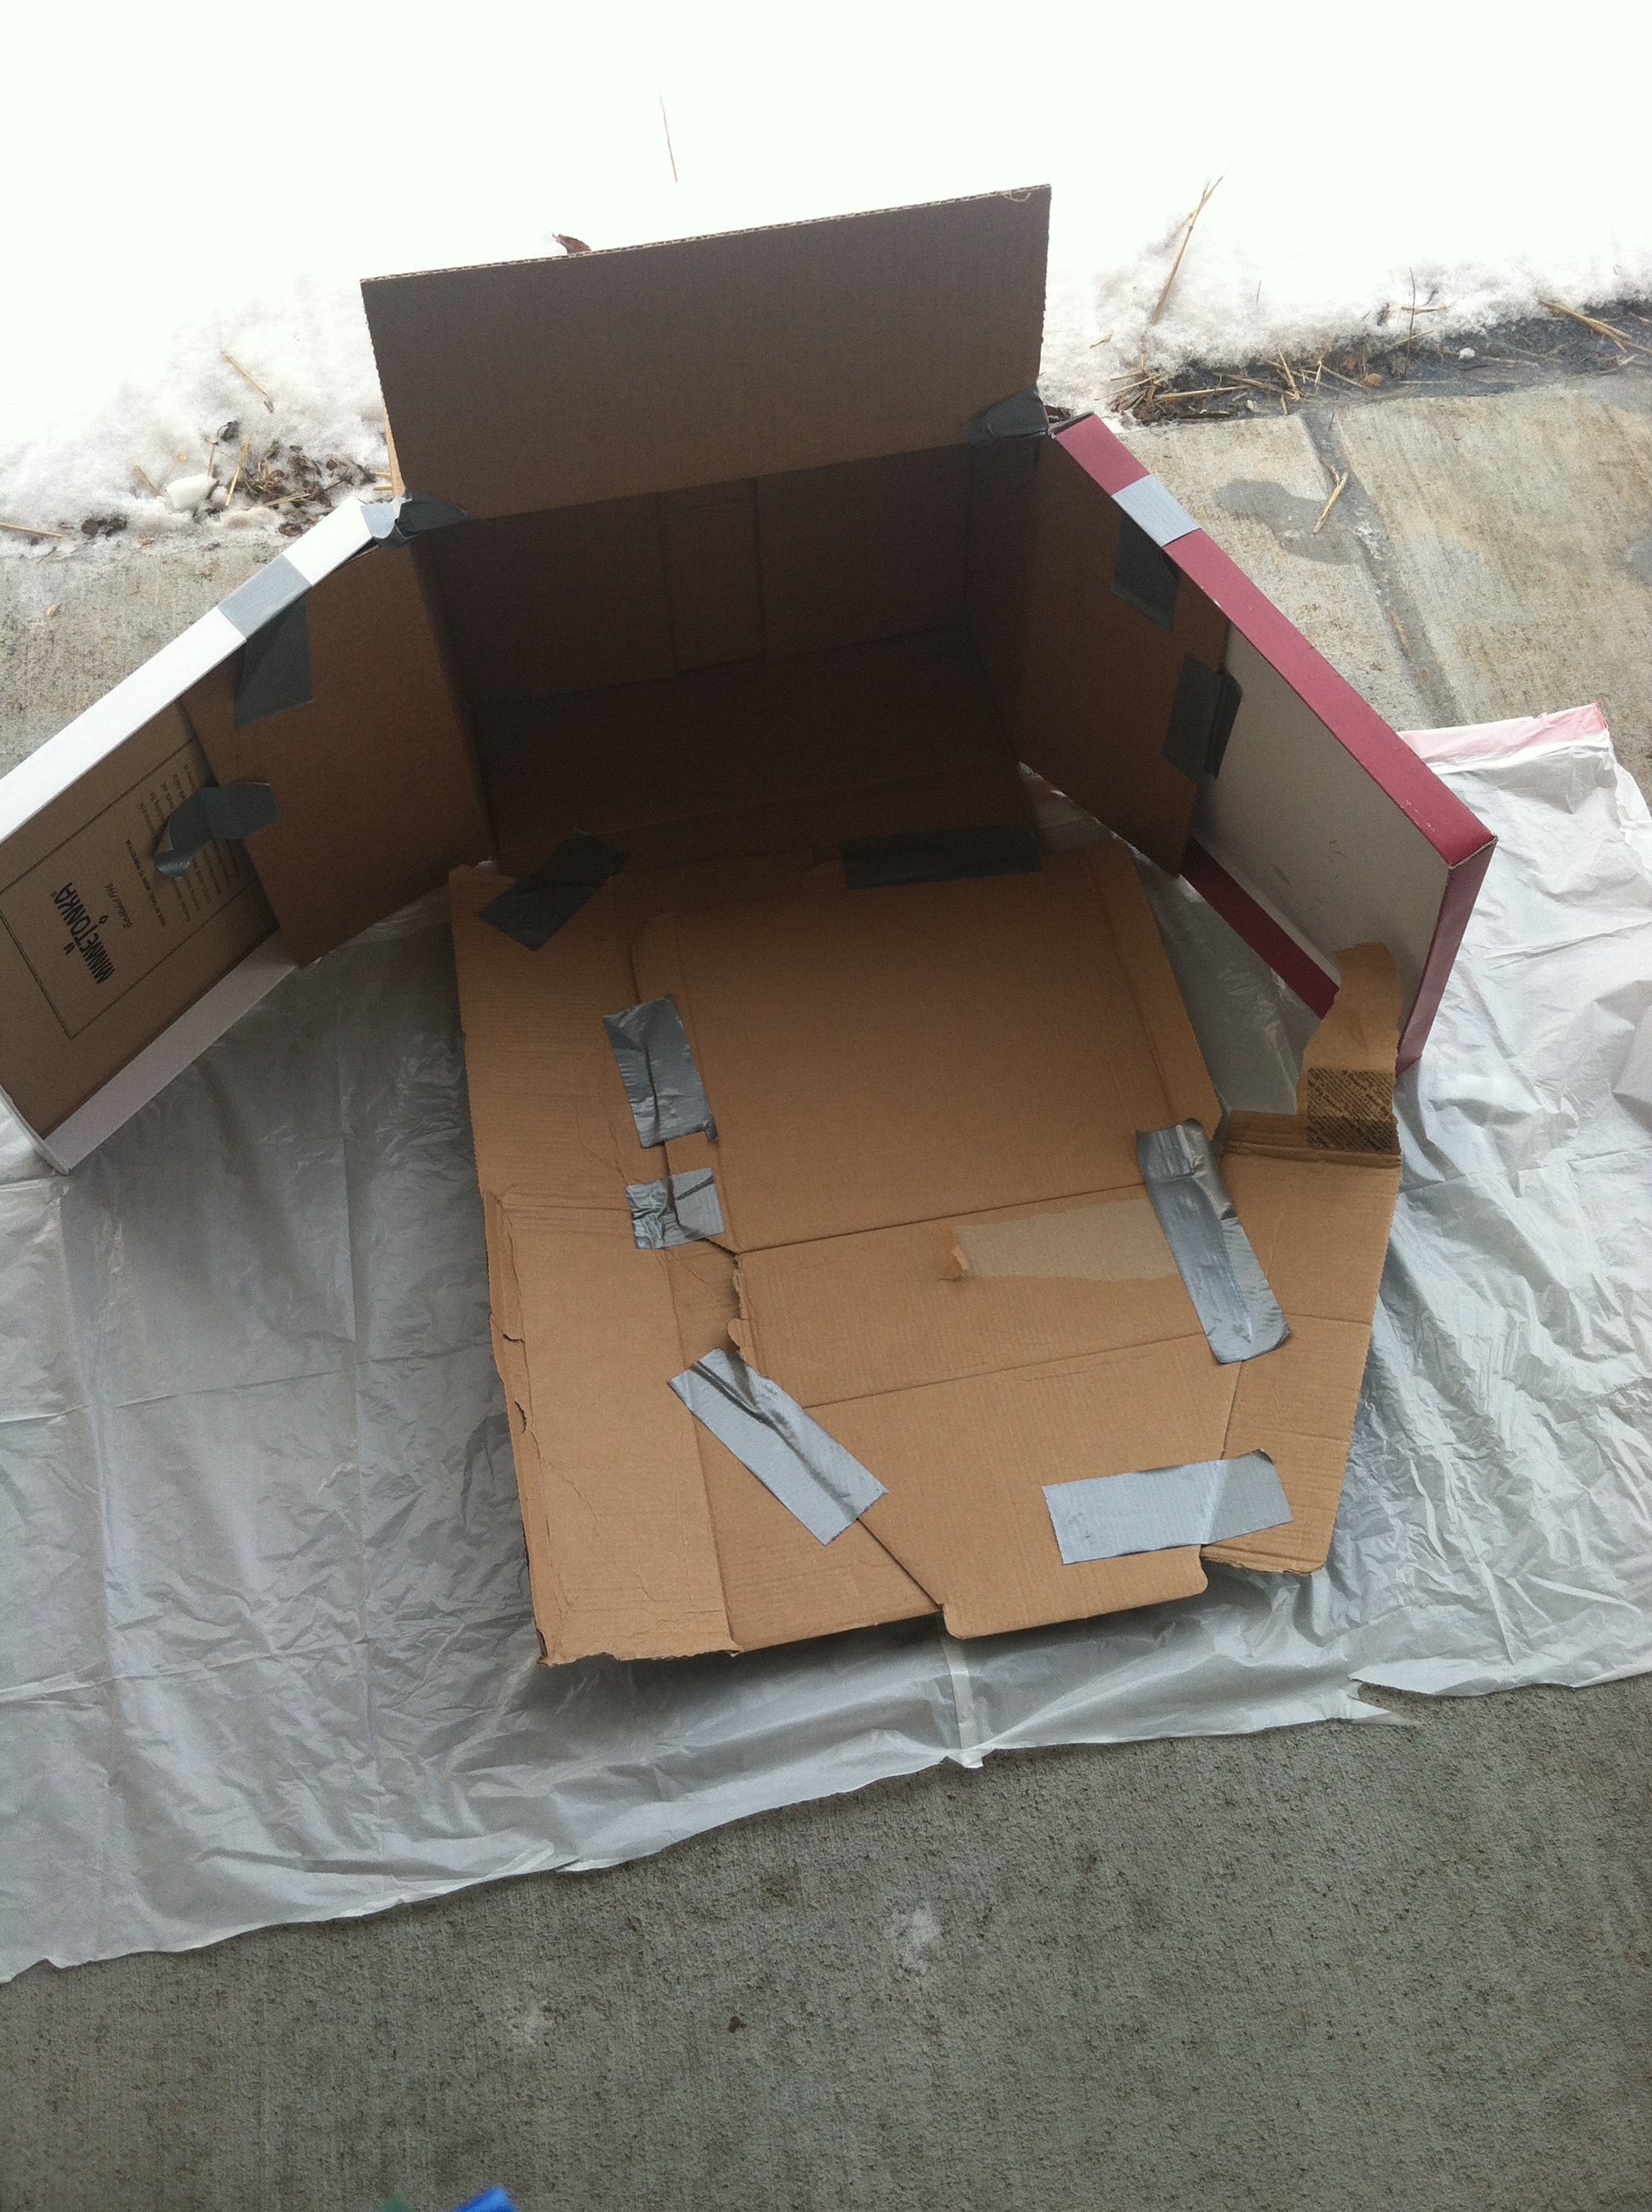
 when if I have a dinner party then I’d use them. Then I thought I’d glam them up a little bit, also my heart wouldn’t break if the grand idea didn’t work out anyway. So I taped them up: 
 Both the inside and outside. I couldn’t decide on a pattern so I thought it would look cute if I did a variety. It was a little difficult to adequately tape the inside because it’s a circle and it kept trying to lift in certain places but it ended up working pretty good. I used a Qtip in rubbing alcohol to clean up some minor “leaks” in the tape and surprisingly that worked really good.
  There are 7 rings total (used to be 8 but I broke one by shutting a drawer a little aggressively one day) so I ended up doing 3 that I taped two spots like this:
 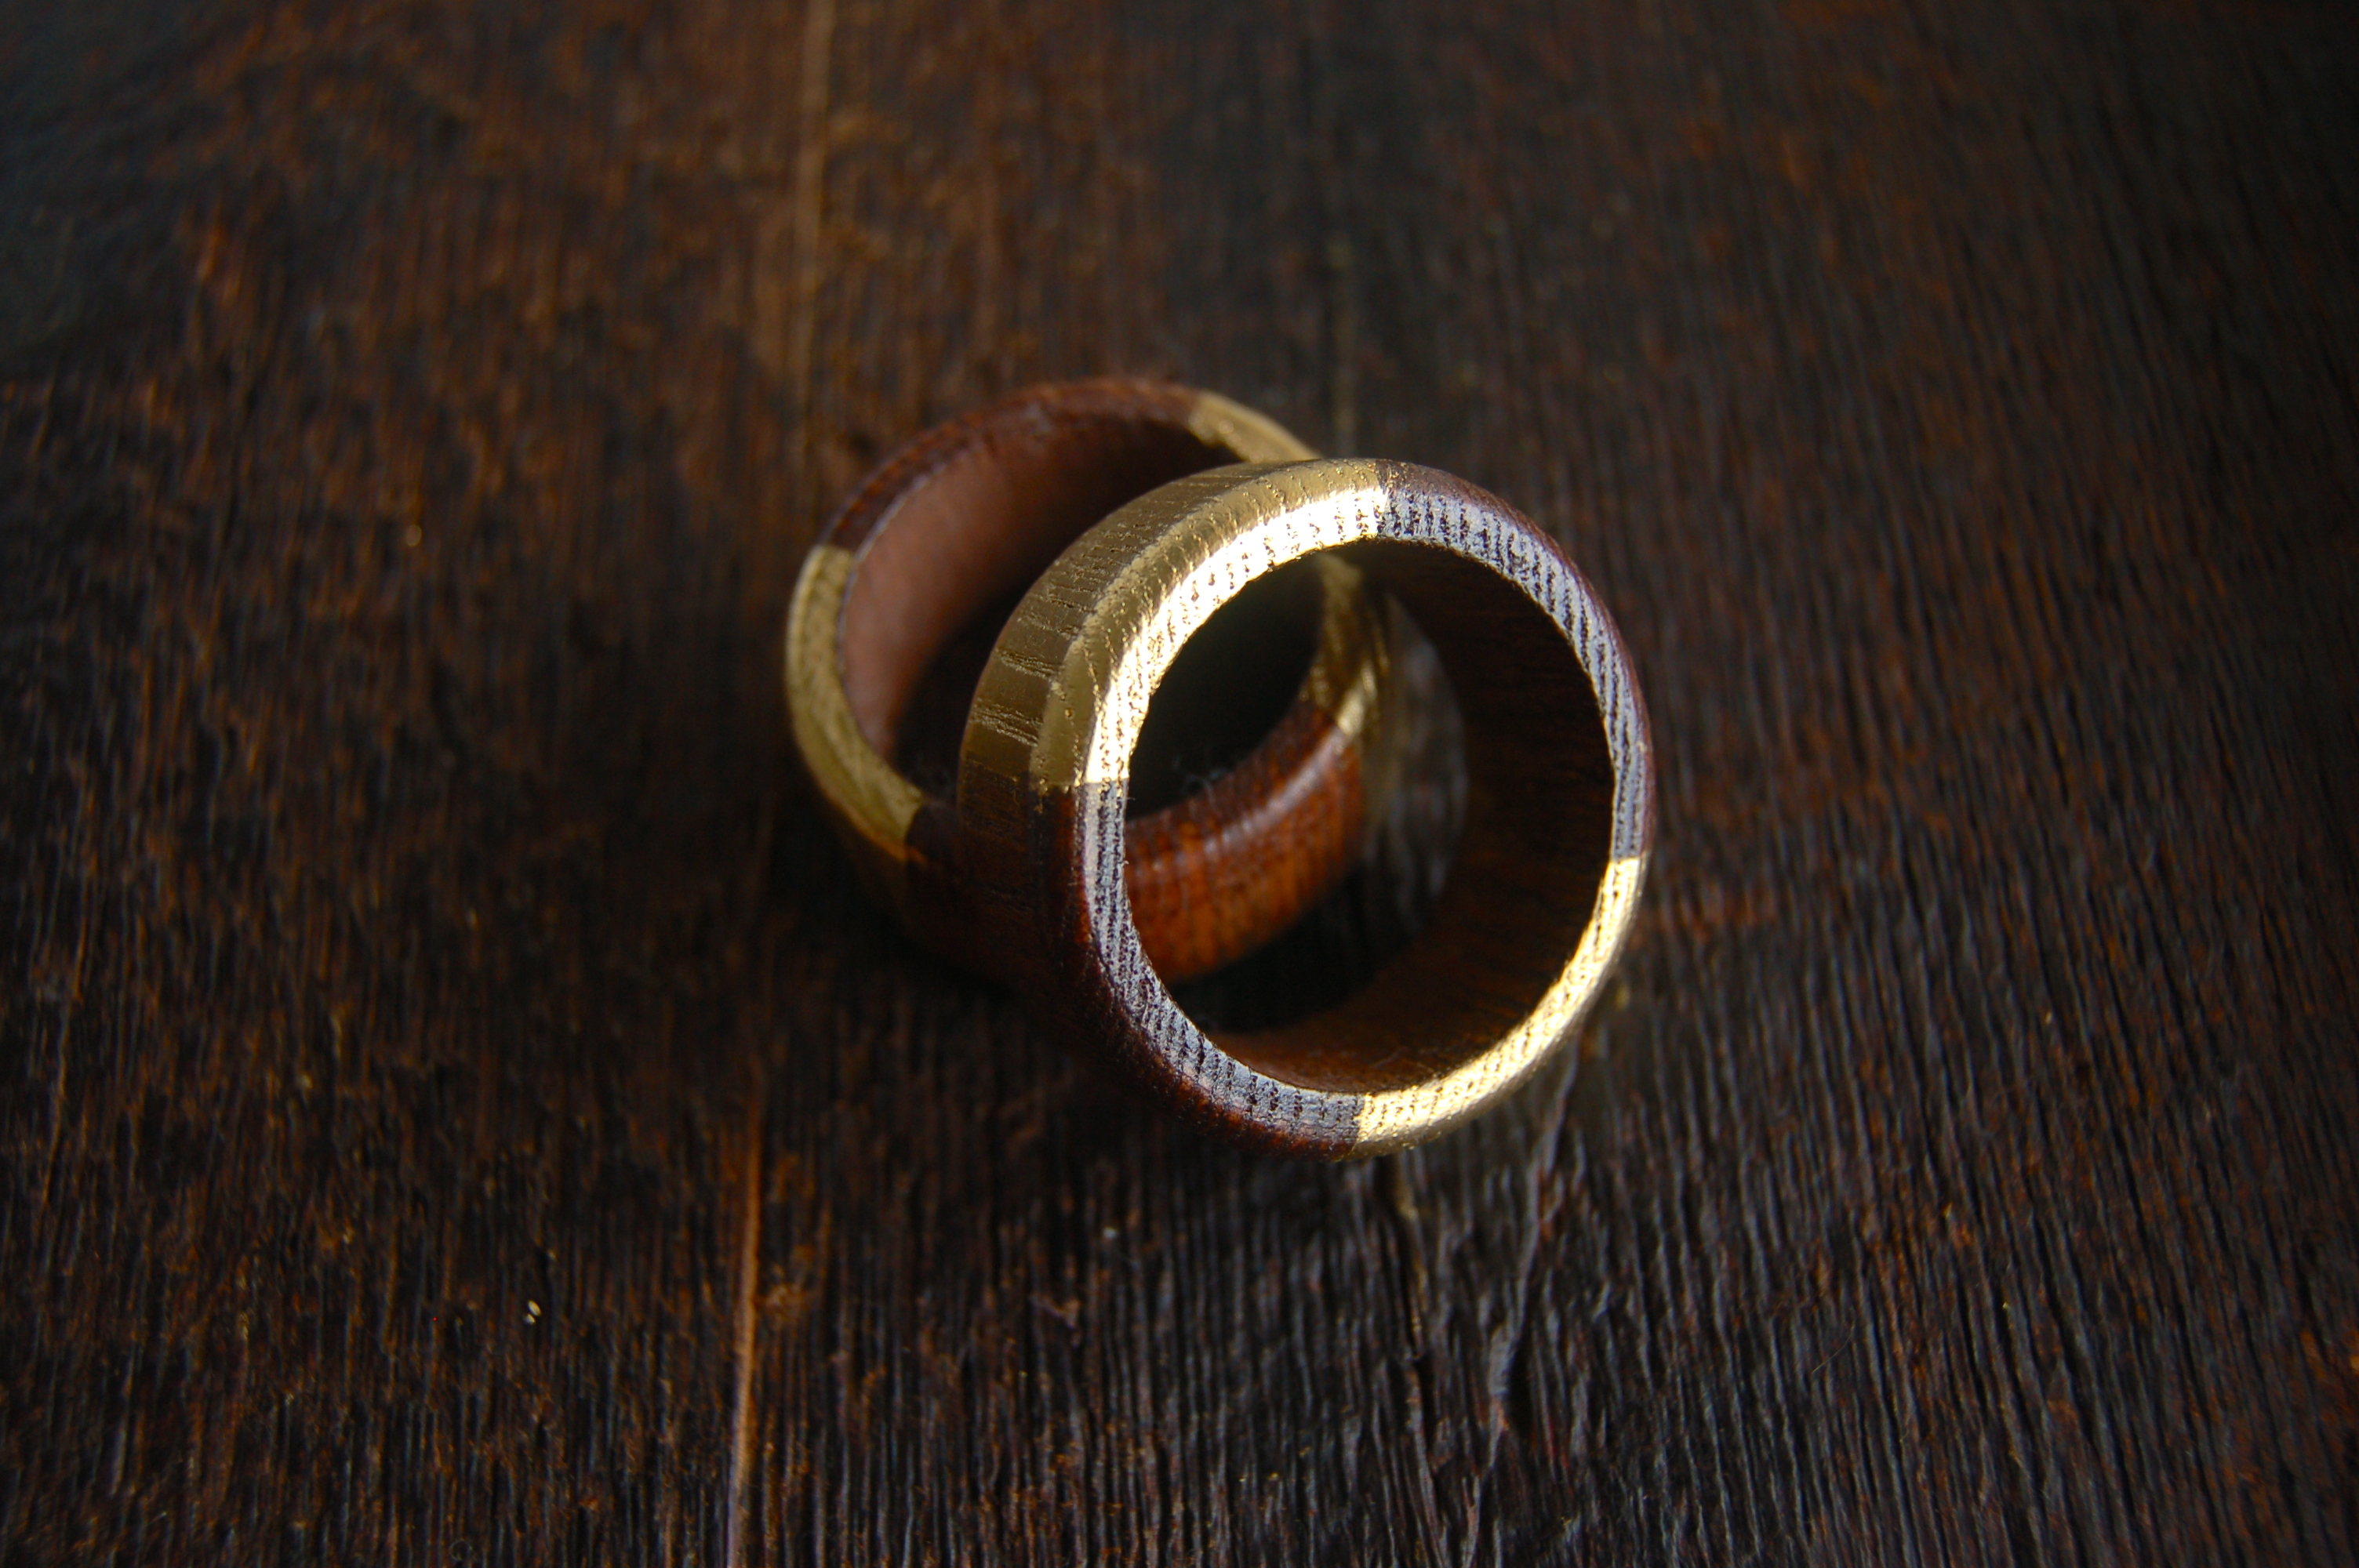 And then two of 4 spots like this:
  And two of 5 spots:
 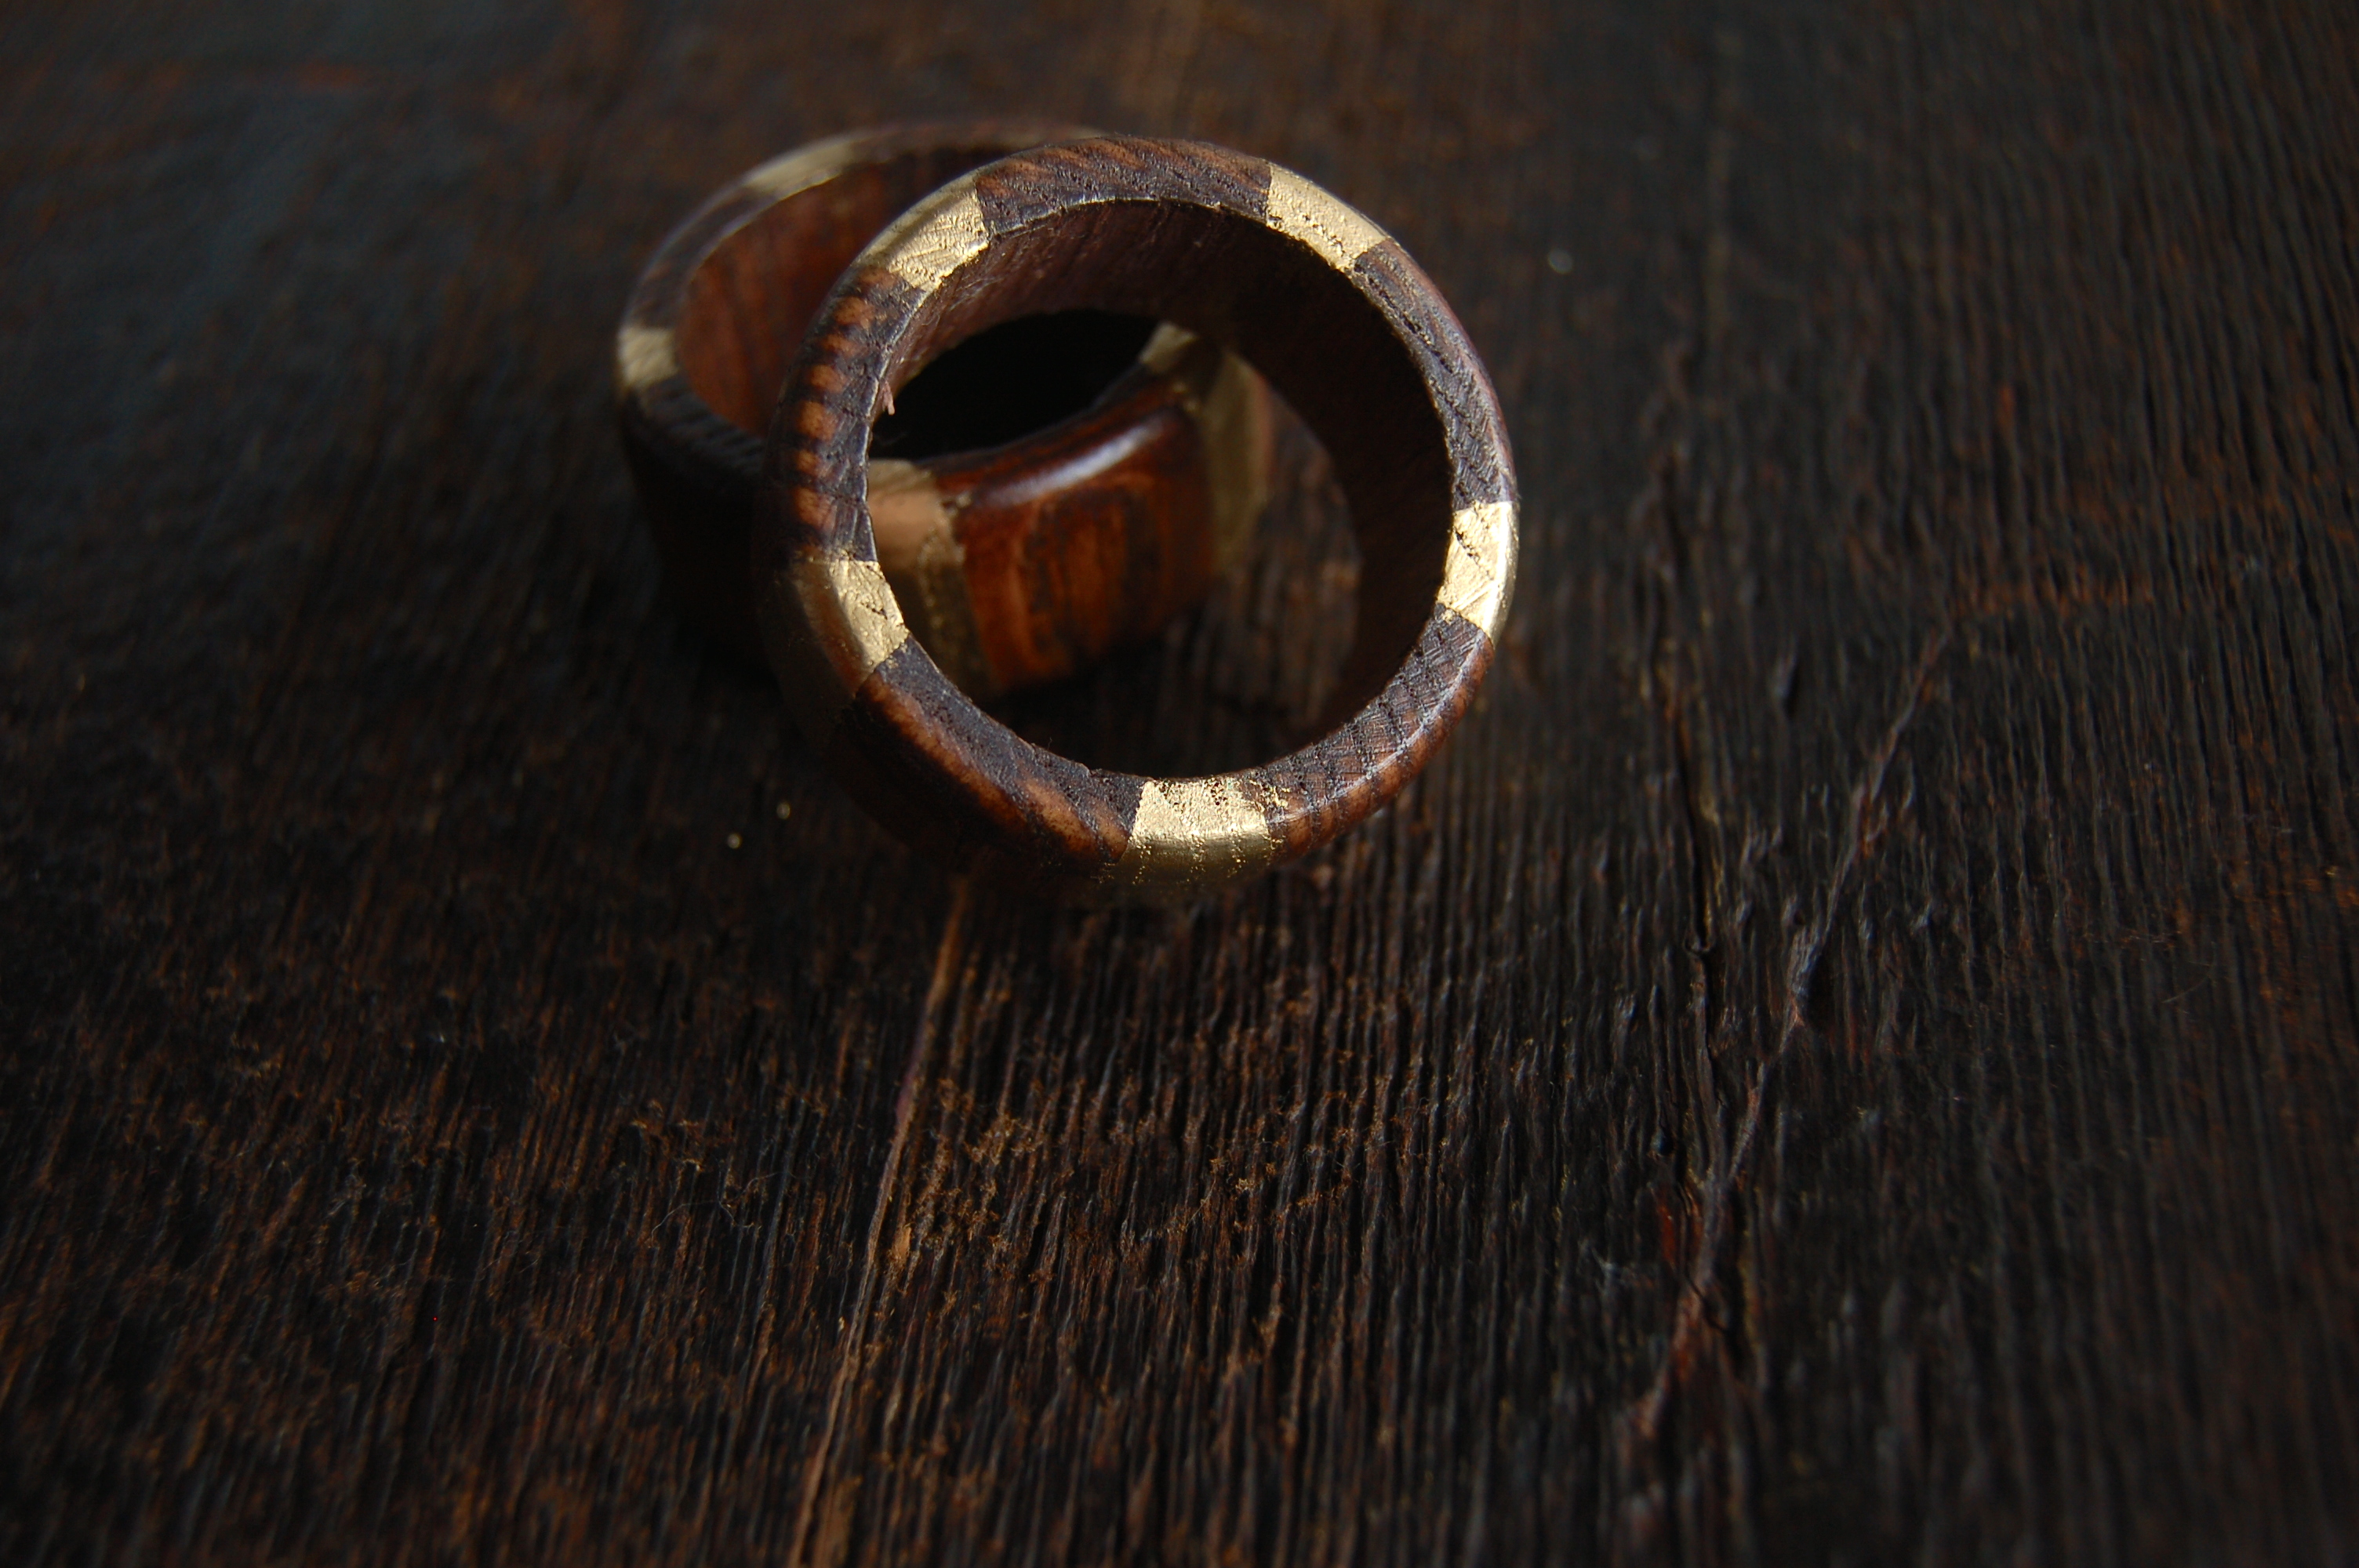 Honestly the one top one is my favorite (the two spots ones) and I half wish I would have done them all like that, but I also like the ones split in 4, the 5 is not my favorite. BUT I do like variety so I’m fine with it.
 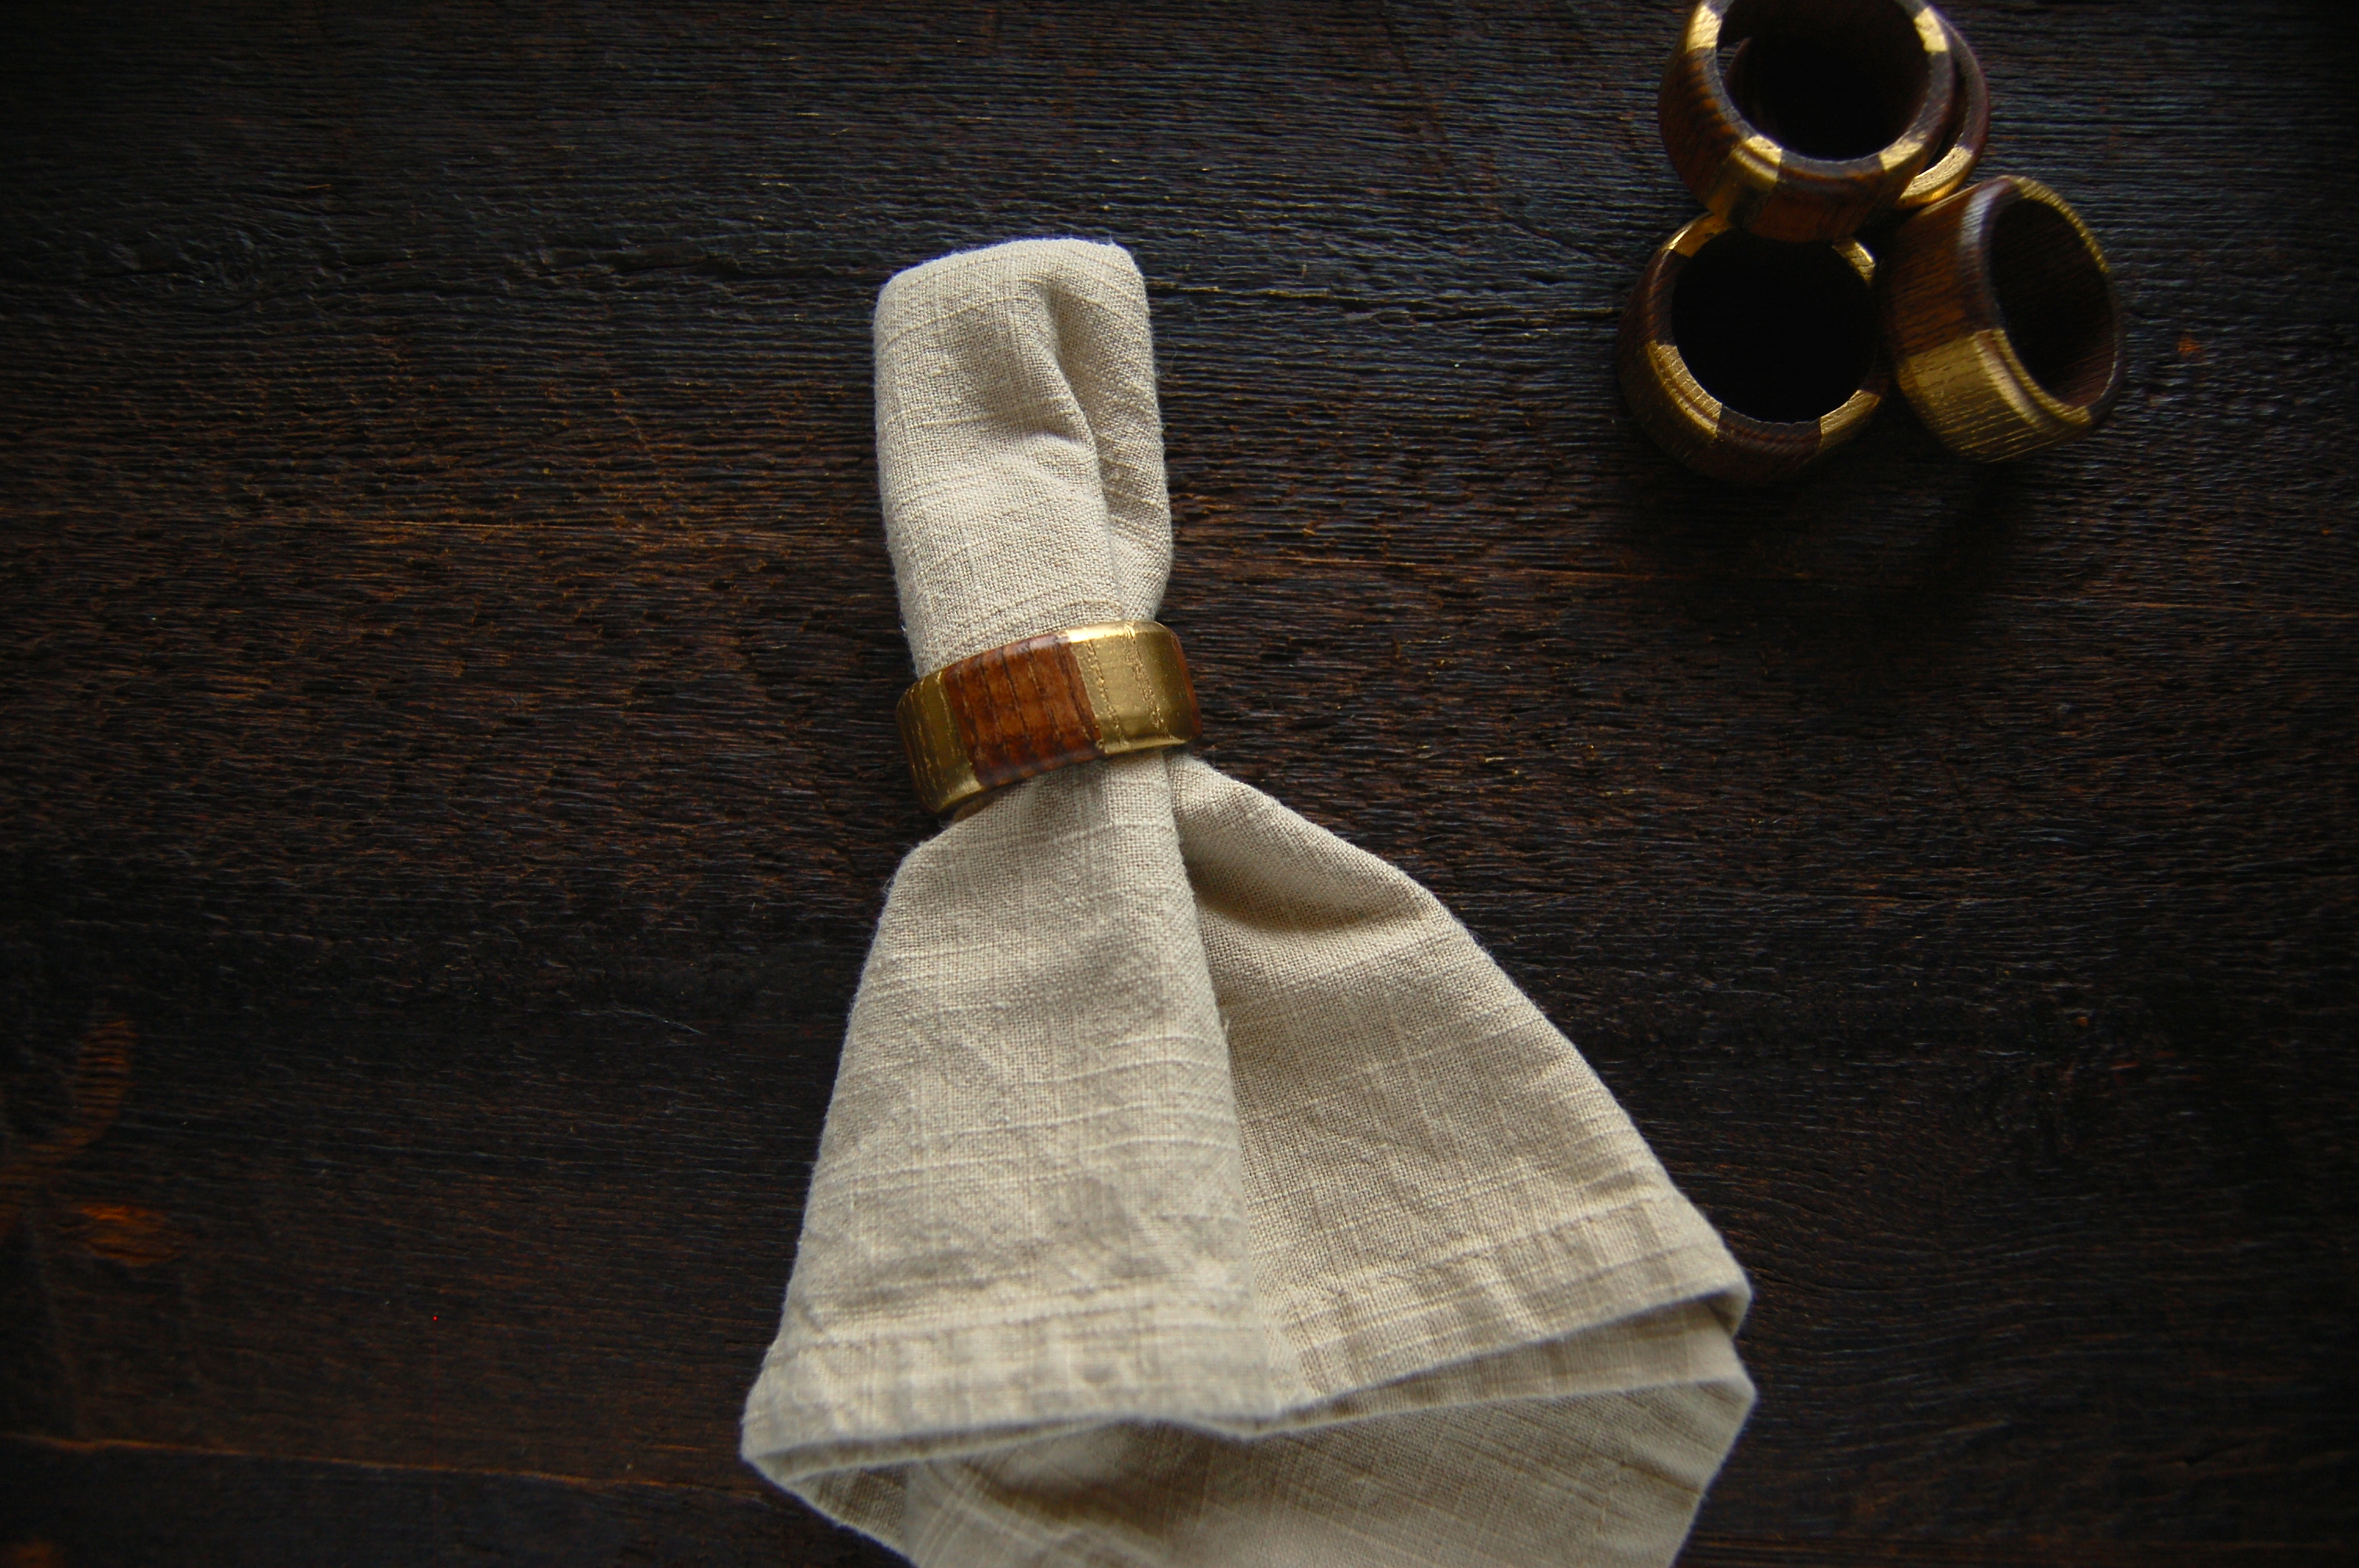 For other tips and tricks on spray painting see HERE. So what do you think?!? Cute? Lame? I’d love your thoughts! I’ll just be sitting over here waiting to use these babies for all my non existent dinner parties 🙂 HAPPY FRIDAY! Thanks for reading and checking out the blog. Have a great weekend!
xoxo