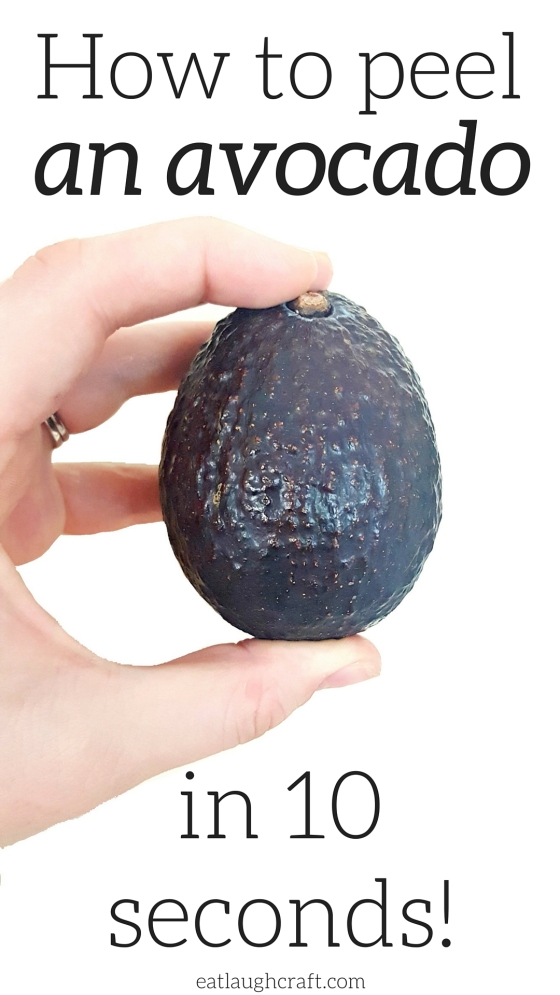
How to Peel an Avocado- Fast!
 Ok, so Avocados are everywhere right? Avocado toast…avocado pudding….avocado smoothies…avocado hair masks…. it’s crazy! But I love avocados so I don’t mind one bit.
Guacamole is one of my favorite things in the world and avocado toast is getting up there on my list of obsessions too.
The avocado itself is a wonderful little bundle of nutritional awesomeness! It’s technically a fruit and full of over 20 vitamins and nutrients. It’s high in Vitamin K, Potassium(more than bananas!) Vitamin C, Folate, and it’s also high in monounsaturated fat.
Monounsaturated fat are what people are talking about when they say “good” or “healthy” fats! They are proven to help reduce inflammation and there’s even positive correlation between then and cancer prevention! But one of my favorite things about avocados (and healthy fats in general) is that they’re nutrition boosters! They actually help us absorb the nutrients and vitamins that are in other foods.
Many vitamins and nutrients in our foods are fat soluble which means that they need to be combined with fat in order for our bodies to utilize them and even absorb any of their goodness! These include (but there are many more) vitamins A, D, E and K… along with antioxidants like carotenoids.
So for example if you have a delicious lettuce salad that is full of great vegetables but you top it with a fat free dressing or no dressing at all and just vinegar or lemon juice, many of those nutrients are just passing right through you and you aren’t getting any good stuff from them! Now lets say you add avocado to the salad or an olive oil vinegarette….TADA! You are now able to absorb those fat soluble nutrients and actually reap the benefits of the food you’re eating.
Many people are afraid of fat because they think that it will make them fat (as if that’s the worst thing that could happen to a person) but so so sooo many studies are out there to prove that that is simply not the case. It’s important to make sure you’re eating the right and ideal fats for your body. Stick to mono and poly saturated fats and leave the trans fats on the shelf 🙂
Ok so we can all agree that avocados are delicious and nutritious but what is the best way to prep and peel the damn things? Not that there’s necessarily a “bad” way because as long as you’re getting it into your mouth, how can it be bad? But I have a tried and true way, that is outrageously easy, that many people have said they haven’t seen before so I figured I should share it with the world.
Once you get the hang of it, you’ll wonder how you did it any other way ❤
 Let’s walk through each step.
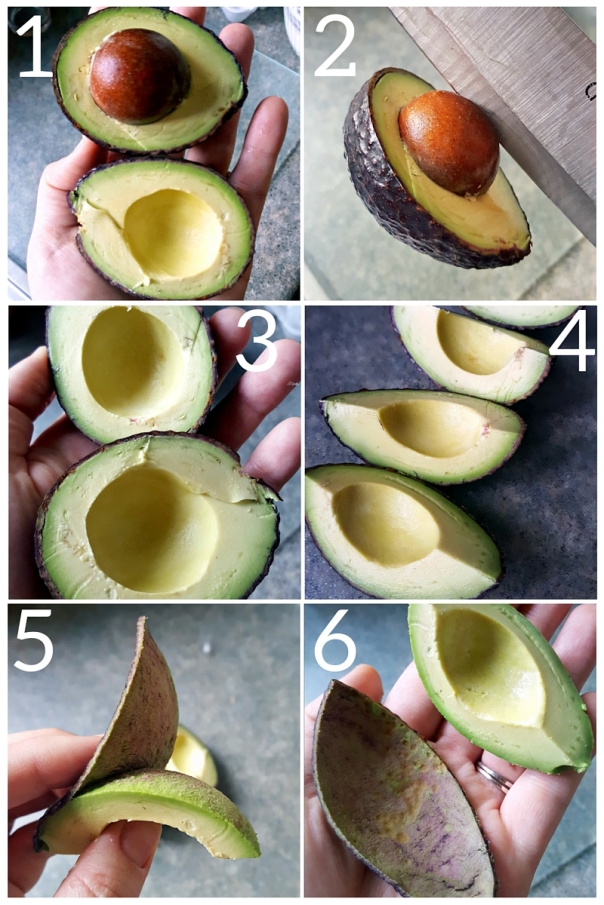
Step 1)
Cut the avocado in half just like you normally would. Use a sharp knife to slice the avocado. Roating the knife, carefully, around the pit using it as an axis then gently pull the two halves apart. The pit should be left in one half of your avocado.  Step 2)
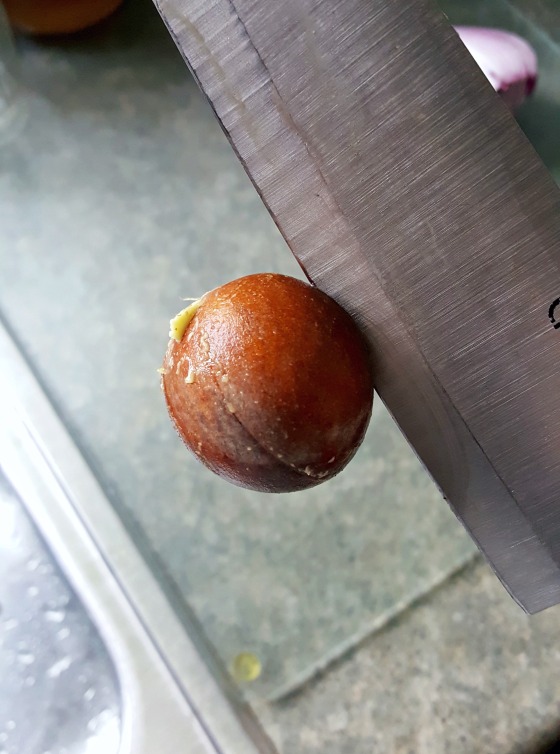
Gently tap your knife into the pit of the avocado(just enough so it “sticks” in a little bit). Rotate the knife and pit in one direction and the avocado flesh in another. The pit should loosen up and you should be able to lift it directly out of the flesh.  Just like this -> Now be careful pulling it off the knife! 🙂
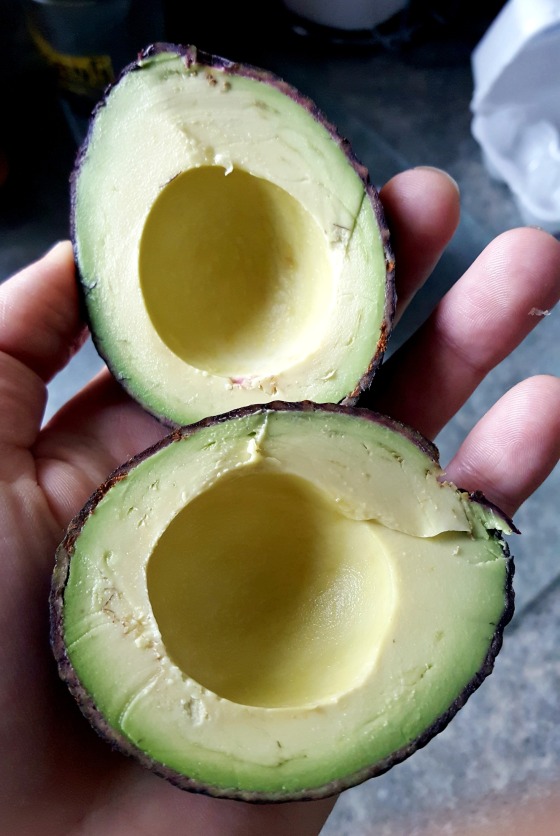
 And you should be left with two “pit free” halves of the avocado.
 Step 3)
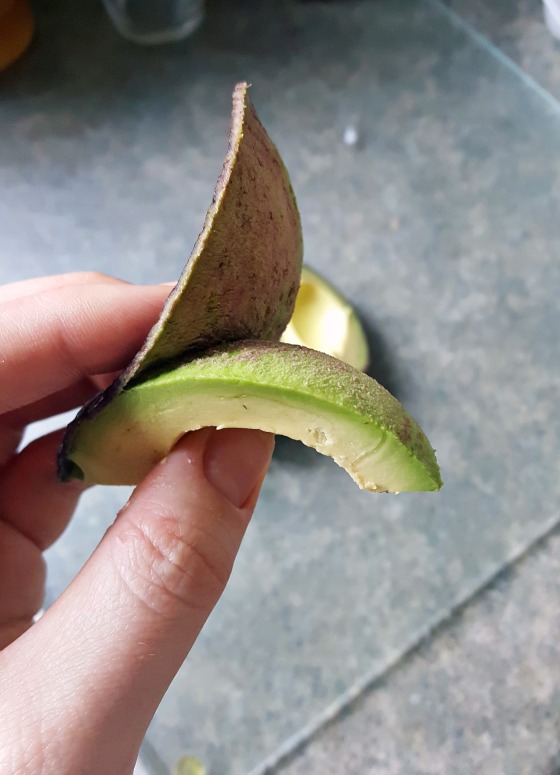
Next cut each half in half- so you are left with quarters. 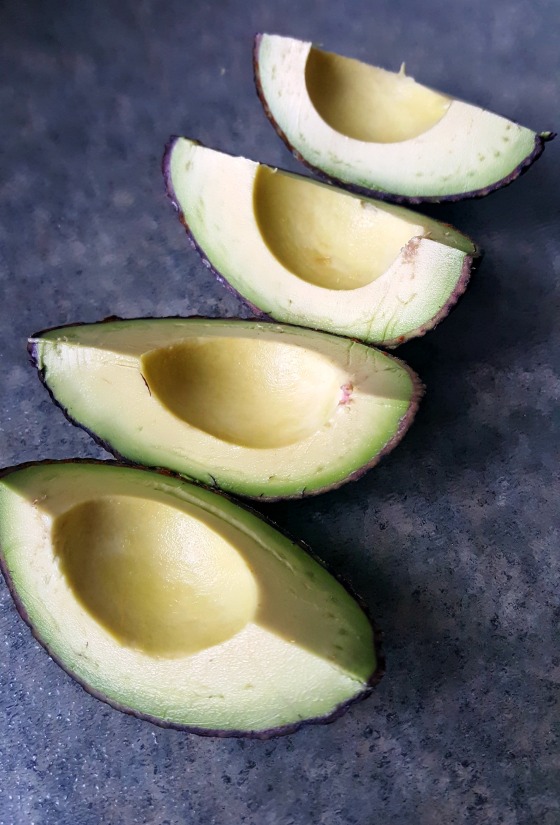 Step 6)
Now starting at one end (the skinnier of the two usually works better) pull the skin away from the avocado flesh. I should peel off nicely in one piece but if it’s still a little “green” (not ripe) it might come off in pieces. Just peel until it’s all off.
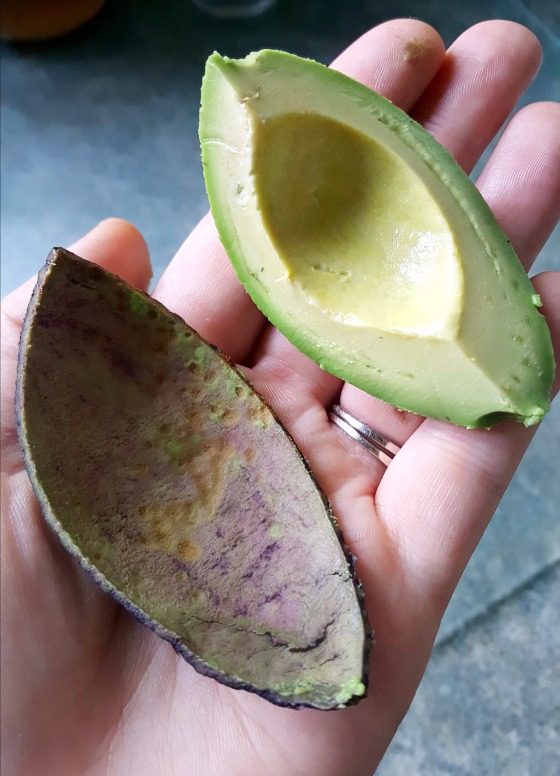
 And you’ll be left with a delicious, clean, skin free, hunk of avocado that you can chunk, smash, slice, blend…or do whatever you want to do with!
 See, so easy? Do any of you do it the same way? If not, how do you do it? I’d love to hear if you have a trick that works well too! 🙂
xoxo