Healthy Flourless Dark Chocolate Brownies {Gluten & Dairy Free}

Healthy Flourless Dark Chocolate Brownies

{Gluten & Dairy Free}

Healhty Brownie 3You know those annoying “ads” on Facebook that are so misleading? Like the picture of a banana with the title “10 foods that are slowly killing you”. Yeah, you totally know the ones. They’re a buzzkill. Sometimes I’m deceived and click on them and read the craziest things and always wonder…what are these sites that only have that stuff? Who’s making money from this? How is this a real thing? Who writes that stuff? Do people believe this stuff? I probably spend too much time thinking about it to be honest.

What does that have to do with brownies? Ummmm not much.

I think I saw one one time about being addicted to sugar and how sugar is the devil. Totally agree…sort of. Too people people eat too much sugar and sugar is unnecessarily added to so many things. While I struggle um, try really hard um, attempt to keep processed sugars to a minimum in our diet, natural sugars are fair game! Honey, syrup, all fruits, molasses, rapadura, yes please, sign me up.

Inappropriate side note: if you love black and sweet coffee,  honey in coffee is delicious.

Focus. Back to the brownies!  These puppies are made with beans and nuts  (last time made dessert with beans it turned out great too) cocao powder and sweetness from maple syrup. They’re too good to be true! But it is true. +Plus+ if you add chocolate or carob chips you gets extra special gooey spots, which lets face it, just make the world a better place. Healthy Brownie 9Healthy Grain Free Brownie Recipe100% disclosure here…. I’m having a hard time not making these every day and eating them and rationalizing it as healthy for me. So far only the one batch of them, but I can feel another one coming on. I mean c’mon you guys….like, how could you not?Healthy Brownie 11Healthy Brownie 8Healthy Brownie 4Healthy Brownie 7Healthy Brownie 5You’re hungry for them now, right? Make them. You’ll love them. *pinkey swear promise*

xoxo

669058772380712020613

Healthy Brownies Pinterest

Advertisement

Chocolate Dipped Espresso Shortbread

Chocolate Dipped Espresso Shortbread

1If you follow me on Instagram (if you don’t you should, here) you probably recognize these beauties from something a posted a few weeks ago. Inspiration at it’s finest. I couldn’t get these out of my head since I first laid eyes on them and had to re-create them for myself.3
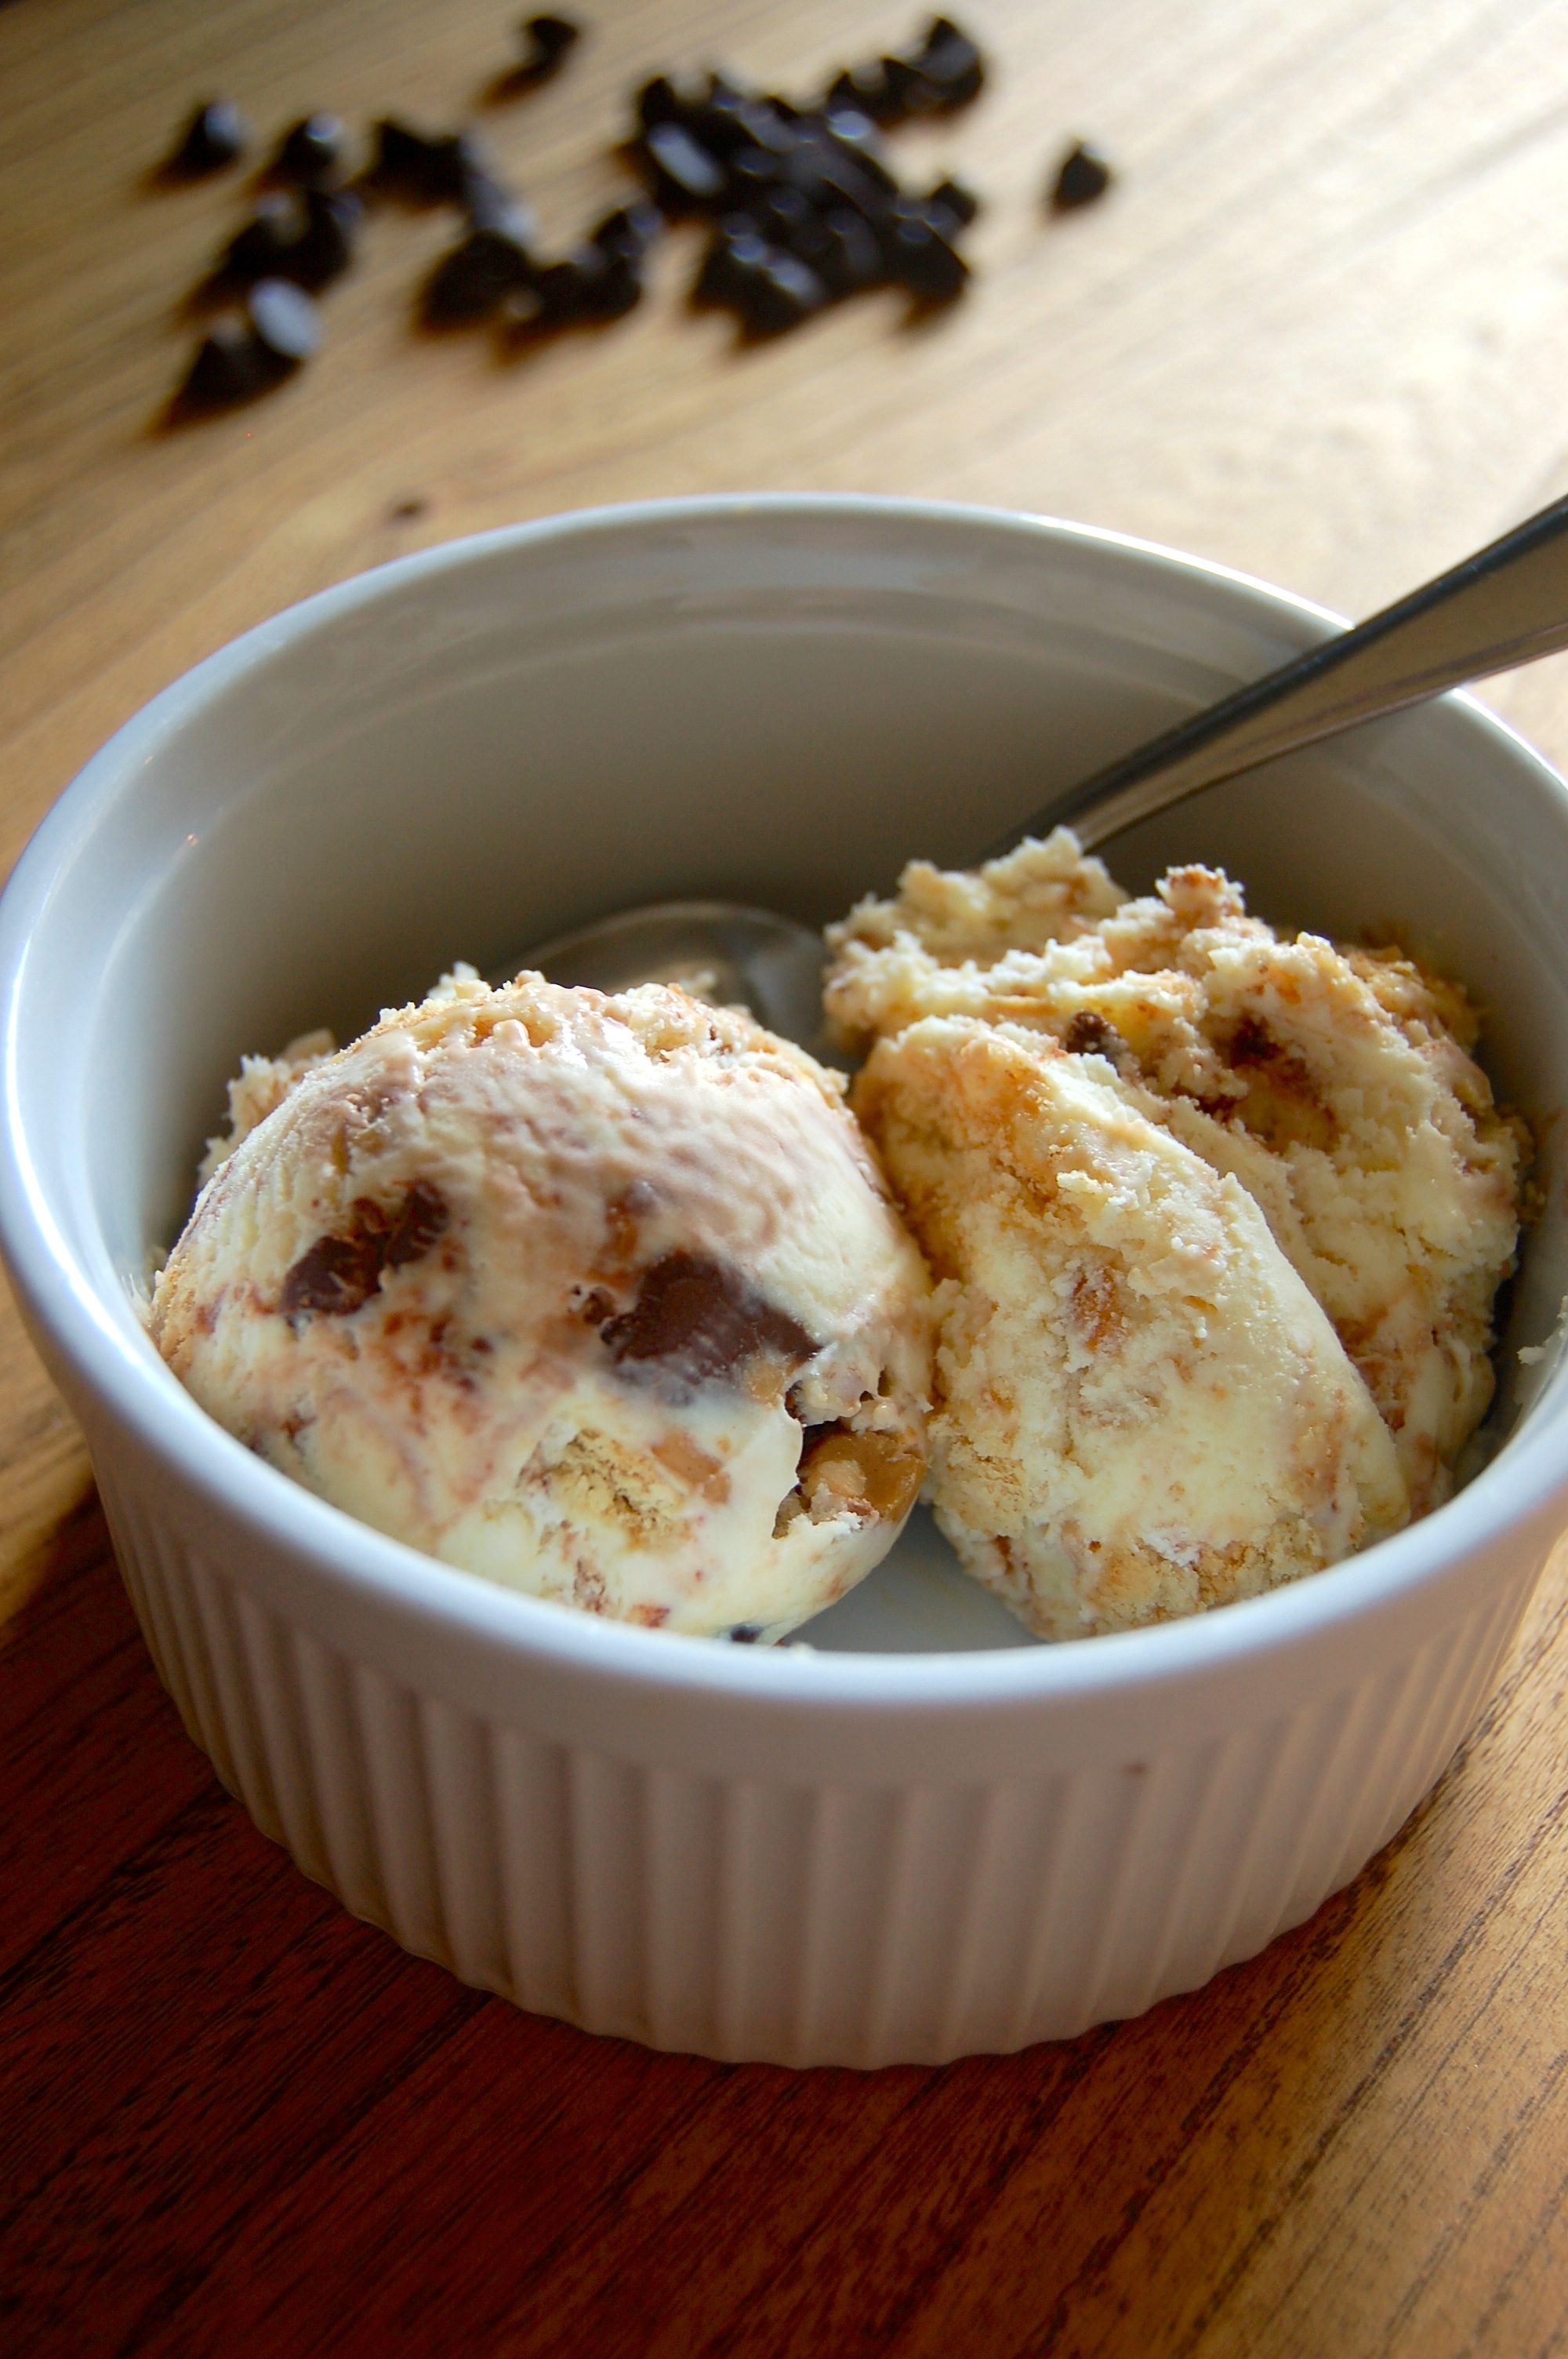
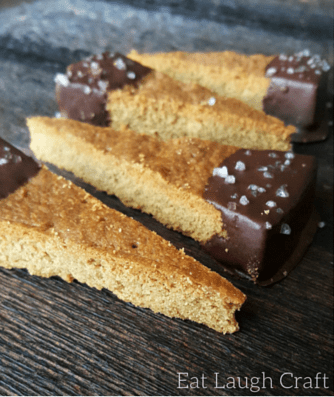
They were so good. I love coffee flavored things (coffee ice cream I’m looking at you) almost more than I love coffee itself. The espresso in this recipe gives it the perfect hint of coffee flavors mixed with buttery, salty, crunchy, goodness.
If you have a sweet tooth, I recommend giving these a try. They don’t make a ton of cookies so you won’t be tempted to eat more than your fair share (or if you ate them all it was only 8 (or however you cut them) 🙂 ALWAYSSUMMER (5)The inspiration used sugar on the chocolate rim, but I love sweet and salty mixes so I sprinkled mine with salt instead. It was sooooooooooooooooooo damn good. 4I couldn’t make up my mind between sizes so I cut my round into 8ths and then I cut half of them in half again. That’s why you see multiple sizes2They were the perfect little sweet treat for the end of a day or the cutest little snack to have with your morning coffee!
This weekend we are off to see my “little” brother in his musical in high school! Time flies, srlslyyyyy. But it will be nice to relax and recharge a little bit in the country. Have a fun and safe weekend!

xoxo669058772380712020613

Roasted Brussels Sprouts & Butternut Squash (2)

White Chocolate Fall Bark

White Chocolate Fall Bark

IMG_2044

Hellllloooo!

I’ve had major writers block lately and little inspiration for new blog post ideas. Sometimes I am just IN. THE.ZONE. and I’ll write up like 5 blog posts in a day. My little dirty secret is that I’ll store them as drafts to be used later on. It’s hard work to write posts every week! Don’t get me wrong I love every minute of working on my blog and creating things to share with you all but I might not have made every recipe that you see in the week it was posted. Take for instance this post you’re reading right now and the recipe below, this was something that I made 2 YEARS AGO! Yes. Two+ years. Hence the crappy iPhone photo making a return. But this was just something that I had drafted a while ago and never got around to posting it. Most drafts I only hold onto before posting for a week or so, sometimes a month. This is definitely the longest standing item in the draft box of Eat Laugh Craft and it feel so good to finally share it 🙂 haha.

This is a really fun recipe too. Perfect to have kids help you make as it’s pretty much a free for all. It’s a perfect fall snack or treat that looks great to bring to a party. You could add or take out anything that you wanted (like if you cant have nuts at your kids school or something like that). Hope you enjoy and HAPPY FALL!!!!!

White Chocolate Fall Bark

Ingredients

  • 1/2  pound white chocolate (chips,coating,big ole’ block of it etc…)
  • 1  cup pretzels(I broke mine into pieces but you don’t have to)
  • 1/2  cup  candy corn
  • 1/2 cup of walnuts broken into small pieces
  • 1/3  cup  dried cranberries

Directions

  1. Line an 8-inch square baking pan with parchment, leaving an overhang on 2 of the sides.
  2. Heat the chocolate in a double boiler (or in the microwave at 50% power for 1 minute increments until desired consistency) until melted and smooth.
  3. Spread the chocolate in the prepared pan and sprinkle with the pretzels, candy corn, and dried cranberries.( I sort of carefully pressed all of the ingredients into the chocolate so they were ‘stuck’. Chill in fridge or freezer until firm, about 1 hour.
  4. Remove the bark from the pan and break into pieces & EAT!

How cute and fun is this, right?! Thanks for stopping by!

xoxo

669058772380712020613

Homemade Ice Cream

Homemade Ice Cream

(No Machine!)

EDIT OF DSC_8164

Heyoooo! Happy Friday!

So I love ice cream- but it doesn’t love me or my intestinal tract. If you catch my drift……. so it’s definitely a once in a while treat. And Custard it pretty much a no go. Butttt I came across this recipe for home made ice cream with no machine needed?!? whaaaat? of course I needed to try that. And I’m so glad that I did. This is virtually limitless with possibilities I you could put so many different flavors into this!! My favorite ice cream of all time is Chunky Monkey by Ben and Jerry’s. TO. DIE. FOR.  This sort of reminded me of it but even better since it contains peanut butter 🙂 I can’t wait to come up with the next concoction for this recipe.

I couldn’t believe how much like regular real ice cream this was! Jake literally didn’t believe me that I made it. You need to give this a try and let me know what you think! Also please share your flavor ideas with me in the comments below! Here are some of my original thoughts:

  • Cookie Dough with caramel swirl
  • Coffee Ice cream with chunks of chocolate truffle
  • Peanut Butter Caramel Pretzel
  • Brown Sugar & Brandy
  • Strawberry Rhubarb Crisp
  • Pumpkin Pie
  • Creme Brulee
  • Cannoli

Clearly you can tell it’s taking a LOT of self control to have only made this recipe once. Take peek and let me know what you think!

Banana Pudding Ice Cream with Peanut Butter and Chocolate Fudge Swirls

Ingredients:

1 can (14 oz) sweetened condensed milk
1 pkg (3.4 oz) banana cream instant pudding mix
1 banana, sliced
2 graham crackers, broken into small pieces
2 cups (1 pint) heavy cream
1/2 cup peanut butter
1/2 cup hot fudge ice cream topping

Instructions:

1. Put peanut butter into a bowl, and place in the freezer for about 30 minutes to firm up. Meanwhile, whisk pudding mix into sweetened condensed milk. Stir in sliced banana and graham cracker pieces.

2. In a large bowl beat heavy cream until it resembles whipped cream(you may need an electric or stand mixer for this). Fold the whipped cream into the sweetened condensed milk mixture. Retrieve peanut butter from the freezer and pinch off teaspoon-sized dollops and drop into the ice cream. Next squeeze teaspoon-sized dollops of room temperature hot fudge topping into the ice cream. Gently fold it all together.

3. Store in a two-quart container and freeze overnight. Serve the next day, topped with whatever your little heart desires!

Here is a picture of it in it’s container ready for the freezer!!

EDIT OF DSC_8145


Thanks for checking out eat laugh craft. Don’t forget to check out our Facebook page, Twitter page, and find us on Pinterest! (Links on Contact page)

xoxo

669058772380712020613

Malted Milk Ball Creme Brulee

Malted Milk Ball Creme Brulee

EDIT of DSC_8379JPG

Hi All!

I can’t believe that today is AUGUST 1ST! I mean I love August as it’s my birthday month ❤  🙂 but holy crap! Summer flew by.

So today I wanted to share a seriously delicious (although not quite what I’d call low fat/healthy) special dessert. Who doesn’t love a good creme brulee? Actually I’m sure there are plenty of people who don’t. Buttttt from time to time it is a great treat. And of course who doesn’t love to use a mini blow torch in the kitchen 🙂 Seriously it makes you feel like a bad assssss.

These require a little bit of work and are pretty rich but they are great and an impressive dessert for a special occasion!

Ingredients: 

  • 2 cups heavy cream (you must use heavy cream)
  • 2 1/2 ounces milk (or dark if you prefer) chocolate, chopped
  • 2 tablespoons malted-milk powder
  • 4 large egg yolks
  • 1/4 cup plus 4 teaspoons sugar
  • Salt

Instructions:

  1. Preheat oven to 300 degrees. Bring cream to a simmer in a small saucepan over medium-high heat. Add chocolate and malted-milk powder; stir until chocolate melts and powder dissolves. Whisk together yolks, 1/4 cup sugar, and a pinch of salt.

  2. Whisk hot cream mixture into yolk mixture. Strain into a large measuring cup.

  3. Arrange four 6-ounce ramekins in a roasting pan. Divide custard evenly among ramekins, leaving 1/4 inch at the top.

  4. Place roasting pan in oven, and fill halfway with boiling water. Bake until custards are set, 60 to 70 minutes. Remove from oven and from water bath. Let cool. Refrigerate until cooled, about 2 hours.

  5. Sprinkle 1/2 teaspoon sugar onto each custard. Hold a small handheld kitchen torch(like this one) at a 90-degree angle 3 to 4 inches from surface of each custard, and move flame back and forth until sugar caramelizes and is deep golden brown, or you can broil until sugar caramelizes.

  6. The plain baked custards(no caramelized sugar) can be refrigerated for up to 2 days. Just take out of the fridge and follow step 5 to caramelize tops just before serving.

EDIT of DSC_8383

How freaking fun is that, right?!? It’s fun to do, fun to eat, and fun to look at too! This is more work than my average posted recipe but I hope you give it a try and come back to let me know how yours turned out!

Thanks for stopping by the blog!

xoxo

669058772380712020613