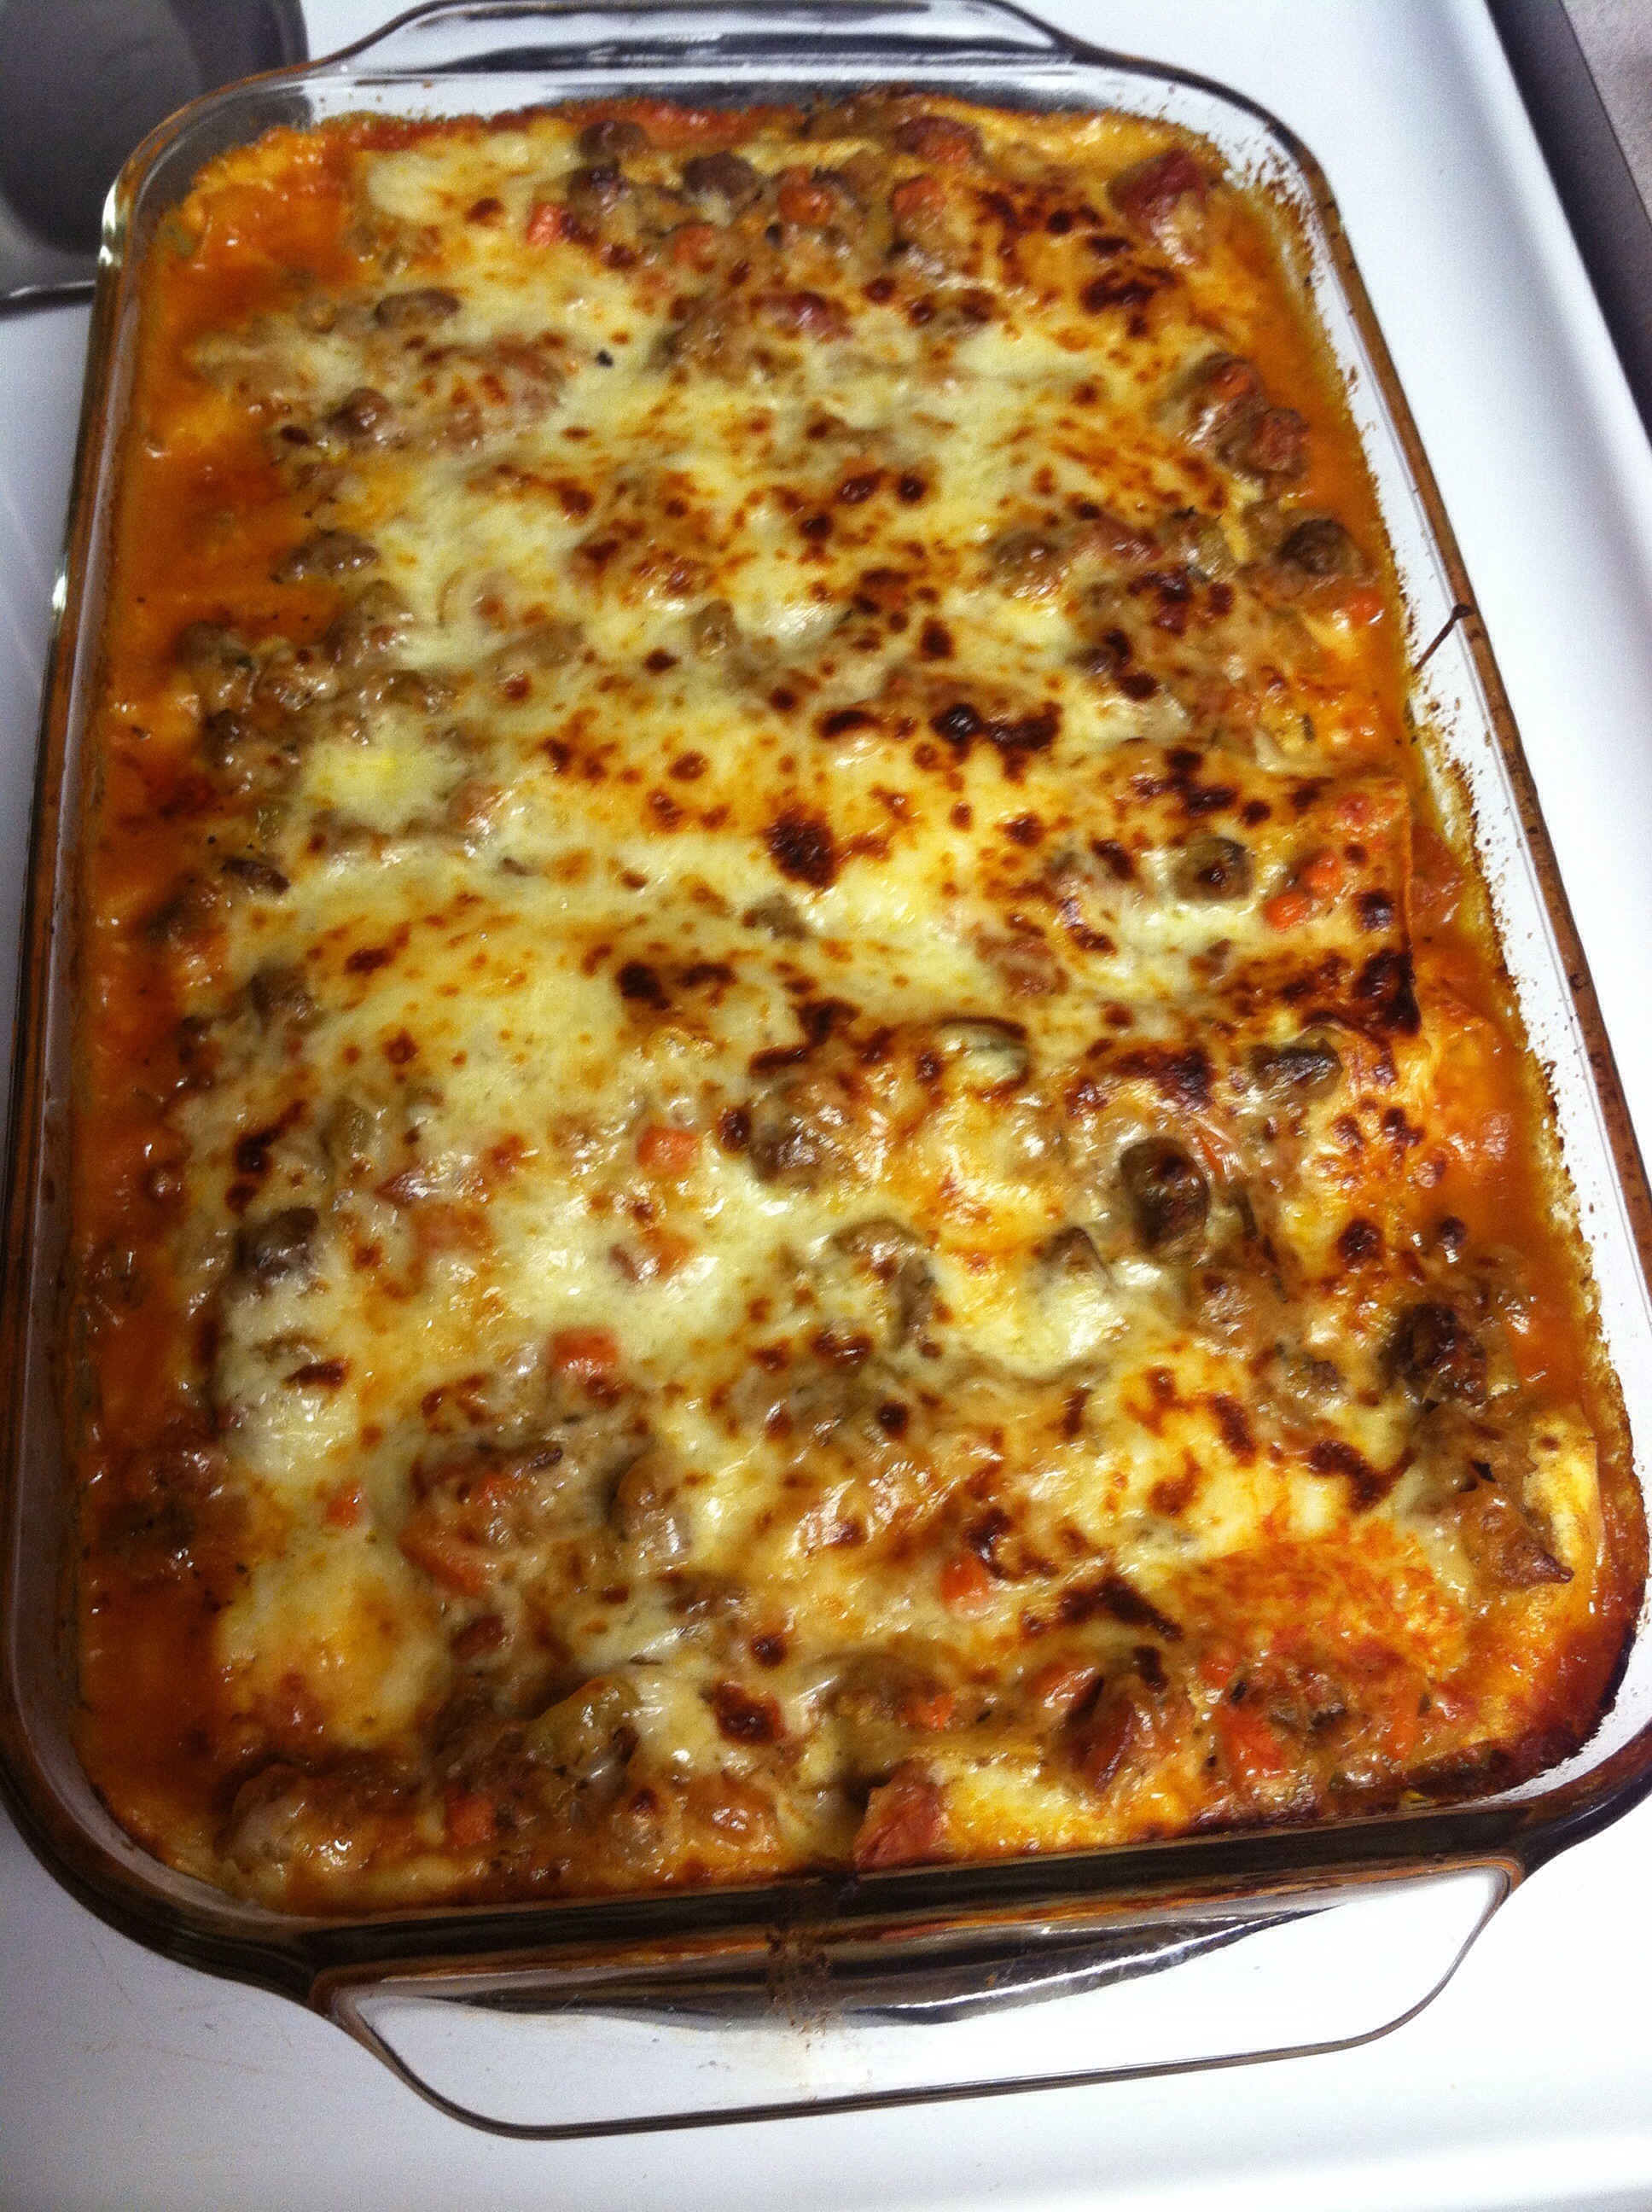
Mediterranean Mac & Cheese

Hello! So I started a thing where every week I’ll ask Jake to look at my food Pinterest board and pick a recipe for me to make during the week. I just get so sick of allllllwwaayyys picking what we eat and when I ask Jake he says ” um, I don’t know. Anything.” I mean doesn’t he browse blogs all day long and have a million recipes just floating around in his head? No? Ok then he needs a little inspiration 🙂 This was one that he picked. Clearly didn’t read anything about it since it contains olives which he ‘thinks’ are the spawn of satan but I adapted and only added those to my plate. Honestly this doesn’t have a TON of cheese in it, really you are creating a yummy creamy sauce from the flour and milk- which sort of makes you think it’s all cheese but it’s not too crazy. You can totally adapt and remove items you don’t like or add ones you like better. Enjoy!!!
Ingredients
- 1 big (14.5 oz) can fire roasted, diced tomatoes, drained
- 1/3 cup chopped black or kalamata olives (I used about 1 tbsp of capers too!)
- 1 Tbsp chopped fresh basil, plus more for garnish
- 1/2 tsp dried oregano
- 1 box pasta(16oz)
- 2 Tbsp butter
- 2 Tbsp extra virgin olive oil
- 1/2 cup chopped red onion
- 2 coves garlic, finely minced
- 3 Tbsp a.p. flour
- 2 cups milk
- 6 oz crumbled feta cheese
- 2 oz shredded mozzarella cheese
- Salt and pepper to taste
Directions
- Preheat oven to 400 degrees. Grease an oven save dish (I used 9×13) & set aside.
- In a small bowl, combine drained diced tomatoes, chopped olives/capers, 1 Tbsp basil and dried oregano, set aside.
- Boil pasta to al dente according to directions listed on package. Drain pasta well and return to pot.
- Meanwhile, melt butter along with olive oil in a medium saucepan over medium heat. Once hot, add onion and saute until soft and lightly golden, about 3 – 4 minutes, adding in garlic during the last minute of sauteing.
- Whisk in flour, and cook stirring constantly for 1 minute. While whisking constantly, slowly pour in milk and bring to a boil, don’t stop stirring!
- Once mixture reaches a boil reduce heat to medium-low and simmer, stirring constantly until mixture has thickened, about 4 minutes.
- Remove from heat, stir in 2 oz feta cheese and the mozzarella cheese then season with salt and pepper to taste.
- Pour tomato mixture over drained pasta and toss, then pour sauce over pasta mixture and toss all to evenly coat.
- Pour coated pasta mixture into prepared baking dish. Sprinkle top evenly with remaining 4 oz crumbled feta cheese. Bake in preheated oven 20 – 25 minutes until edges are bubbling and top is golden brown.
- Serve warm and garnished with basil!

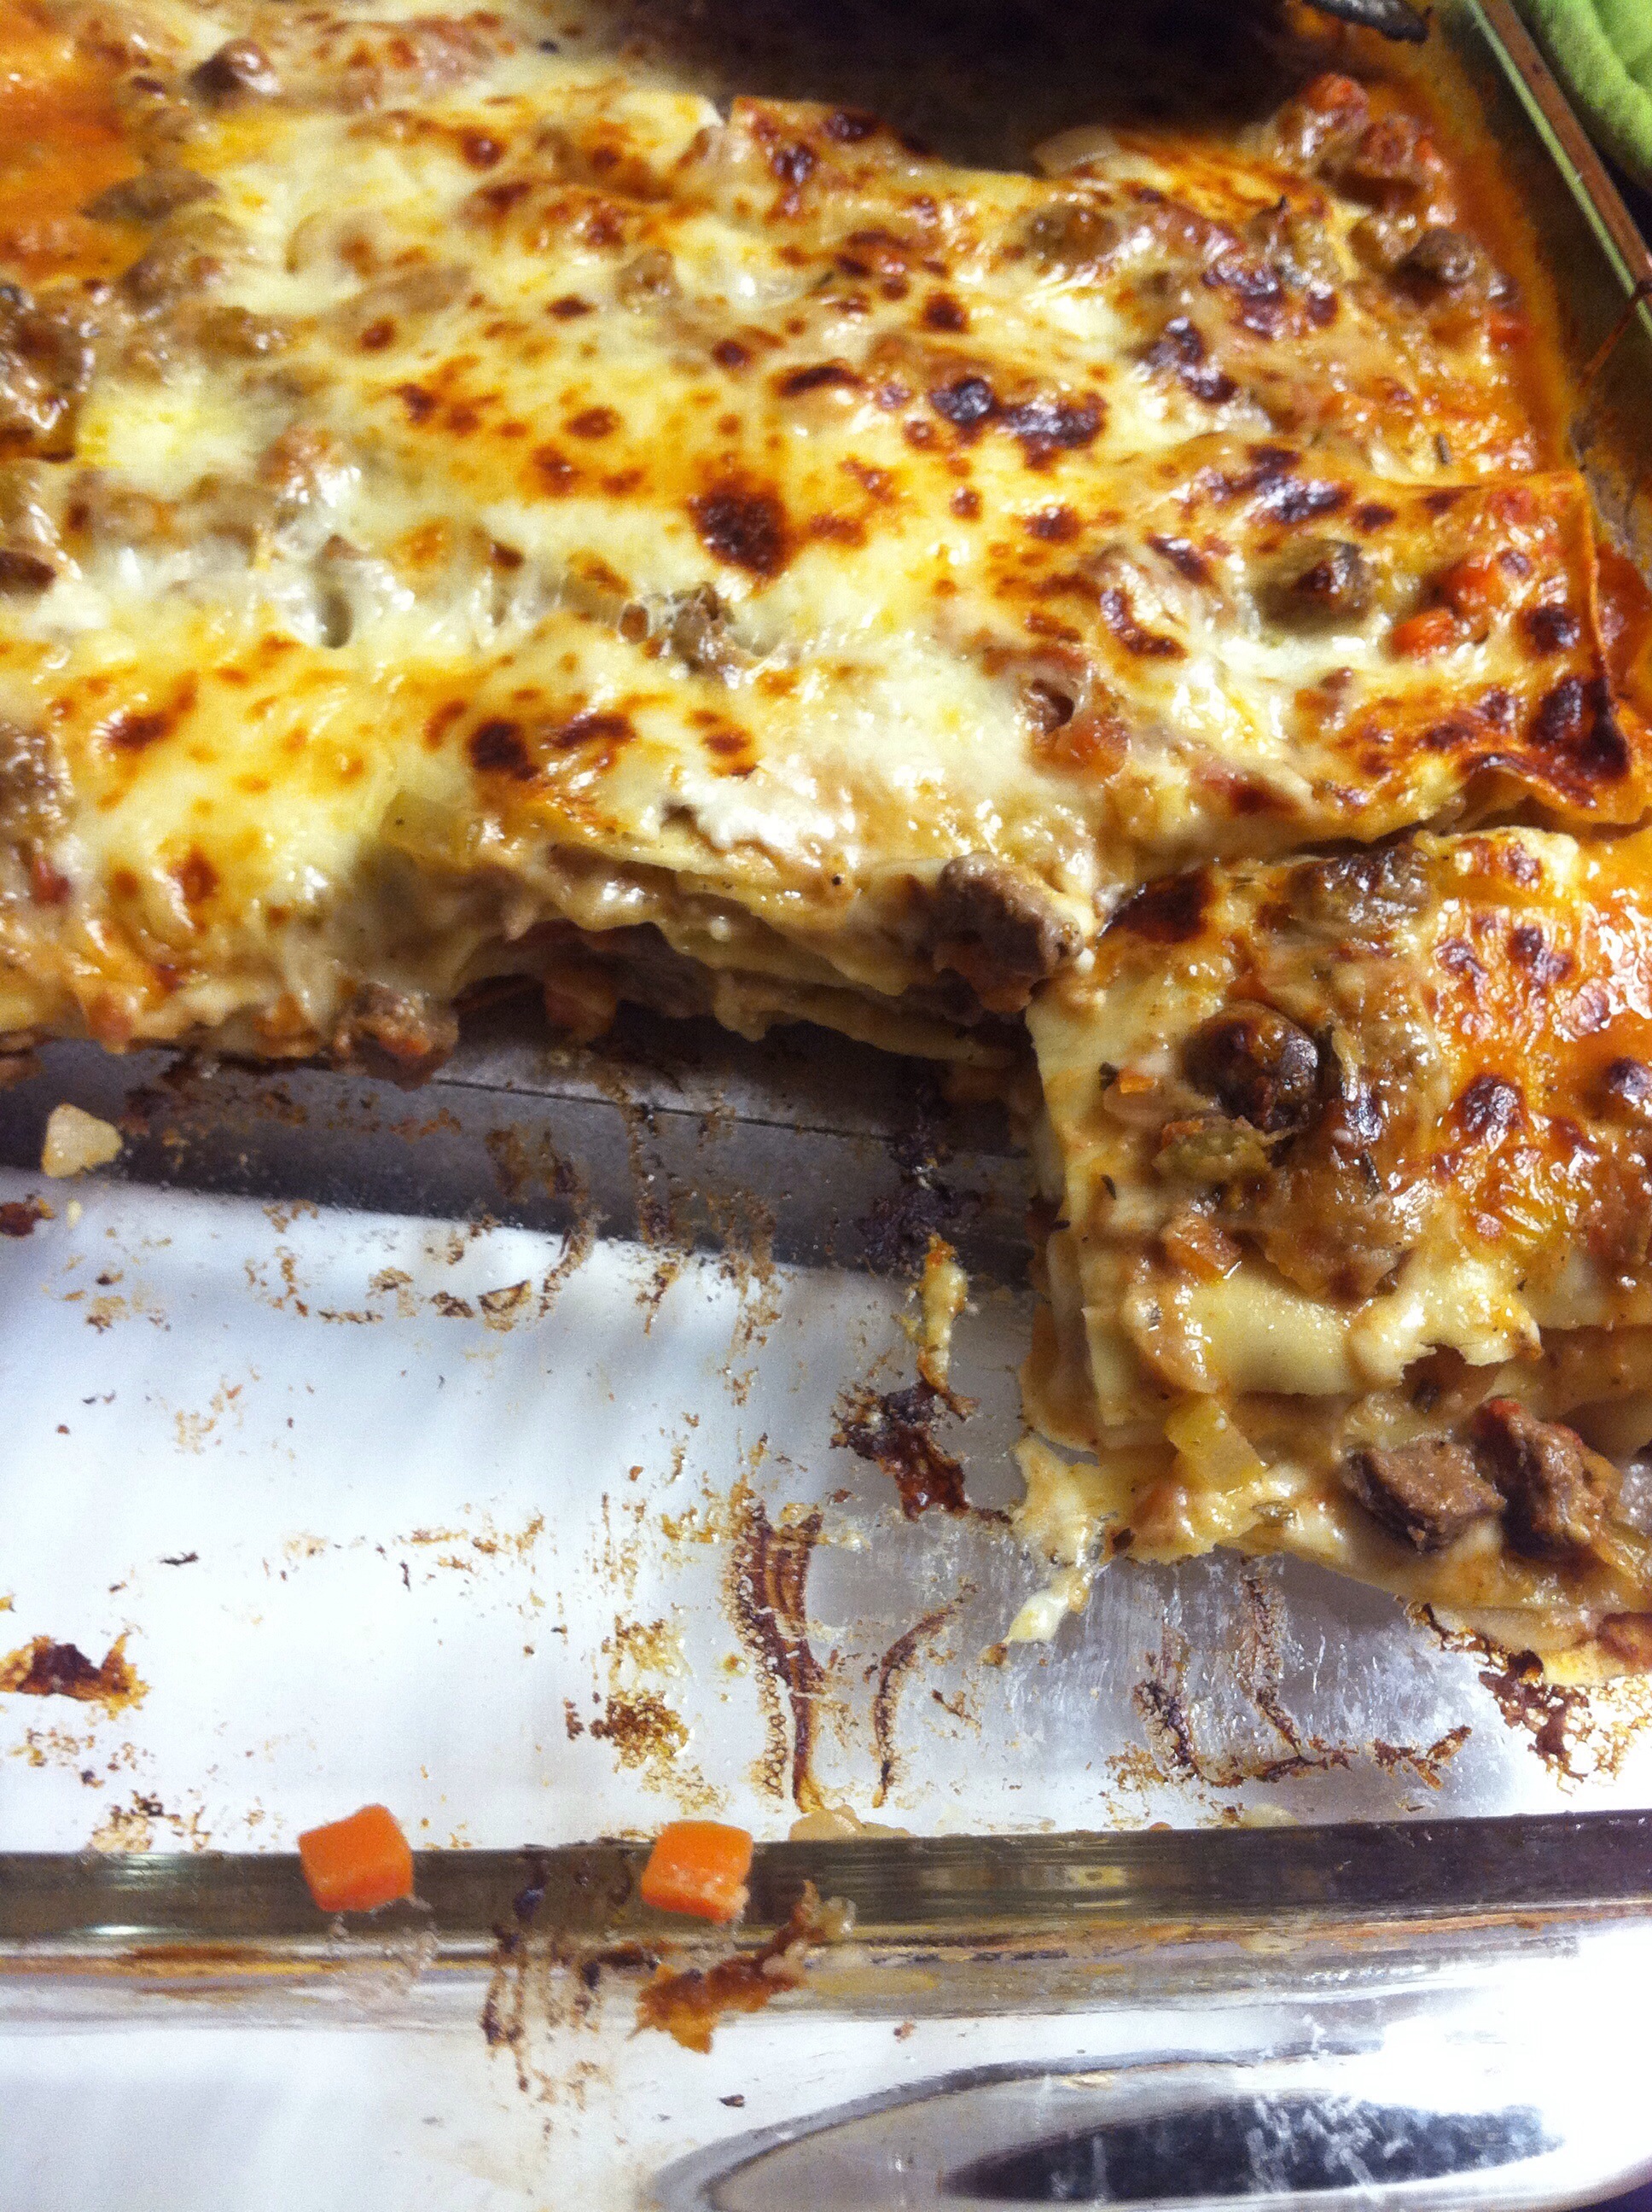
Ok see this is an example of a draft I created before I started my new photography initiative. Please excuse my orange ‘blaaaa’ lighting…I promise that it’s equally as delicious as if I’d taken the picture with my Nikon. Just tryyyyy it!
xoxo