Morel Mushroom Risotto

Morel Mushroom Risotto

EDIT of DSC_8358So maybe I’m just desperate for Spring to get here but I was craving morel mushrooms! Usually early spring is Morel Mushroom season in Wisconsin but they were pretty late popping up around here last year due to winter that lasted into April………………………………….but they eventually did arrive! Hopefully I won’t have to wait quite as long this year!

Usually if we have a season where we have a LOT of them, my family will dry them or dehydrate them put them in a jar and we can enjoy them all year long. It’s simple to use them once they are dried- you basically just cover them with boiling water for about 10 minutes and let them reconstitute. This recipe can use both fresh or dried morels. If you use the dried, you use some of the liquid used to reconstitute the mushrooms as liquid in the risotto and it’s to.die.for. Seriously, love it.

If you’ve never tried morels you should! They look a little funky but trust me, they’re delicious! Now I understand that if you don’t live where they may grow wild they can be pricey (like $30/pound) so I give you permission to use any mushrooms you want for this one 🙂 but if you can, try the morels!

Ingredients: 

  • 1 quart stock, chicken stock or vegetable stock
  • 2-3 cups water
  • 2 tablespoon butter
  • 1 cup minced shallot, leek or onion
  • 2 garlic cloves, minced
  • 2 cups risotto rice (Arborio Rice)
  • 1/2 pound fresh morels, or 1 ounce dried
  • Salt
  • 2 tablespoons chopped chives or parsley
  • 1/2 cup grated pecorino or parmesan cheese

 Instructions: 

FOR FRESH MORELS

  1. Pour the stock and 2 cups water into a pot and bring it to a gentle simmer.
  2. In another medium pot, heat the duck fat or butter over medium-high heat and saute the minced shallot or onion until it softens and turns translucent, about 3-4 minutes. Add the garlic cloves, the morels and the rice and mix well. Cook for 3-4 minutes, stirring often.
  3. When the liquid from the morels has evaporated, add 1/2 cup of hot stock to the rice and stir well. Sprinkle a little salt over everything. The key to making a great risotto is to constantly stir, or at least stir every minute or so. As each 1/2 cup of stock is absorbed, add another, then another until the rice is cooked through, but still firm.
  4. When you reach that point, add the grated cheese and a little more stock. Stir to incorporate the cheese into the risotto. Add the chopped chives and serve at once.

FOR DRIED MORELS

  1. Start by setting the morels in a bowl. Pour 2 cups of boiling water over the morels and cover the bowl. Let the mushrooms steep for 30 minutes to 2 hours. Remove the mushrooms, squeeze them dry with your hands over the bowl, catching the juices. Chop the morels and set aside. Strain the soaking water through a paper towel set in a colander; you will be cooking with this soaking water, and you want it free of debris.
  2. Now follow the directions as above, but instead of 2 cups of water, use the 2 cups of the mushroom soaking water.

EDIT of DSC_8367

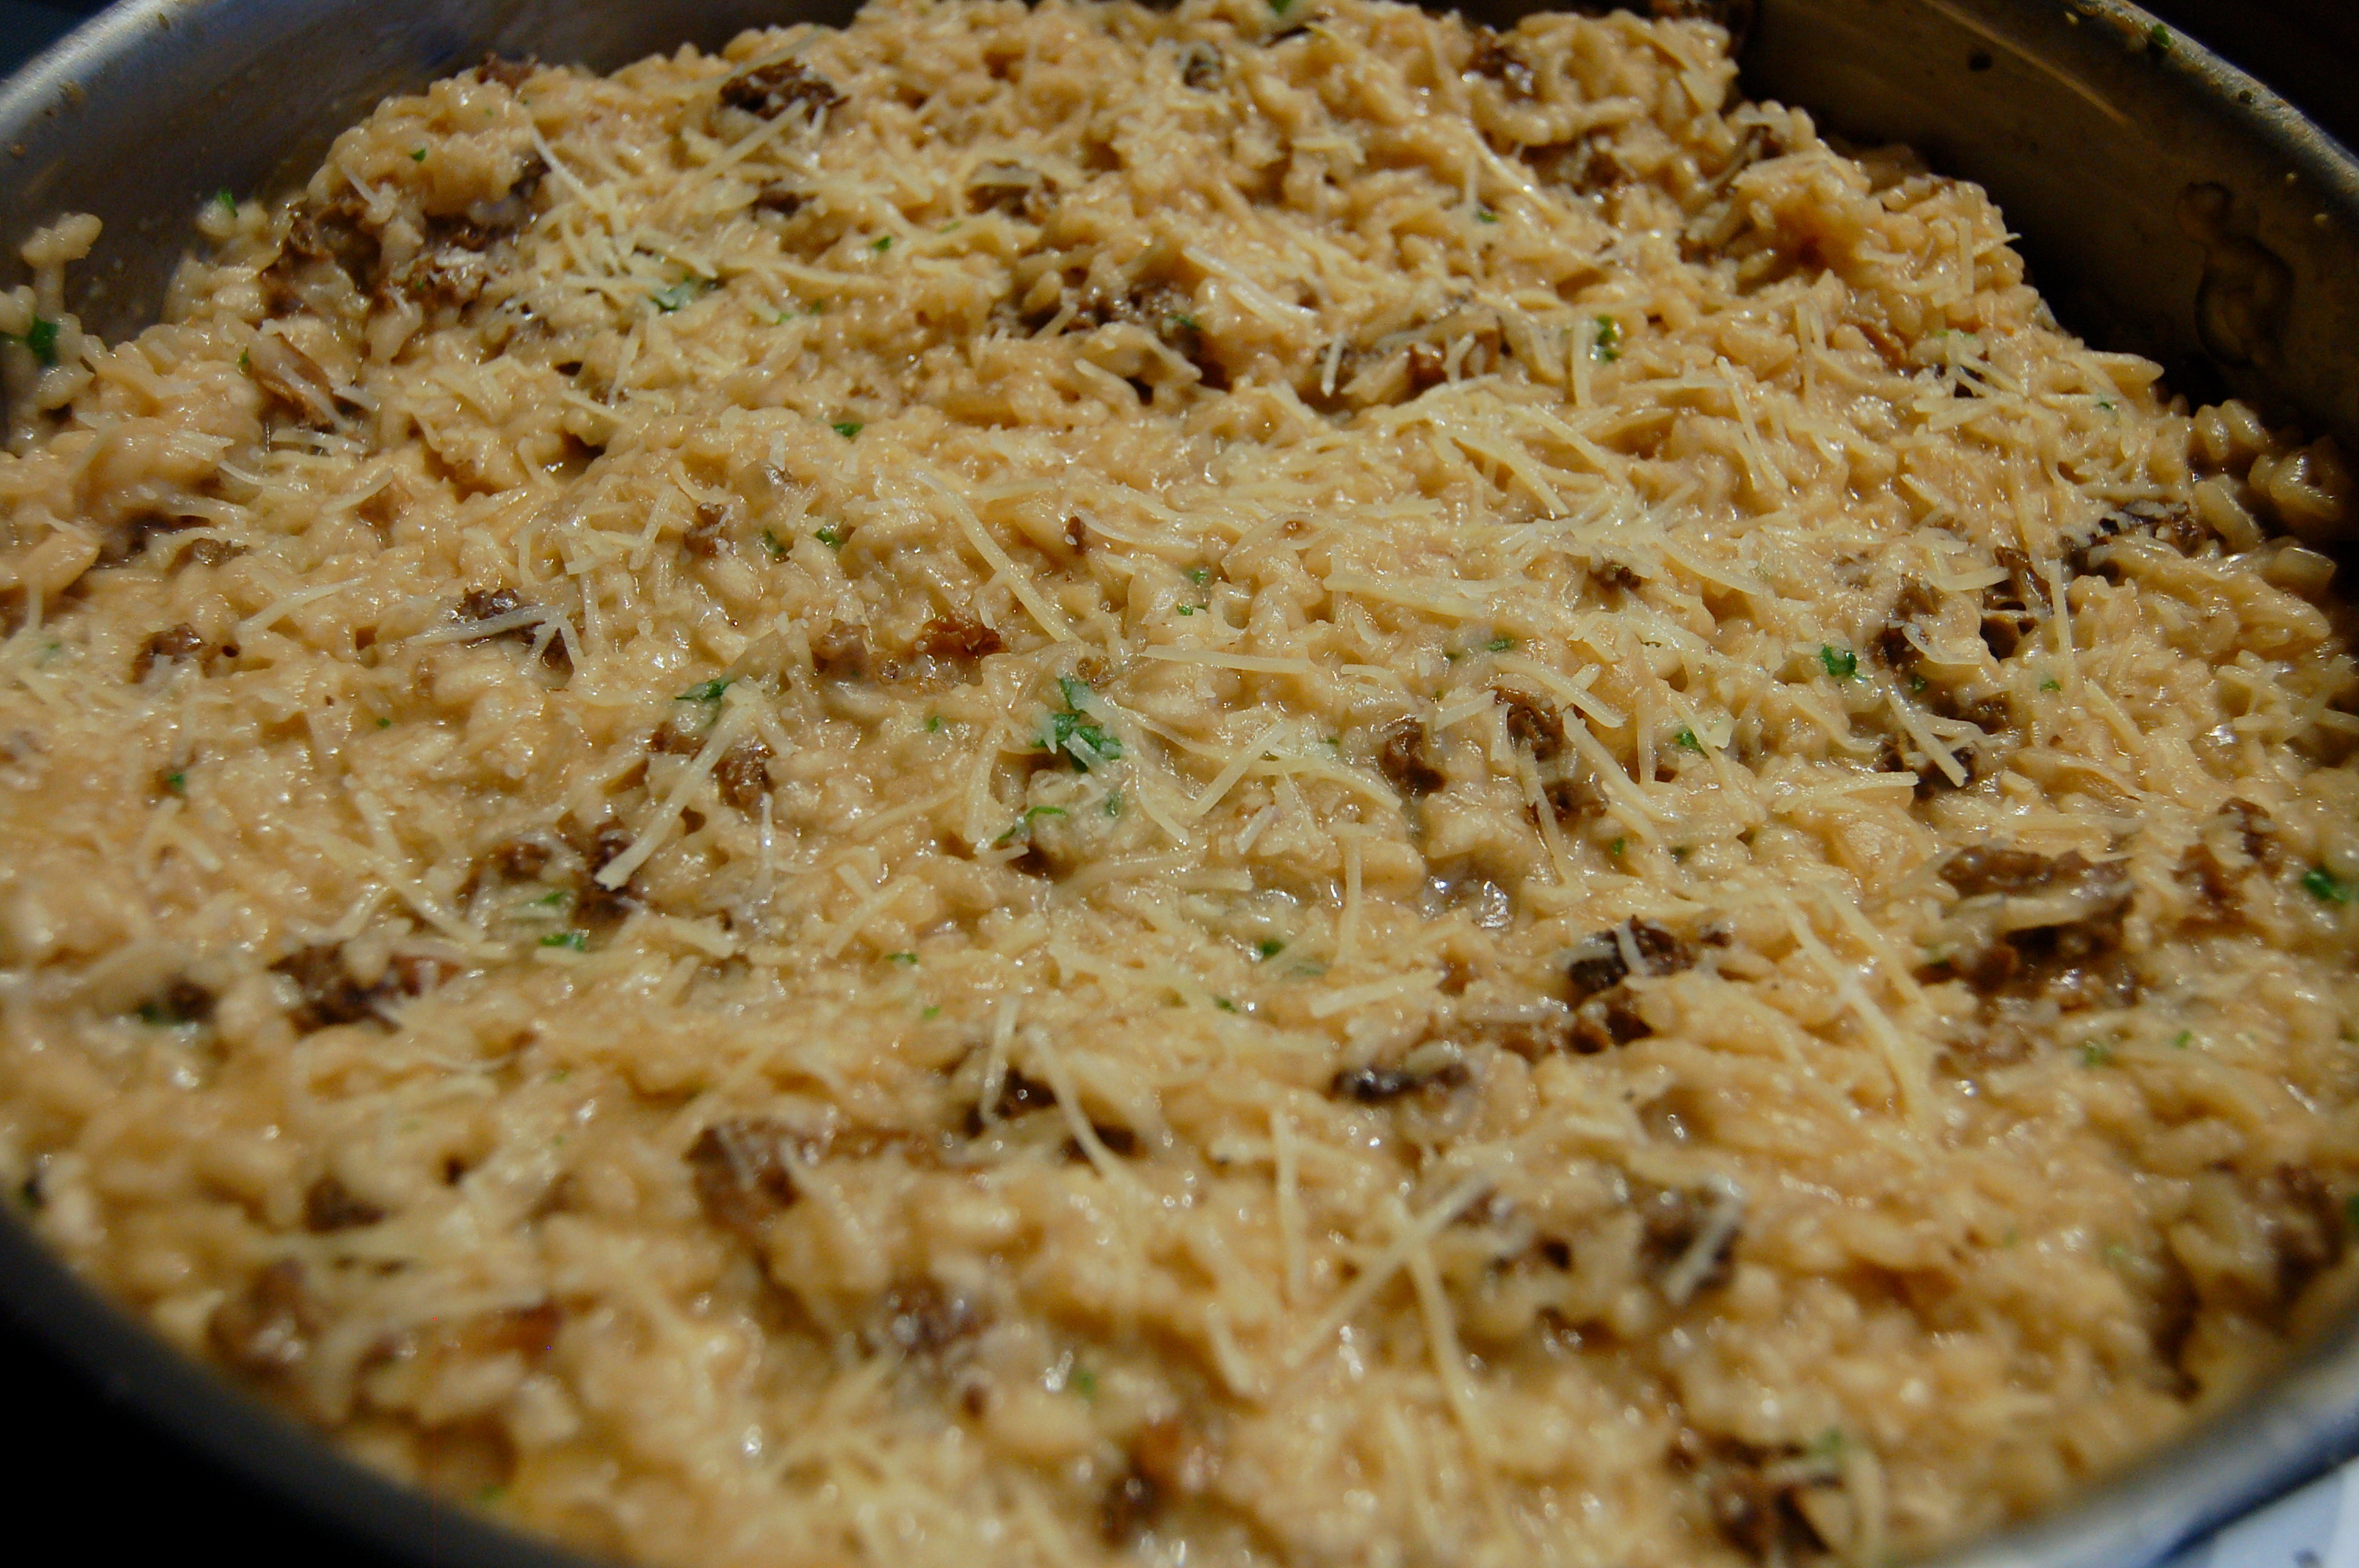
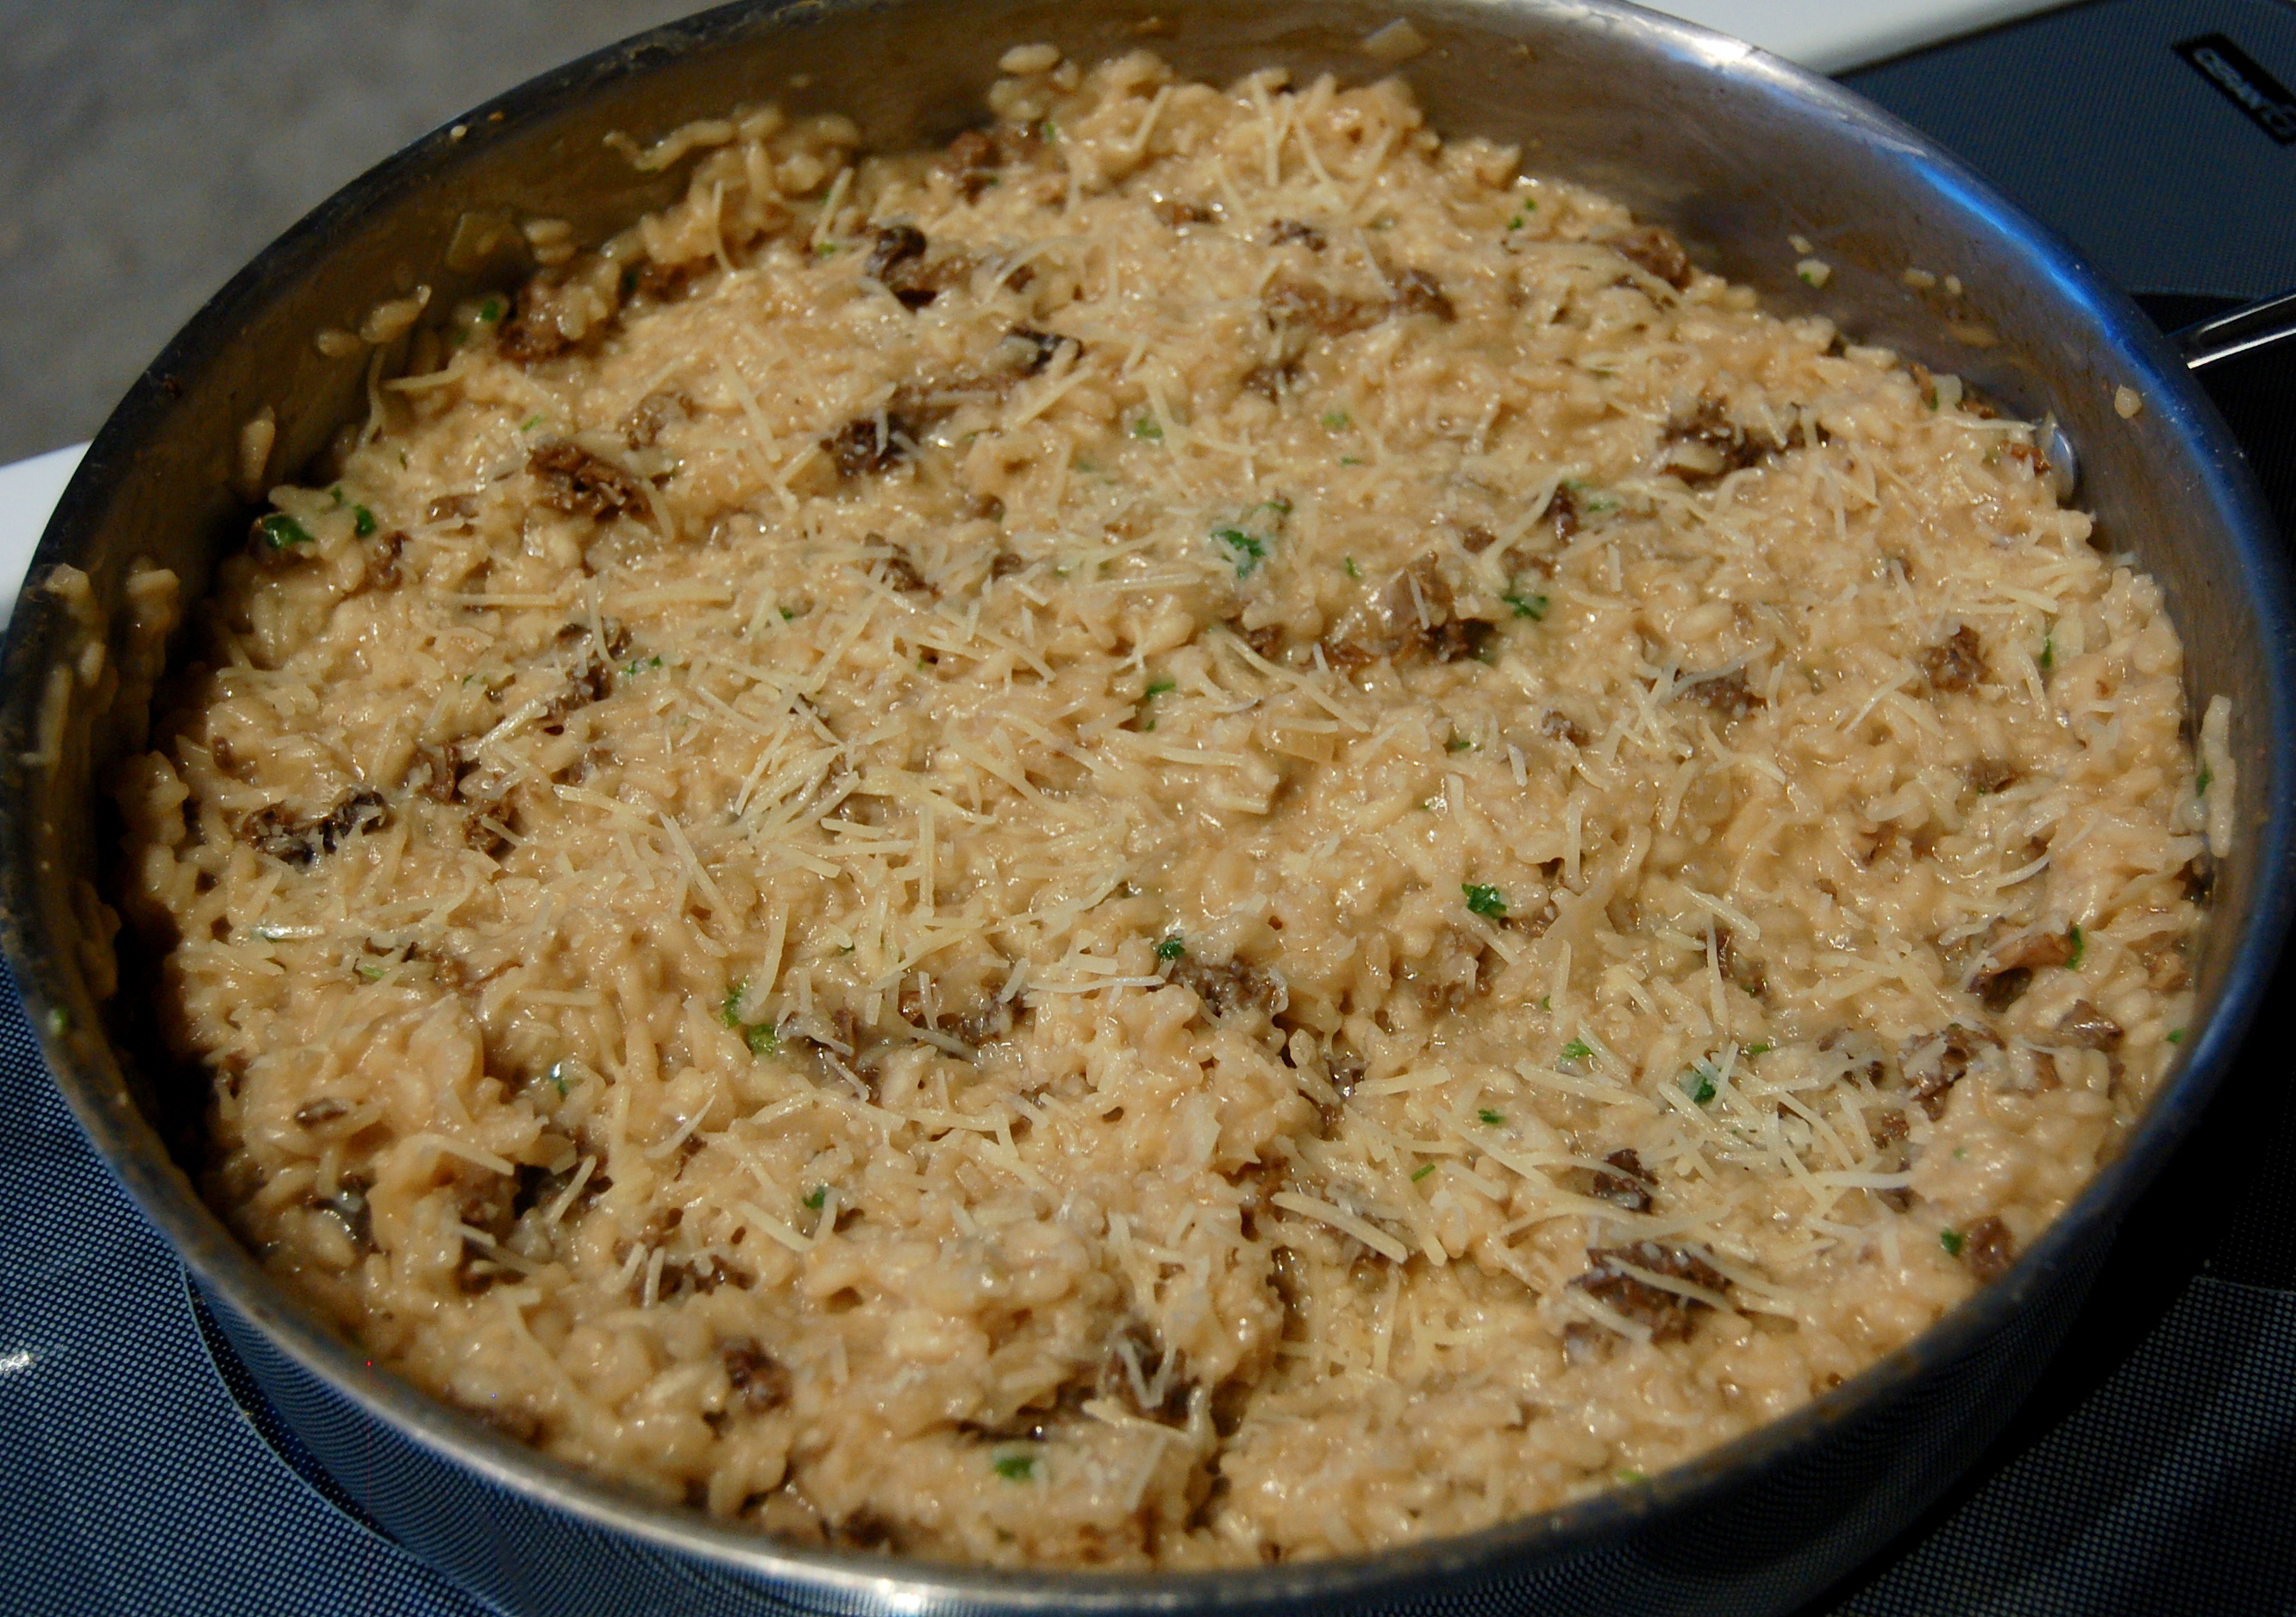
TA DA! First of all, I loveeeeee risotto. So creamy and delicious and rich and did I say delicious already? Ahhhhhh. Now I’ve seen “cheaters” risotto out there where you don’t stir so much and you don’t add the liquid bit by bit, but personally I think the labor of love is soooooooo worth it, so I’ve never tried those. If this is your 1st time making a risotto, you’re probably going to think at some point…”um what? no way is all this liquid going in here” but it does! And the result is amazing.

So there you have it and fantastic weekend meal to try! Let me know how yours turned out! I love hearing from my readers! HAPPY WEEKEND!

xoxo

669058772380712020613

Advertisement

Creamy Tomato Spaghetti with Shrimp

 Creamy Tomato Spaghetti with Shrimp

Edit Of DSC_8482JPG

Hi my fellow foodies!

Man I can’t believe how fast summer is going. I’m off on vacation starting TODAY!!! YAYAYAY I will hopefully have lots of pictures to share when I come back and hopefully a few fun food items too.

Take a look at this beauty. This was incredibly tasty, although definitely not a low fat meal. More of a treat from time to time or could be something impressive to make for the in-laws or any guests you may have. You can experiment with different ingredients. I’m a sucker for basil especially in the summer time so I garnished mine with it. Deeeelicious. Hope you enjoy!!

Ingredients:

  • 1/2  lb medium raw shrimp, shell removed
  • ¾ lb spaghetti or angel hair pasta
  • 1 tablespoon olive oil
  • 6 medium tomatoes, diced
  • 1 small onion, finely chopped
  • ¼ teaspoon hot chili flakes
  • ½ teaspoon dried basil, or 2 Tbsp chopped fresh basil(I prefer fresh)
  • 1 garlic clove, minced
  • 4 tablespoons unsalted butter
  • 1 cup dry white wine
  • ½ cup heavy cream
  • salt and pepper to taste
  • Parmesan to serve

Instructions: 

  1. Put the tomatoes, onion, chili flakes, basil, garlic and butter in a heavy pan , season with pepper.
  2. Add the wine and cook over med/high heat until mixture is soft and most of the wine has evaporated. You will have about ¼ cup liquid remaining in the pan.
  3. Peel shrimp and dry on paper towels. Lightly season shrimp with salt and pepper and saute in 2 tablespoons olive oil over medium/high heat, just until cooked through, about 3 minutes. Set aside.
  4. Cook pasta in salted water with 1 tablespoon olive oil, according to the package instructions until al dente (tender but firm to the bit). Rinse, Drain and set aside.
  5. Once the sauce has mostly evaporated, stir in the cream and add the shrimp. Warm through gently for 2 minutes.
  6. Toss the pasta with the sauce. Sprinkle with Parmesan and fresh basil and serve!

DSC_8486 copy

Doesn’t it look good?! Yummmmmm. Give it a try and let me know what you think! Thanks for taking a look around the blog!

xoxo

669058772380712020613

One Pot Pasta

One Pot Pasta

20140322-181341.jpg

Literally throw it all in a pot

Happy Sunday! Hope everyone had a great weekend. If you’re struggling for simple recipe ideas for the upcoming week, I’ve gotcha covered. This is seriously one of the simplest and tastiest week night meals ever! I first saw this and was like “ummmm what? there’s no way you can cook it all together and it doesn’t get gooey and mushy and naaaasty”  There were too many good reviews for me to not try it and also the hope that it really would be delicious was too much for me to take- I gave it a try.

I’ve made this multiple times since the first time and I’ve made a few adaptations. First of all, I really did find it a little “gummy” the first time- I’ve found that a good way to help reduce this is to not add all the water right at the beginning and then add more towards the end of the cooking if it needs it. Also one time I made this I had some extra spinach lying around which was close to being not so great anymore, I threw it in right at the end and let it wilt and it really look this to the next level. As you can see in the picture above, you seriously just throw it all together and let it cook. Magical! 🙂

Ingredients:

  • 12 ounces whole wheat linguine (or spaghetti, really just a long pasta)
  • 12 ounces cherry or grape tomatoes, halved or quartered if large
  • 1 onion, thinly sliced
  • 4 cloves garlic, sliced thinly or minced
  • 1/2 -1  teaspoon dried red-pepper flakes
  • 2 sprigs fresh basil, plus torn leaves for garnish
  • 2 tablespoons extra-virgin olive oil
  • Coarse salt and freshly ground pepper
  • 4 cups water (or chicken or veggie stock for added flavor)
  • 3 oz Fresh Spinach (about half a standard bag)
  • Freshly grated Parmesan cheese, for serving

Directions

  1. Combine pasta, tomatoes, onion, garlic, red-pepper flakes, basil, oil, 2 teaspoons salt, 1/4 teaspoon pepper, and about 3 and a half cups of water in a large pot. Bring to a boil over high heat. Boil mixture, stirring and turning pasta frequently with tongs, until pasta is al dente and water has nearly evaporated/soaked into pasta, which takes about about 10-12 minutes. This is where you can add more water if need be.
  2. Remove from heat. Stir in the spinach and let it wilt (like 2 minutes). Then season to taste with  extra salt and pepper, plate it up and garnish with basil and Parmesan cheese.
20140322-181305.jpg

ta da!

Sooo good. We love this and it’s packed with veggies and nutrients and yet soooo delicious you wouldn’t know it.

I have also made a Spicy Peanut Thai version of the one pot pasta- serisouly ALSO freaking delicious! Look for it in an upcoming post!

As always- thanks for reading, friends!

xoxo

669058772380712020613

Venison Lasagna

Venison Lasagna

I grew up in Wisconsin in a family that hunts deer. Specifically a family that deer hunts to get that delectable venison to eat 🙂 Now a lot of people are totally turned off by the thought of eating venison. If you’re one of those people, we can’t be friends. Kidding. But I’m thinking you haven’t tasted it or that you had a bad deer. Once a deer is over about 2-3 years old, I wouldn’t eat them. From personal experience, younger does taste better, the older you get (such as bucks with huge spreads) the “game-ier” they taste. It’s all preference but this is not actually a post about hunting so I’ll shut up 🙂

My younger brother was gracious enough to give me some of his vension from a kill this year and this is one of the ways I used it. Of course you can substitute the venison for beef if you so choose.

20140109-205809.jpg

Yummmmmmmmmm- such good comfort food

Bolognese Sauce
a glug of olive oil
a Tbsp of butter
1 medium onion – chopped
2 cloves of garlic – minced
2 stalks of celery – finely chopped
2 medium carrots – finely chopped
pancetta or thick bacon cut into cubes
1 # venison, cut into a small cubes
1 cup milk (Full fat will make it creamier but any kind will work)
a glass of dry white wine(to drink while cooking- kidding you actually need it for the sauce. Probably about 3/4 of a cup to 1 cup)
2 cups tomatoes – chopped, with the juice. Or you can use a large can of diced tomatoes too
a sprig of rosemary
salt and pepper, to taste
1/2 cup of vegetable stock

White Sauce
2 & 1/2 cups of milk
4 tablespoons of butter
1/2 cup of flour
salt

Lasagna
Either strips of already cooked lasagna pasta or the ready to bake lasagna noodles (*or if you’re Betty Crocker you could use freshly made lasagna noodles- if you do this, we should be friends)
3/4 cup freshly grated parmesan
2 cups mozzarella cheese

Instructions

First make the bolognese sauce, which needs a long cooking time but it really does make for the most tender and succulent sauce, plus you don’t have to cook it all in one session, you could do the first stage in the morning and the final cooking later the same day. It can also be cooked ahead of time and kept in the fridge for 3 days or frozen.

– In a large, heavy bottomed pan melt the butter and oil, add the onions and gently saute until they become translucent . Add the garlic, celery and carrots, stir well and cook for a further 2 minutes.

– add the pancetta or bacon cubes and sauté gently for a further two minutes.

– add the venison, a large pinch of salt, some pepper and cook until it has lost its raw red color

– add the milk and let it simmer gently, stirring frequently, until it has reduced almost completely.

– add the wine, let it simmer until mostly evaporated then add the tomatoes and stir thoroughly to coat all the ingredients.

– when the mixtures starts to really boil, turn the heat down to low and cook, uncovered for about 2 hours, stirring from time to time and topping up occasionally with vegetable stock to keep it from completely drying out. *You could totally speed make this and just cook all together for about 30 minutes to an hour, and it would still taste great I’m sure but you get deep complex flavors the longer you cook it 🙂 *

Next, make the deeelish white sauce;

– warm the milk gently in a saucepan on medium, low heat

– in a another large pan melt the butter gently on a very low heat and once it’s melted add all the flour, stirring it in completely. Cook and constantly stir for 2 minutes.

– take the pan off the heat and add the milk in small measured batches, letting the flour mixture soak up the milk while you stir. Do this slowly and stir continuously while you do so you don’t get any lumps.

– place the pan back on a low heat and stir until the sauce gets a thick and creamy consistency.

Now, let’s build the lasagna!!

You’ll need a large oven-proof dish, you could use a variety but I used a Pyrex 13×9. Pre-heat your oven oven to 375 F.

– smear the bottom of the dish with a little of the bolognese sauce and then place a layer of the pasta sheets on the bottom.

– ladle over a thin layer of each of the sauces, sprinkle with paremsan and a little mozzarella then add another layer of pasta

– continue this until you have used all your sauce, the top layer should be the bolognese with the rest of your cheese.

– bake in the oven until golden and bubbly, this should take about 40-50 minutes.

*Note- if you are using the ready to bake noodles I would probably prepare your bolognese to be a little more liquidy so your noodles cook fully. Or you can add a little tomato sauce/juice to the bottom of the pan before your noodles.

20140109-205824.jpg

Get in my bellllllly

Admittedly, not the lowest fat meal in the world- but sometimes you just have to indulge. It tasted delicious!!! Jake was VERRRRRYYYYY skeptical of the venison befor he tried this, but he really enjoyed it and said it tasted like really really good beef. I’ll take it 🙂

Hope you enjoy and of course thanks for checking out my blog!

xoxo

669058772380712020613

Caramelized Pear, Prosciutto & Blue Cheese Pizza

Caramelized Pear, Prosciutto &  Blue Cheese Pizza

20140210-090347.jpg

Ingredients:
1 semi-ripe pear(still want it a little hard) – thinly sliced
1 tablespoon olive oil
2 tablespoons butter (I prefer unsalted)
1/4 teaspoon salt
1/8 teaspoon nutmeg
2 tablespoons brown sugar
6 ounces fontina cheese, freshly grated (could sub grated mozzarella too)
2 shallots, sliced
2 garlic cloves, minced
4 slices prosciutto
6 ounces blue cheese, crumbled
balsamic glaze for drizzling

Oh and a pizza crust of your choosing 🙂

Directions:

Preheat your oven to 400 F (this is a little dependent on the pizza crust you choose so make sure to check the packaging/instructions).

Heat a large skillet over low heat and add olive oil and butter. Add in the pears with the salt and nutmeg and cover, cooking for  about 10 minutes and stirring occasionally. Reduce the heat more if they begin to brown too much. Stir in the brown sugar and cook for 5 more minutes or so, until golden. Set aside.

Add about three fourths of the fontina on the crust along with the garlic and shallots. Spread the pears all over the pizza and cover them with the prosciutto. Crumble the blue cheese over top and add the rest of the fontina. Bake for 10 to 15 minutes, or until the crust is golden and the cheese is bubbly. Remove and drizzle balsamic on top.

Um. Then die and go to heaven. So freaking tasty.

I adapted this recipe when I made it and did a smaller portion and just did a mini pizza for me, Jake was hanging out with some guys friends so I got to enjoy this beaut all on my own. Seriously I could have eaten like 4 of the the mini pizzas. Deeeeeeee-licious. If I do say so myself 🙂

Hope you enjoy too!

xoxo

669058772380712020613