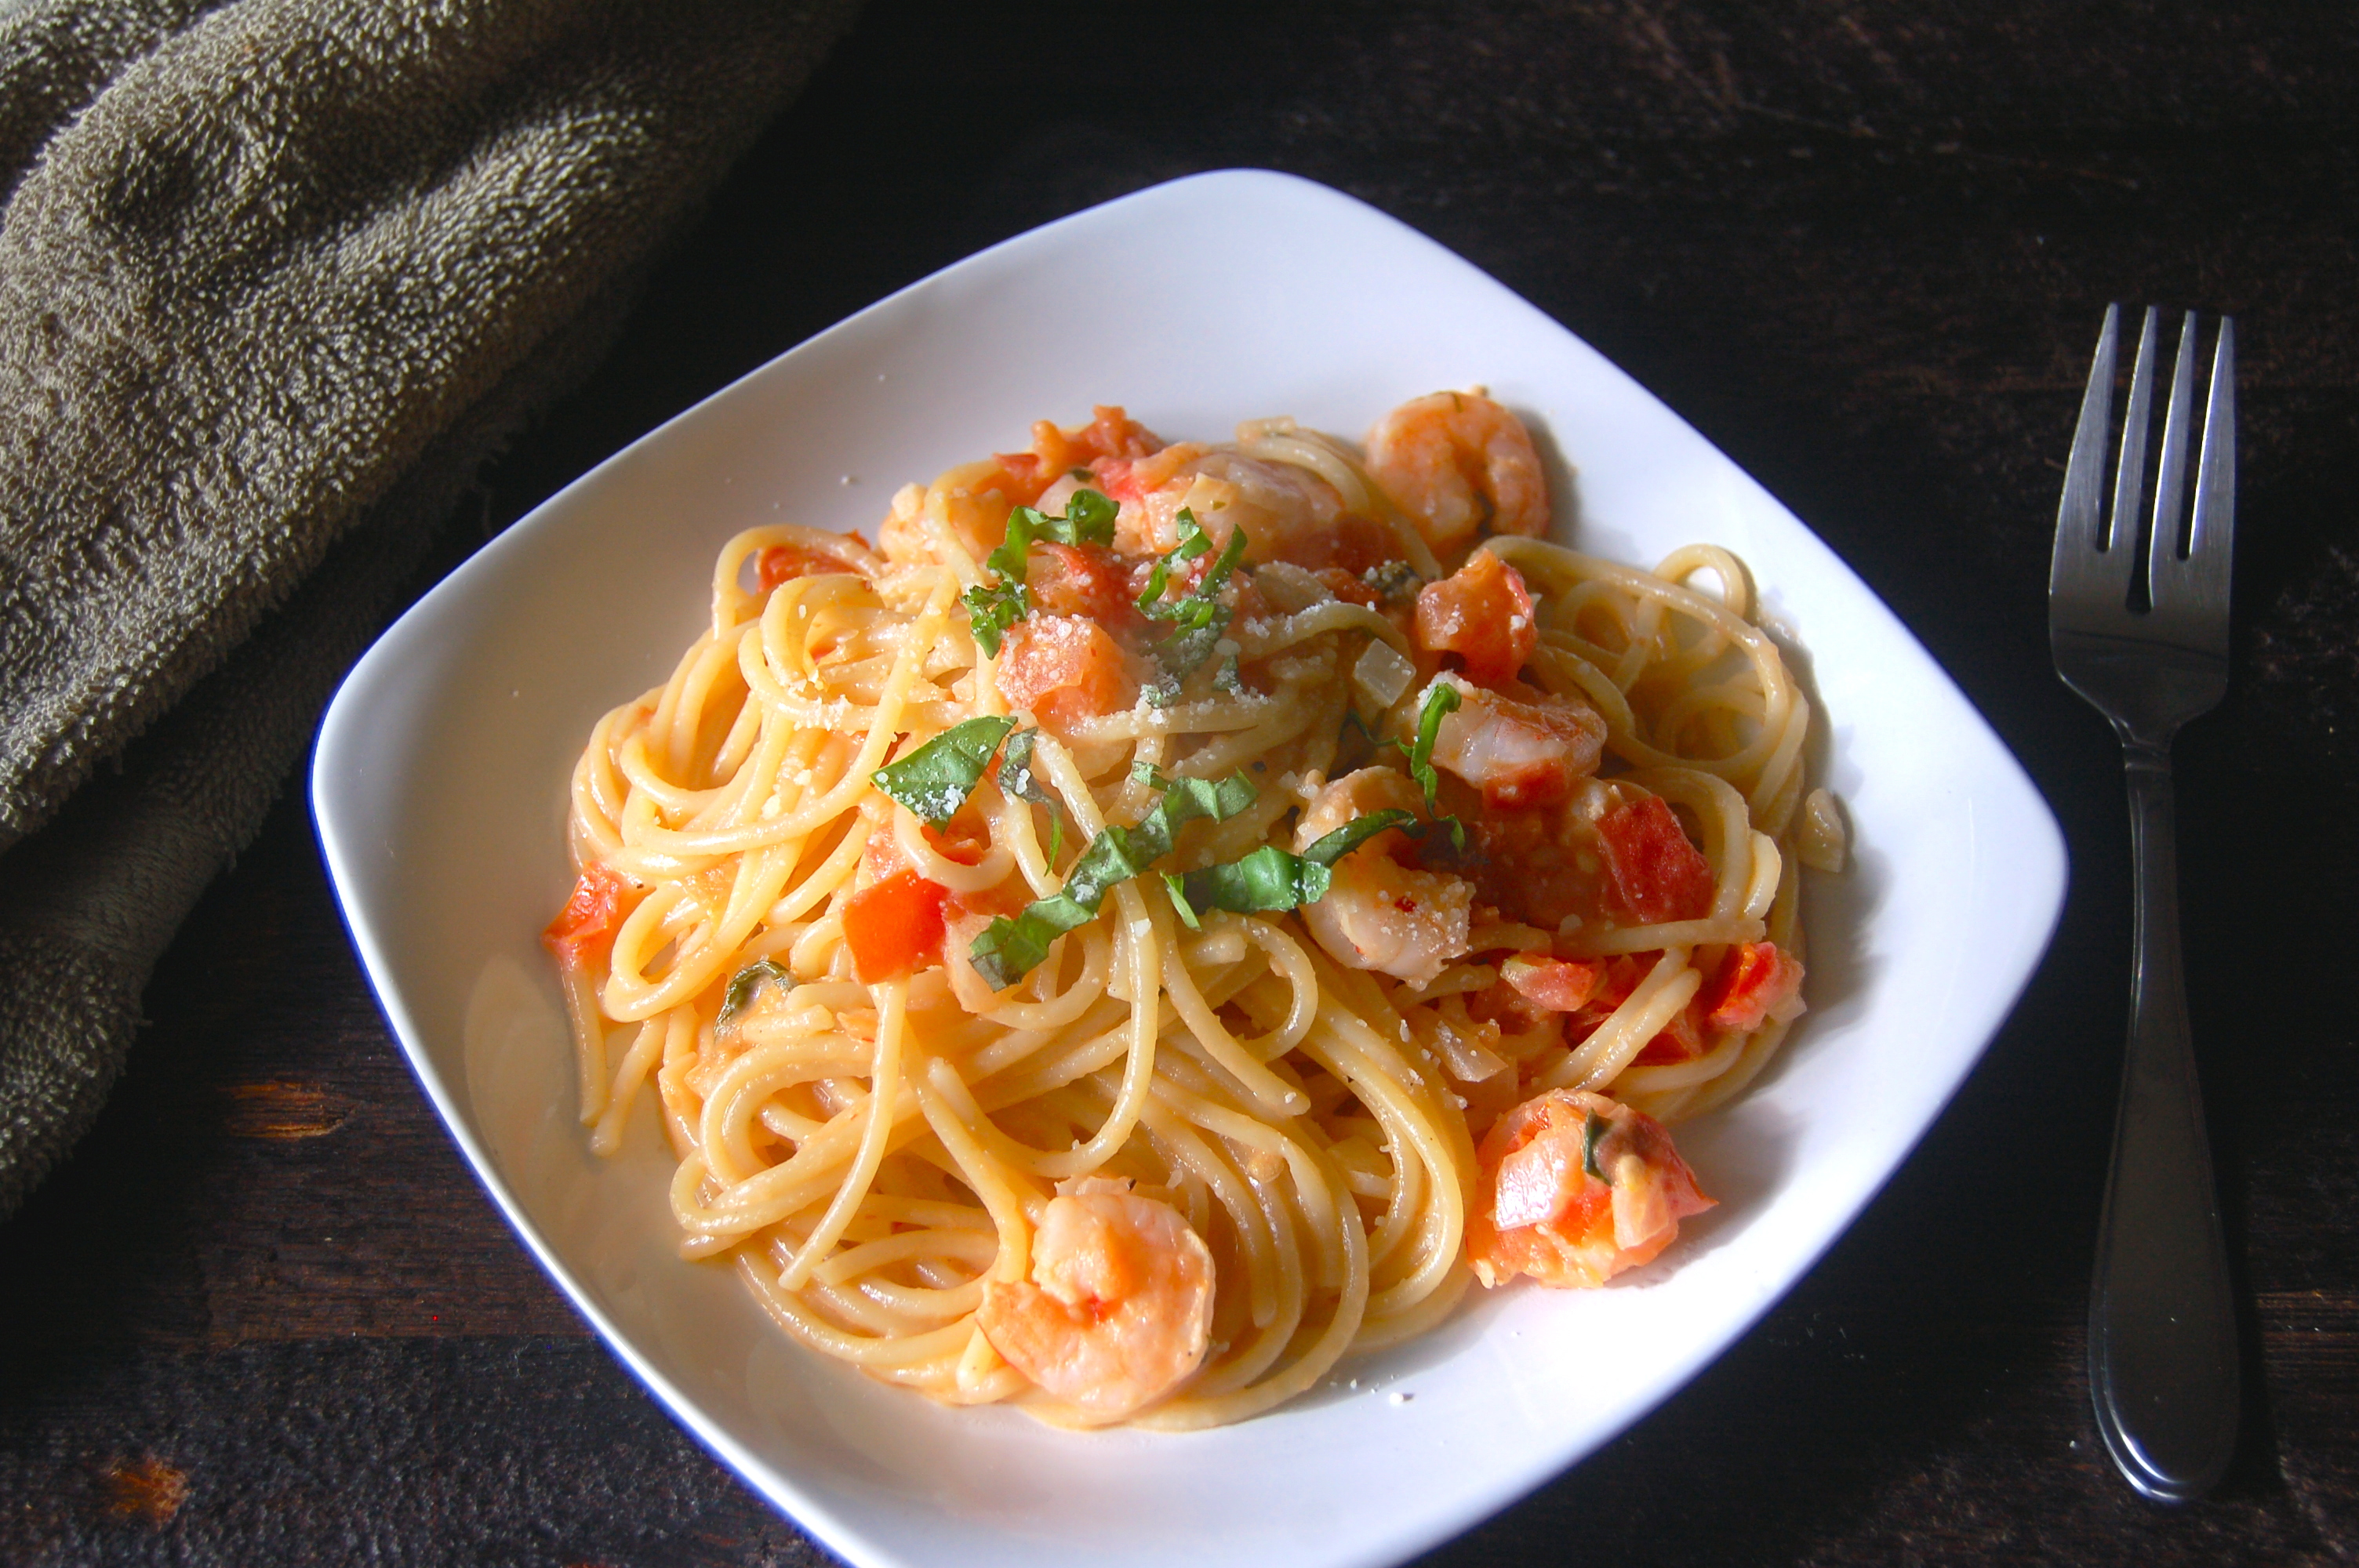
Creamy Tomato Spaghetti with Shrimp
Hi my fellow foodies!
Man I can’t believe how fast summer is going. I’m off on vacation starting TODAY!!! YAYAYAY I will hopefully have lots of pictures to share when I come back and hopefully a few fun food items too.
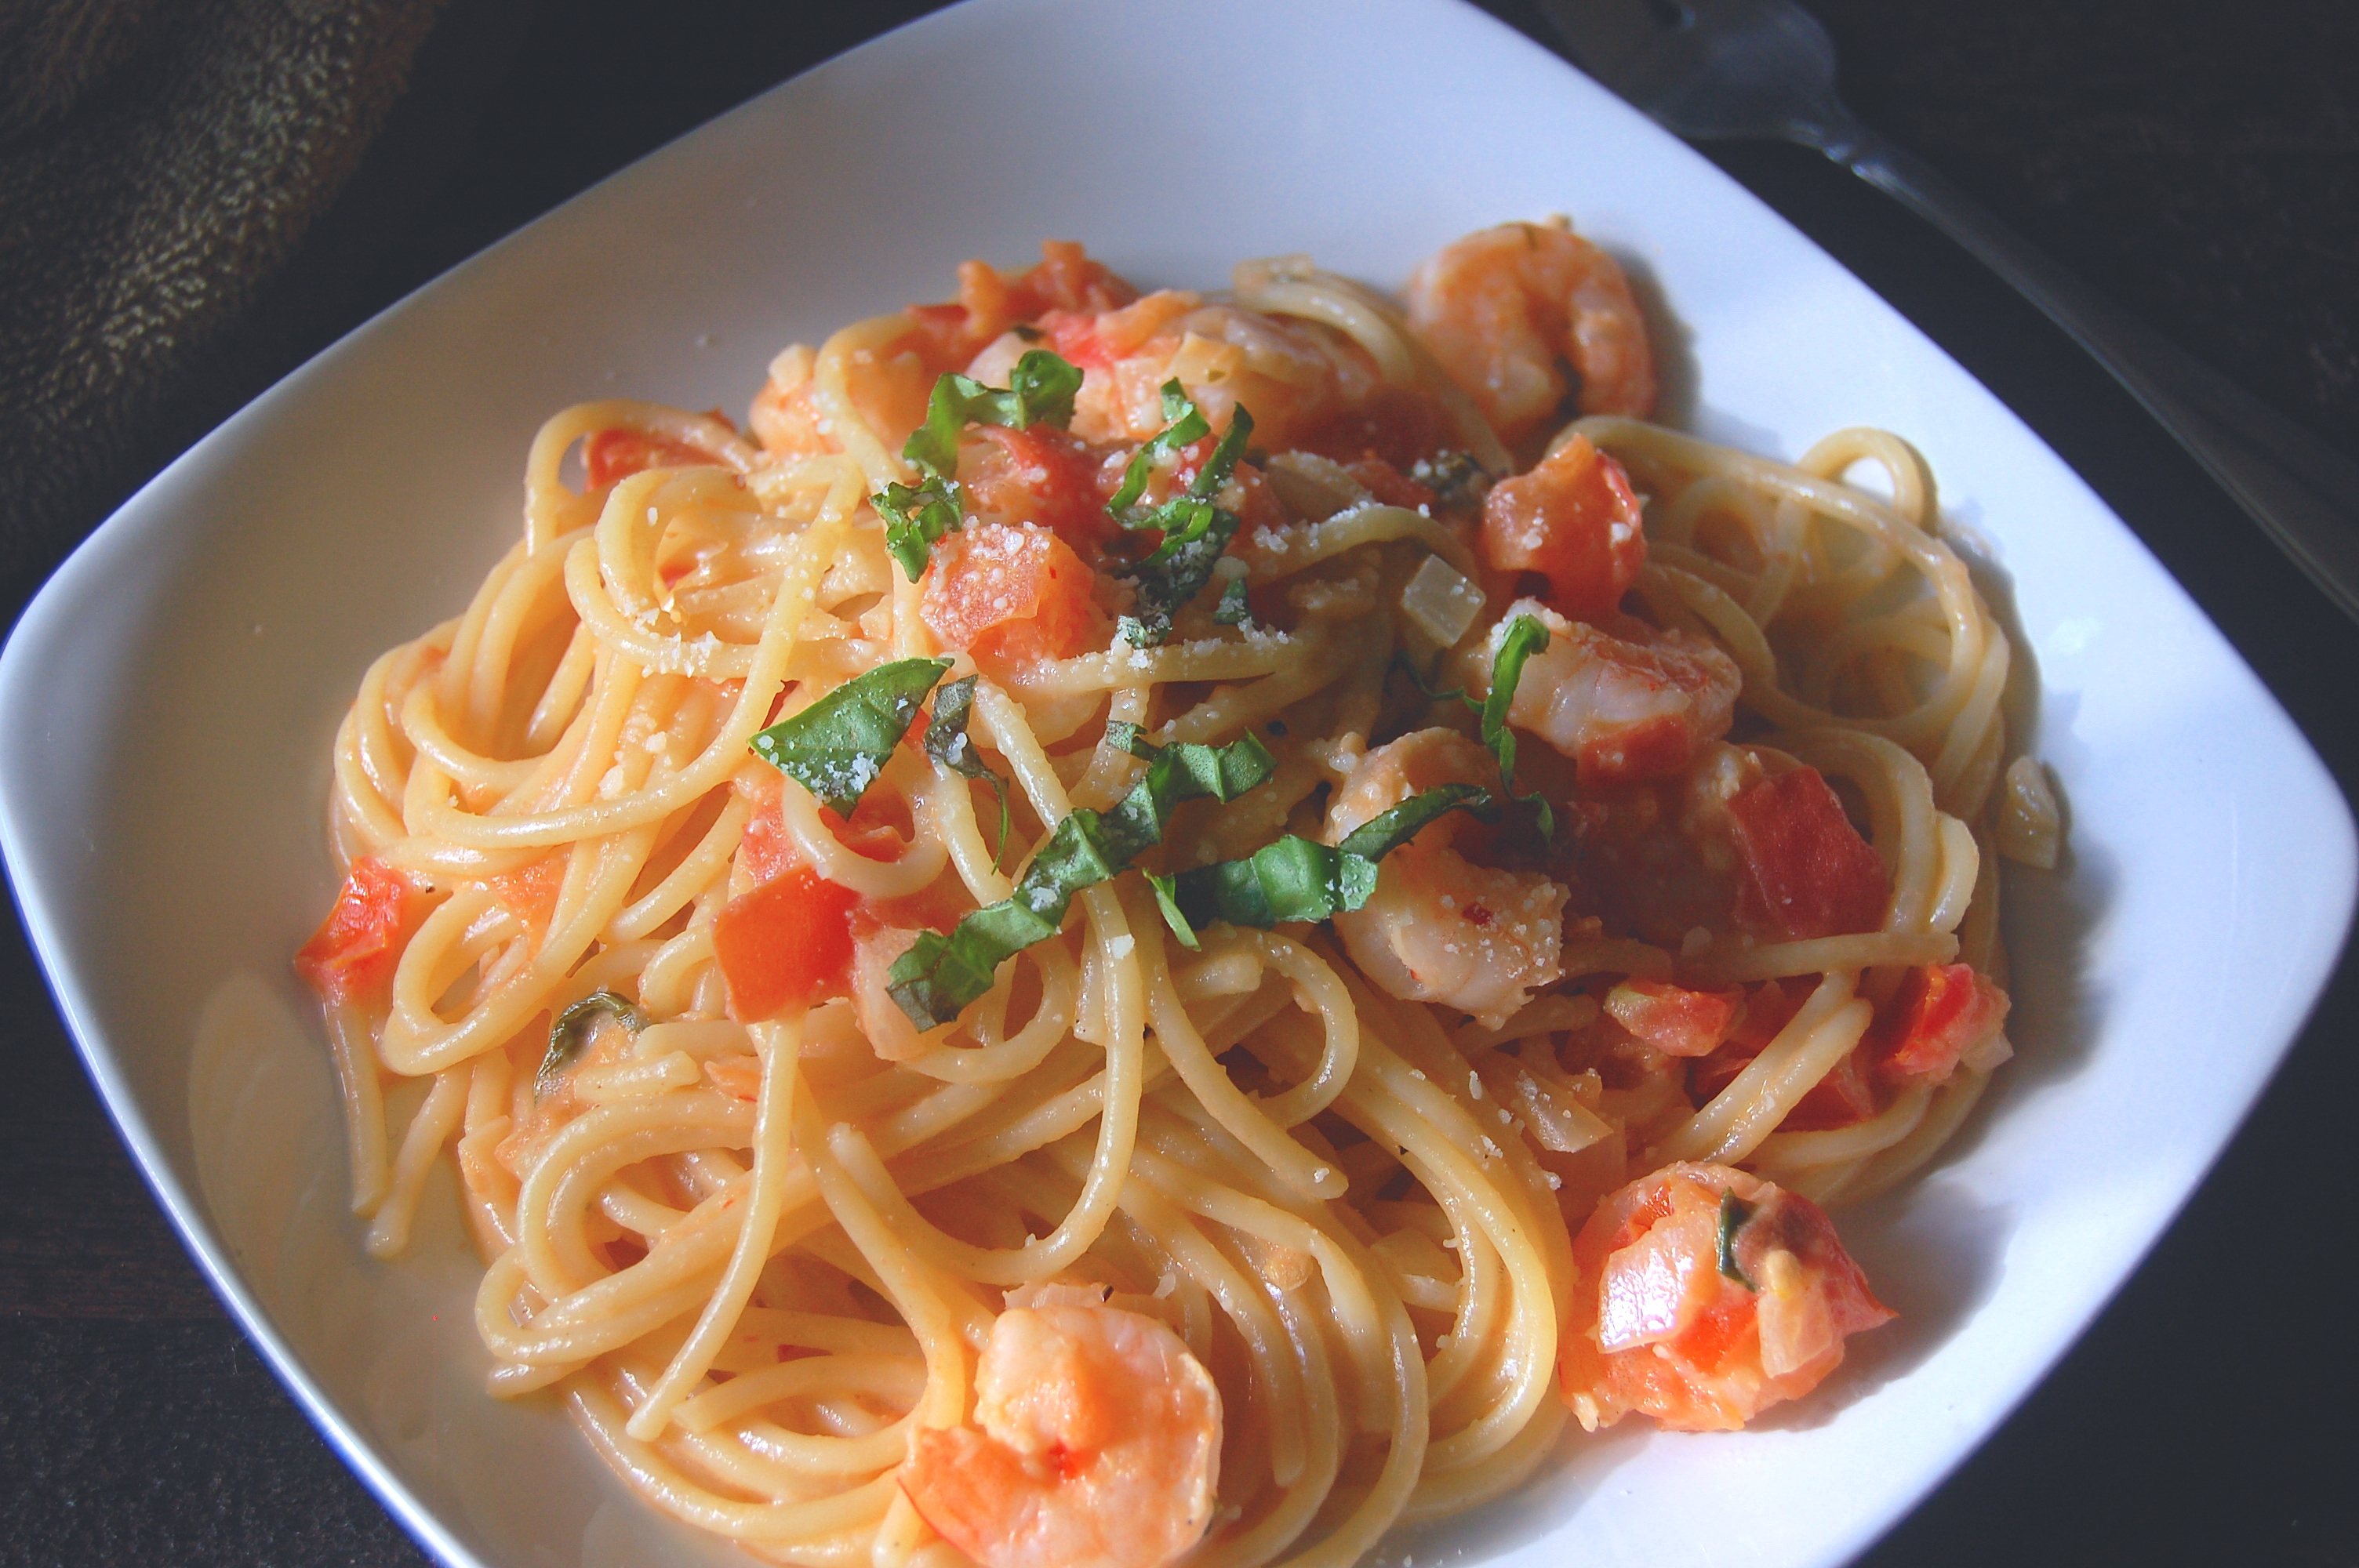
Take a look at this beauty. This was incredibly tasty, although definitely not a low fat meal. More of a treat from time to time or could be something impressive to make for the in-laws or any guests you may have. You can experiment with different ingredients. I’m a sucker for basil especially in the summer time so I garnished mine with it. Deeeelicious. Hope you enjoy!!
Ingredients:
- 1/2 lb medium raw shrimp, shell removed
- ¾ lb spaghetti or angel hair pasta
- 1 tablespoon olive oil
- 6 medium tomatoes, diced
- 1 small onion, finely chopped
- ¼ teaspoon hot chili flakes
- ½ teaspoon dried basil, or 2 Tbsp chopped fresh basil(I prefer fresh)
- 1 garlic clove, minced
- 4 tablespoons unsalted butter
- 1 cup dry white wine
- ½ cup heavy cream
- salt and pepper to taste
- Parmesan to serve
Instructions:
- Put the tomatoes, onion, chili flakes, basil, garlic and butter in a heavy pan , season with pepper.
- Add the wine and cook over med/high heat until mixture is soft and most of the wine has evaporated. You will have about ¼ cup liquid remaining in the pan.
- Peel shrimp and dry on paper towels. Lightly season shrimp with salt and pepper and saute in 2 tablespoons olive oil over medium/high heat, just until cooked through, about 3 minutes. Set aside.
- Cook pasta in salted water with 1 tablespoon olive oil, according to the package instructions until al dente (tender but firm to the bit). Rinse, Drain and set aside.
- Once the sauce has mostly evaporated, stir in the cream and add the shrimp. Warm through gently for 2 minutes.
- Toss the pasta with the sauce. Sprinkle with Parmesan and fresh basil and serve!
Doesn’t it look good?! Yummmmmm. Give it a try and let me know what you think! Thanks for taking a look around the blog!
xoxo