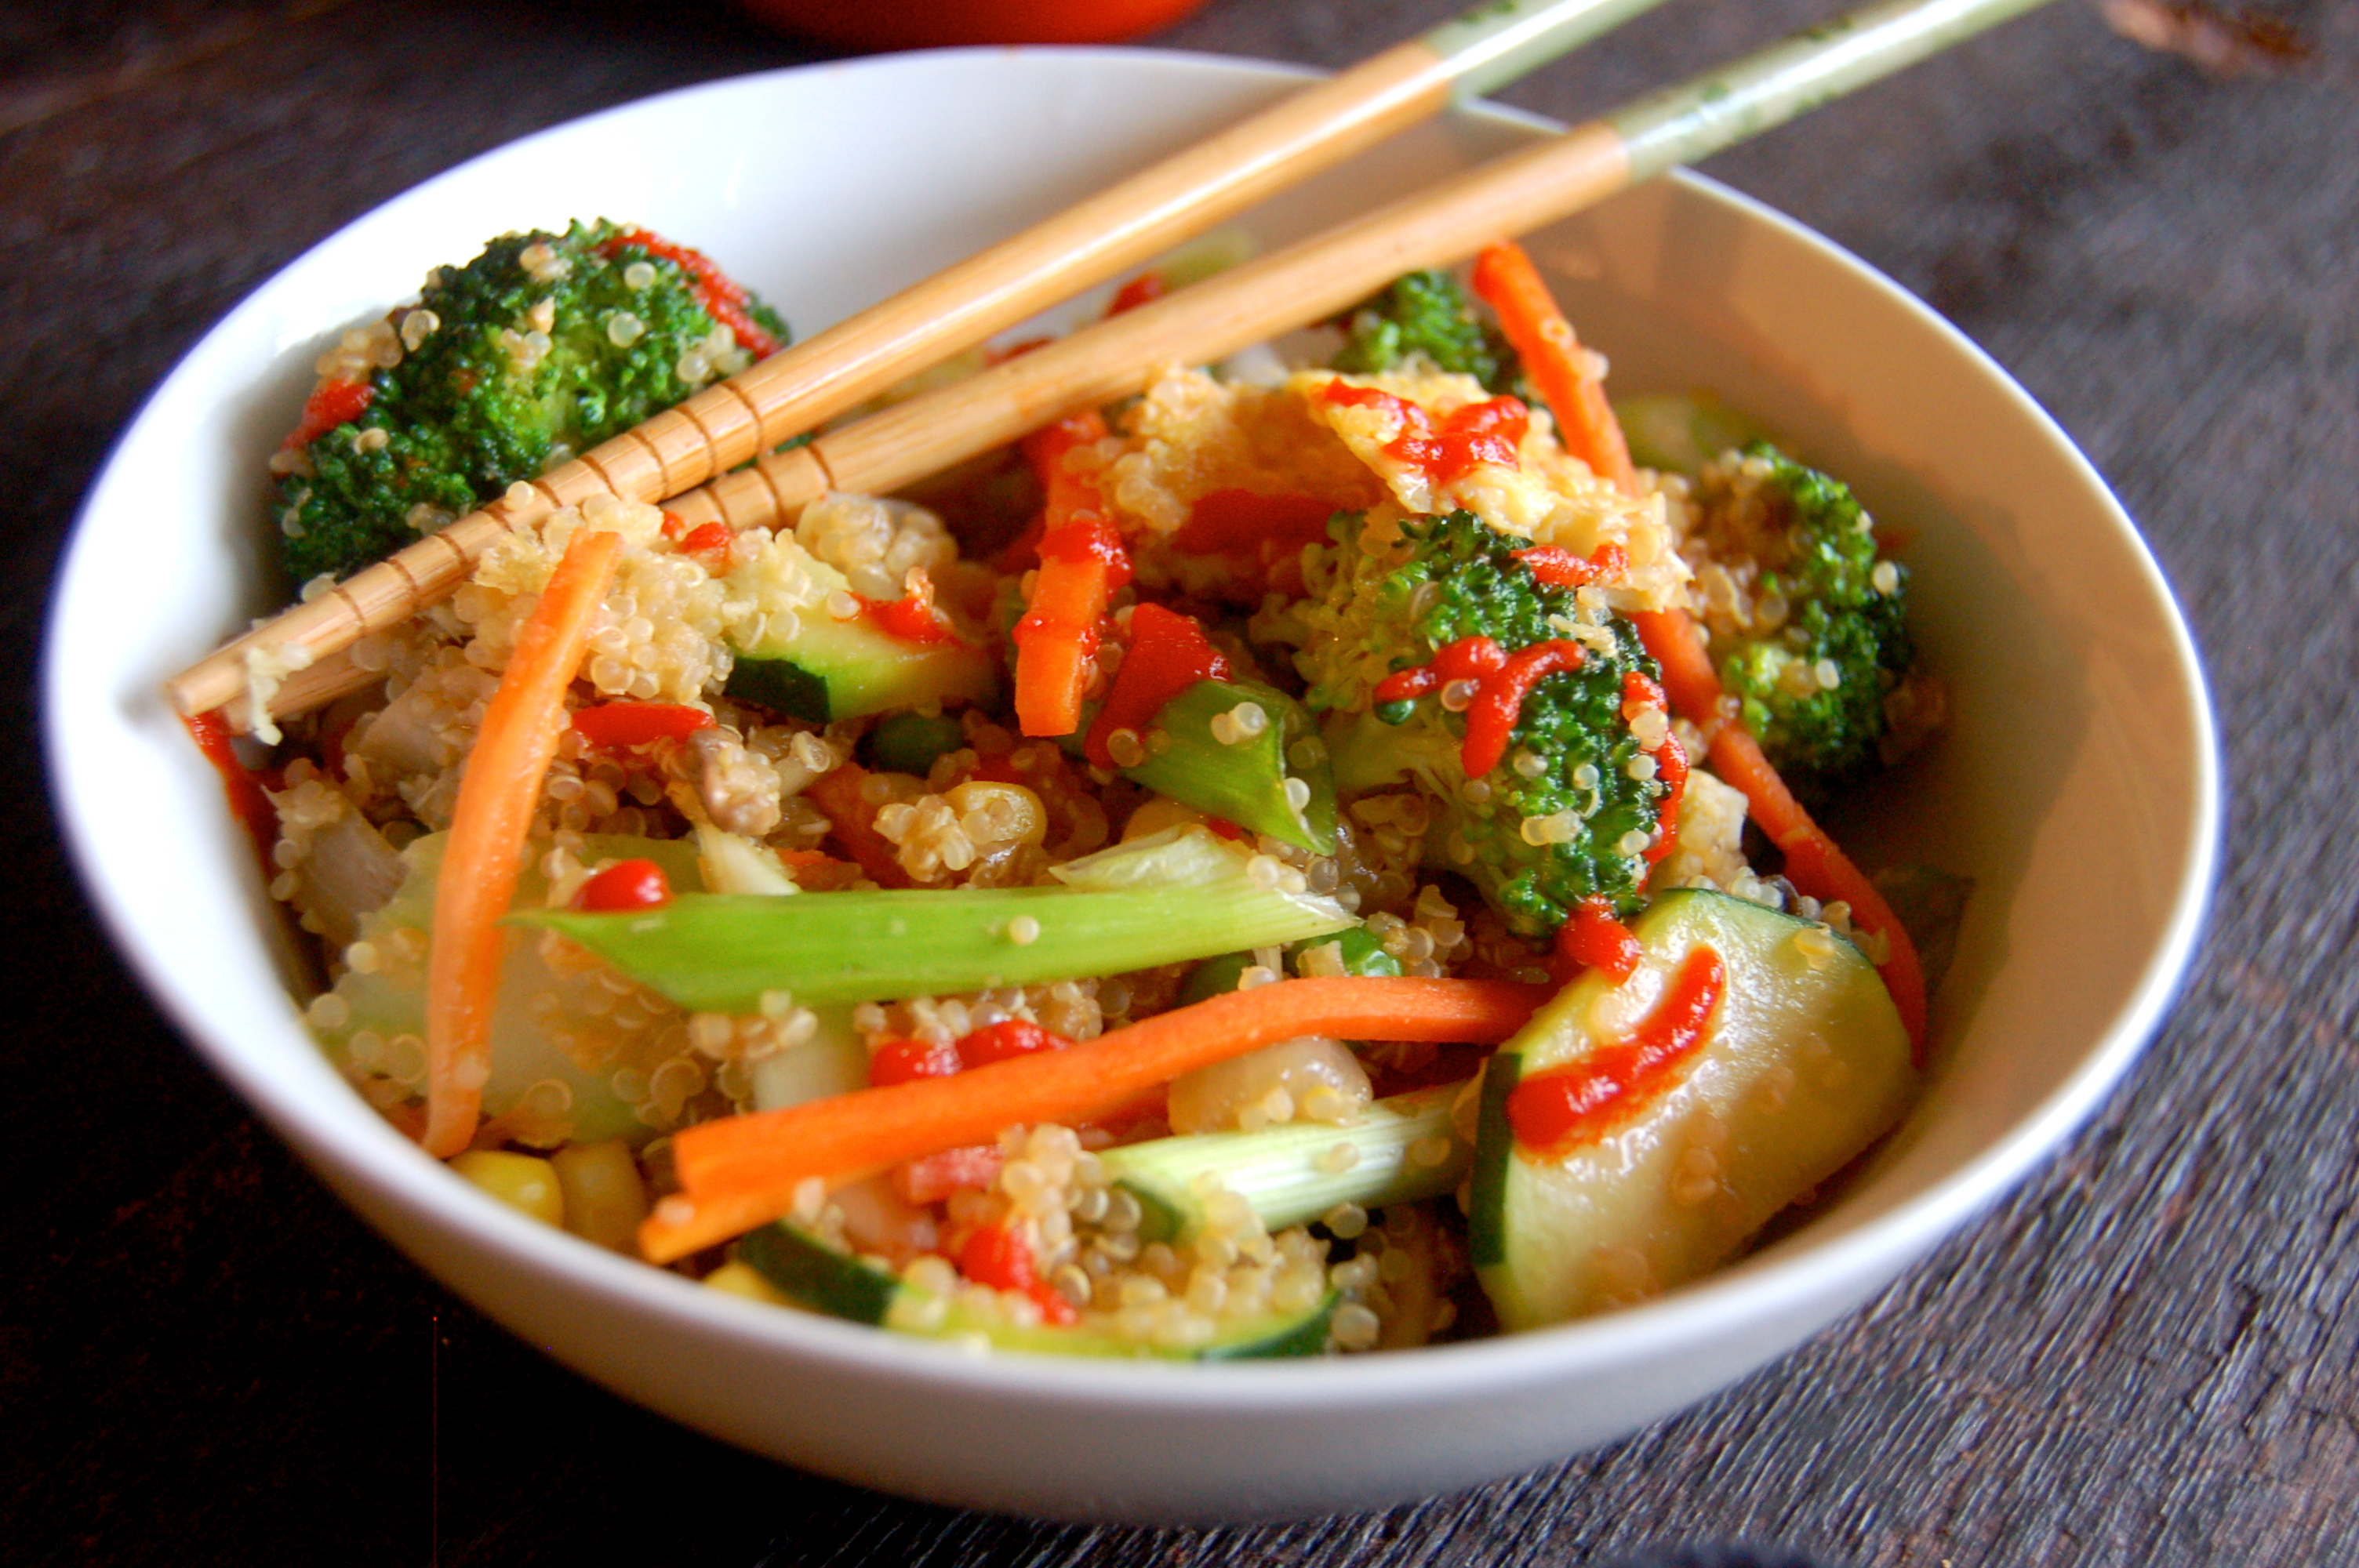
Lentil & Black Bean Salad with Spicy Lime Dressing
Ah- Who still feels full after Thanksgiving?! Oh just me? There’s just always such delicious food and I over indulge every.single.time. No shame.
But I always run into the issue the week afterwards of obviously needing to eat, but not hungry, or nothing sounds good, or only the stuffing and mashed potatoes sound good but I ate them all… ugh, the struggles. I need something lighter.
Enter delicious veggies:
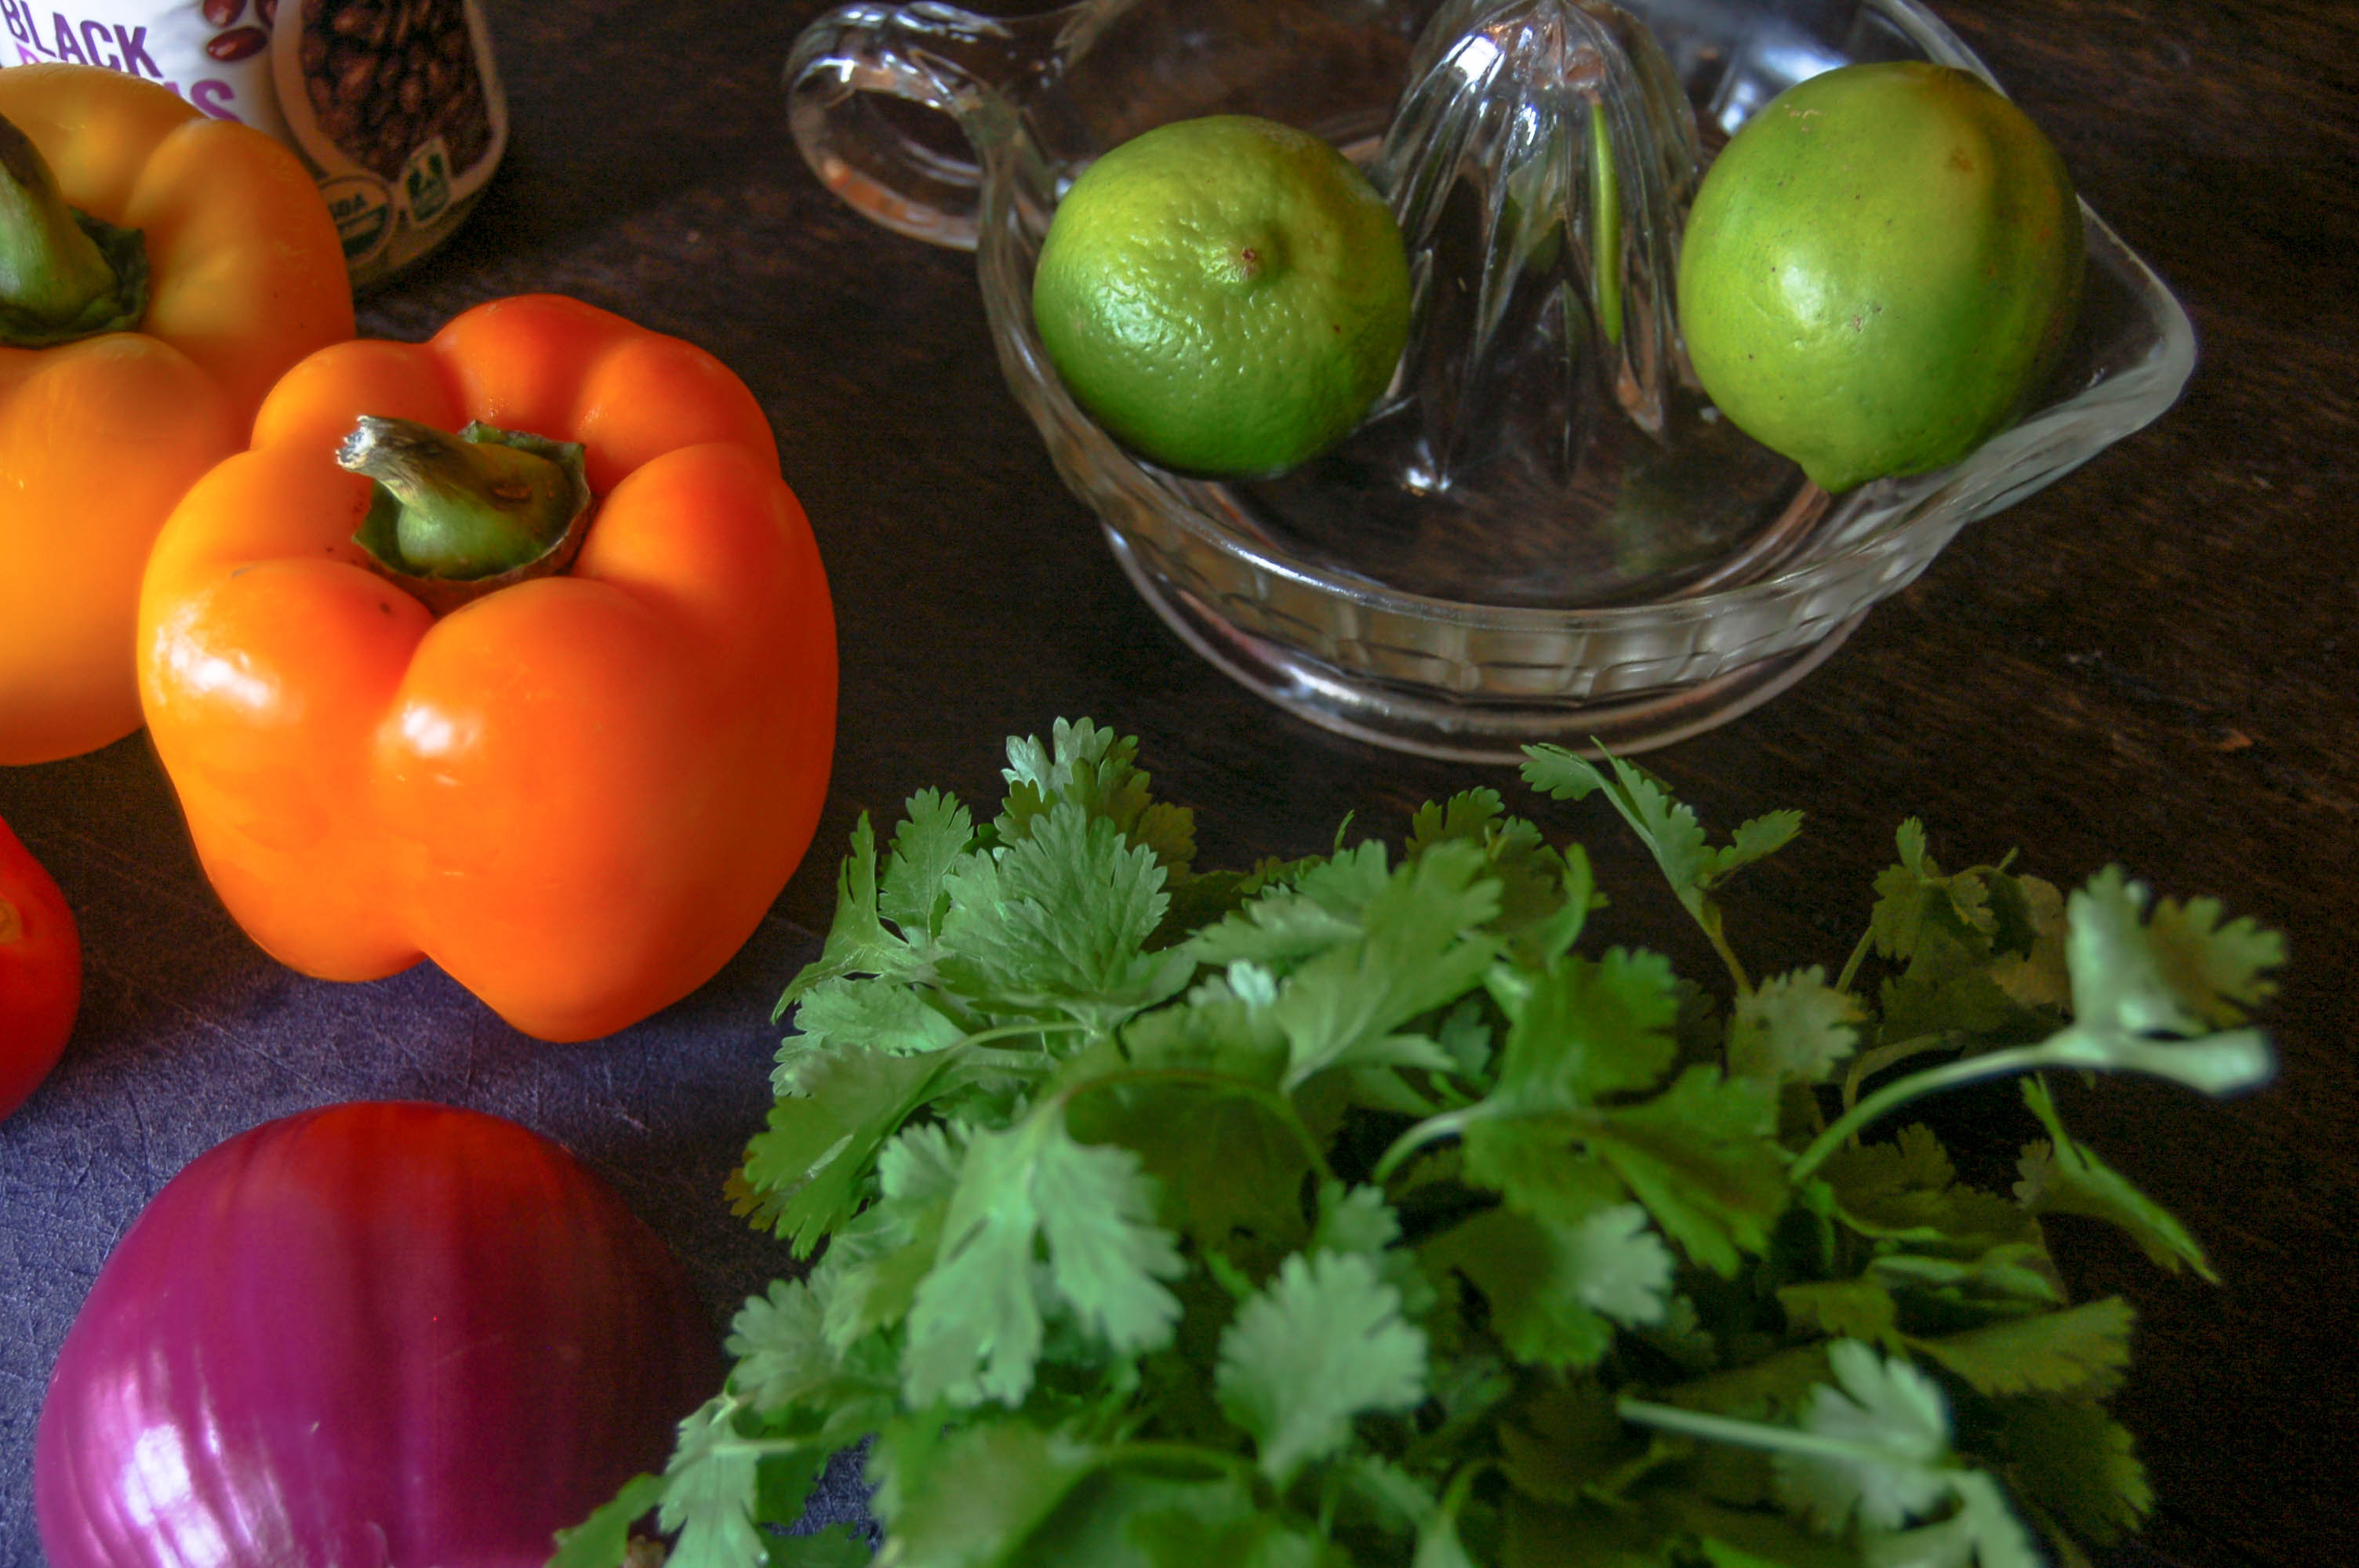 Yum. These plus protein rich beans and lentils= me eating without feeling guilty!
Plus it helps keep me full longer- ultra bonus.
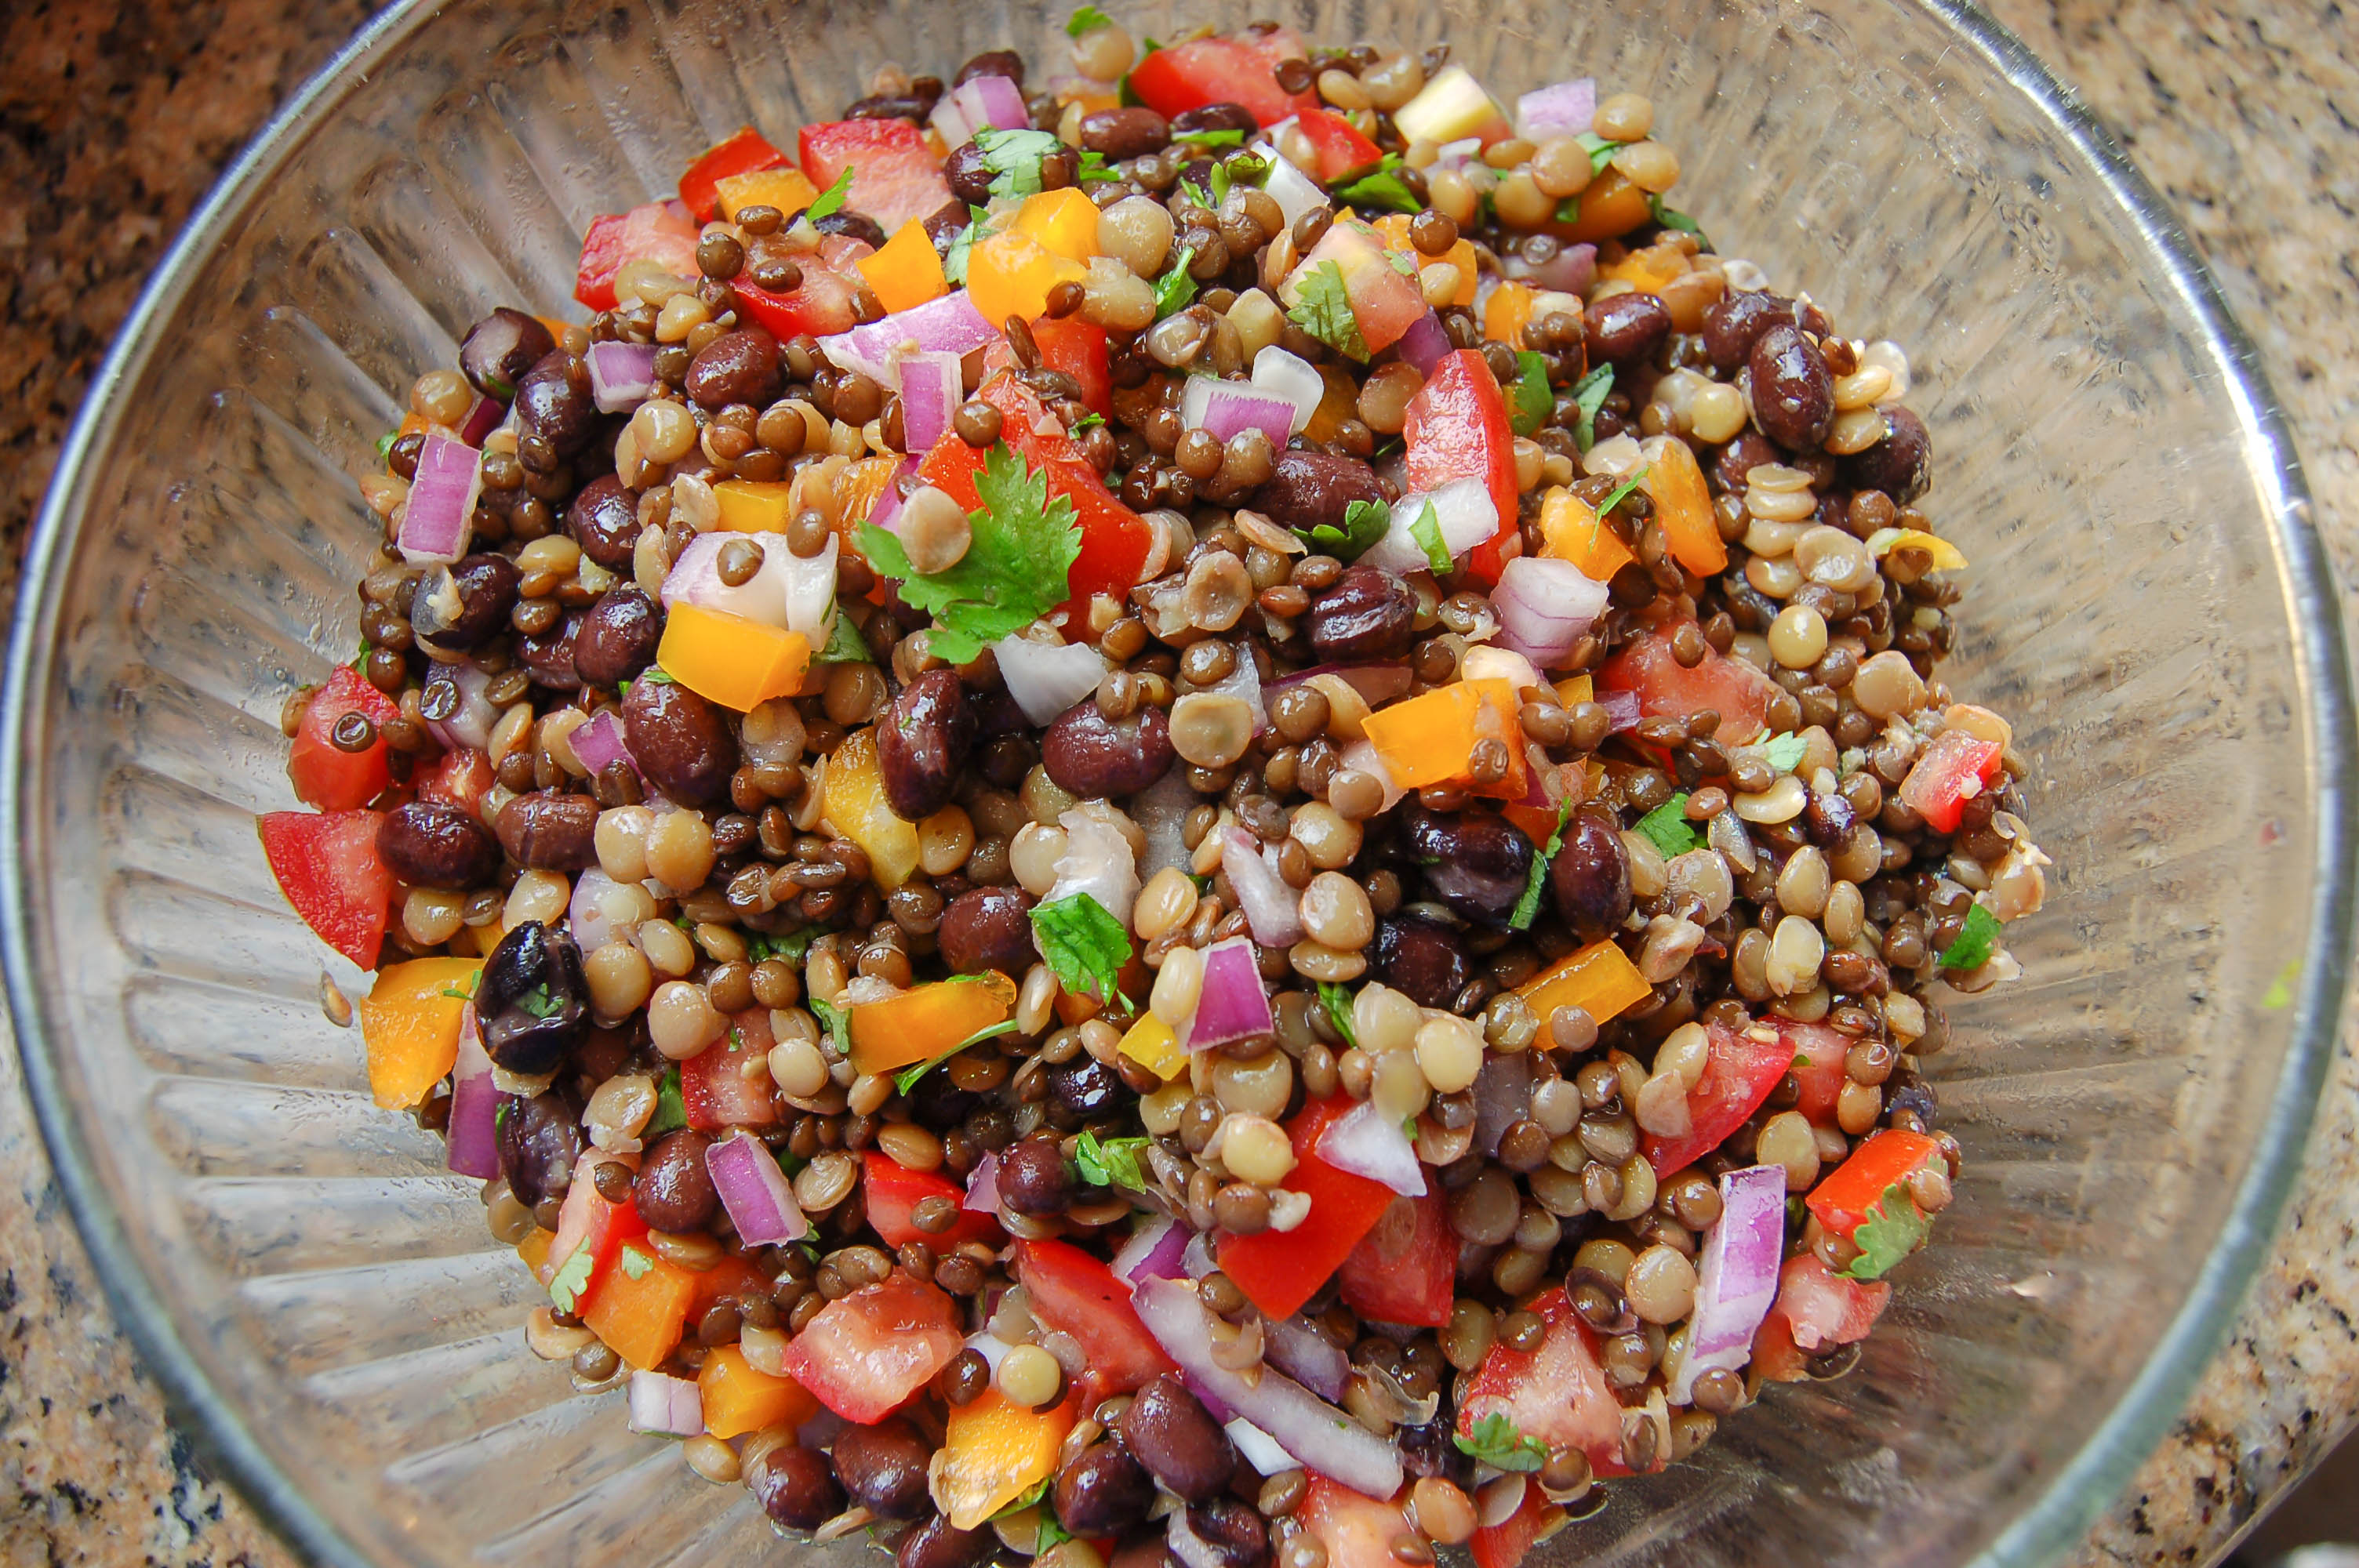
Plus look how pretty it is! ultra ULTRA bonus
Lentil & Black Bean Salad with Spicy Lime Dressing
Ingredients
1 cup dry lentils (green or brown or both!)
2 cups cooked black beans or 1 15oz can, rinsed and drained
1 bell pepper of your choice, chopped
1/2 small red onion, diced
3 roma tomatoes, chopped
½ cup cilantro, stems removed and chopped
-Dressing-
Juice of 1 lime
2 Tbsp. olive oil
1 tsp. dijon mustard
1 clove garlic, minced (or 1 tsp garlic powder)
1 tsp. cumin
1/2 tsp. oregano
1/4 tsp. chipotle powder
1/4 tsp. cayenne pepper
1/8 tsp. salt
Directions
Put lentils into a small sauce pan with plenty of water to cover, bring to a boil then lower the heat to simmer, cover, and cook until lentils are tender; which is about 30-40 minutes, but check your package for specific instructions! Drain lentils and let cool slightly
While lentils are cooking, make the dressing: place all ingredients in a small bowl or cup* and whisk to combine. Set aside.
Combine the bell pepper, onion, tomatoes, beans, and lentils in a large glass* bowl. Add the dressing and toss to combine. Add cilantro, and lightly toss once more.
You can serve it immediately or chill covered in the fridge to let the flavors combine and enjoy later!
This was really really really tasty and would be something awesome to make to bring for lunches at work throughout the week! It was just what I needed, light and refreshing.
*I suggest using a glass bowl because the dressing contains lime juice. The acidity in lime juice often reacts with metal in metals bowls and can give your food a metallic taste- yuk!
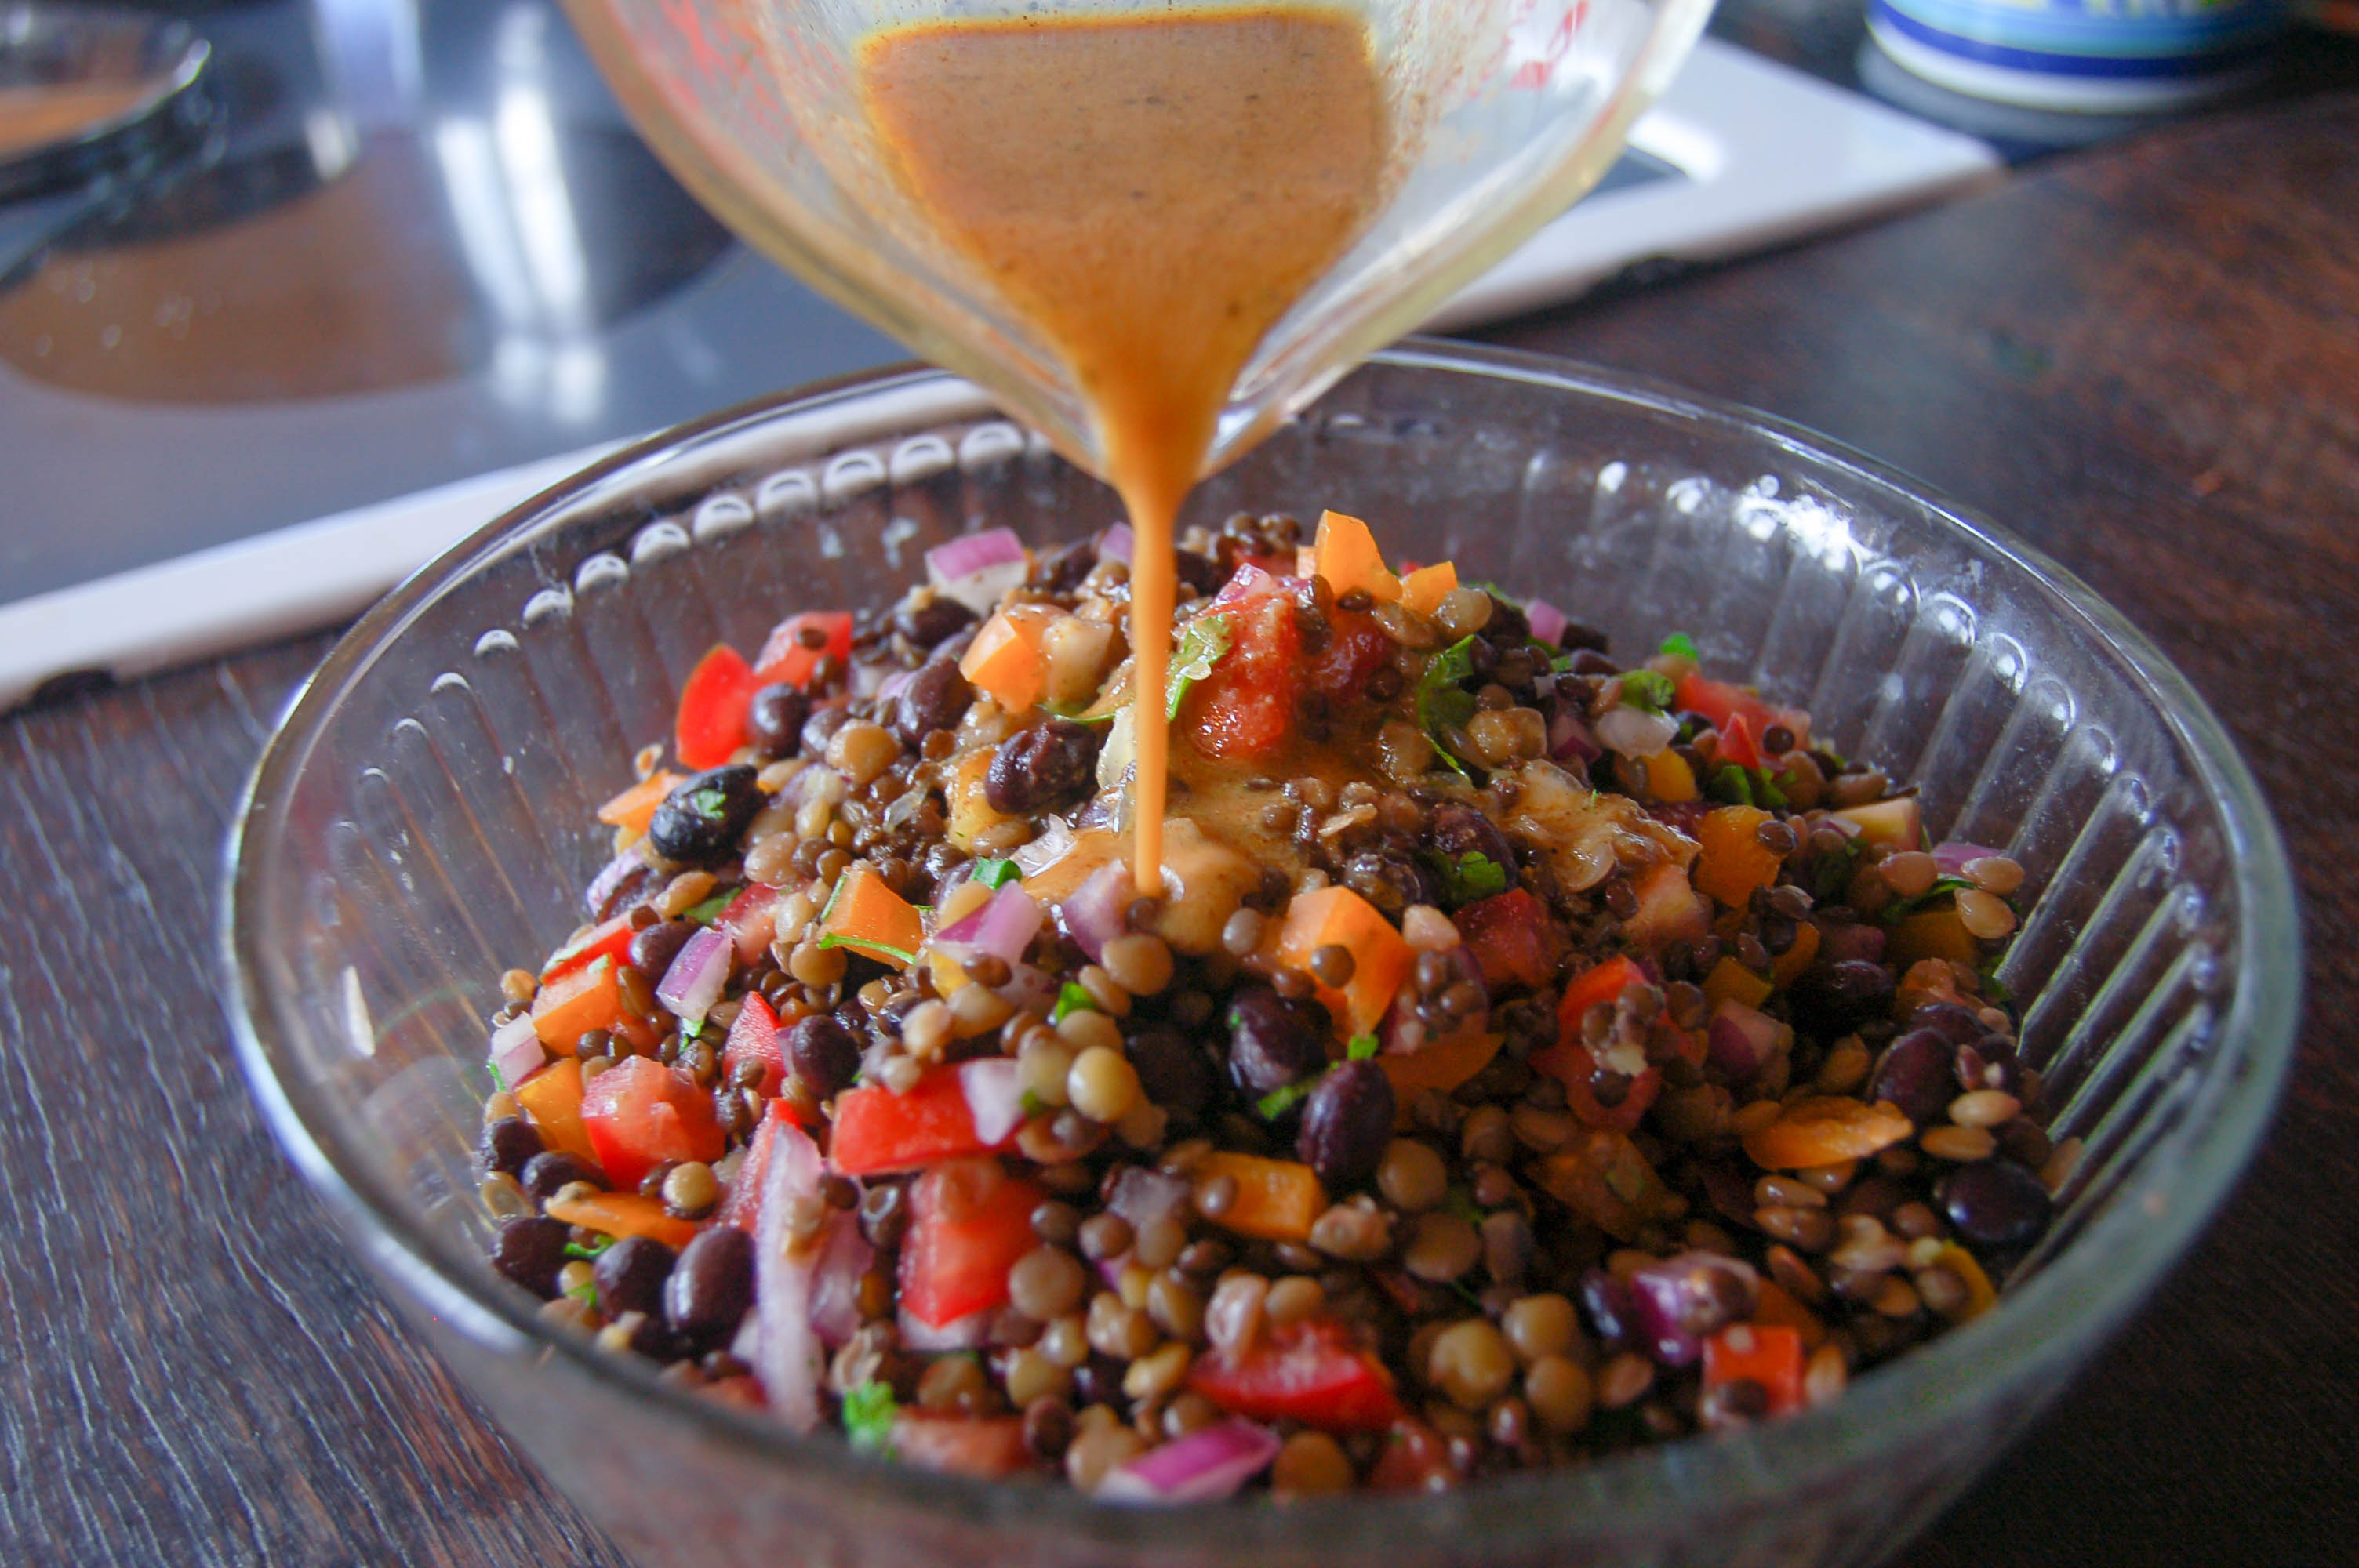
Pourrrrr over
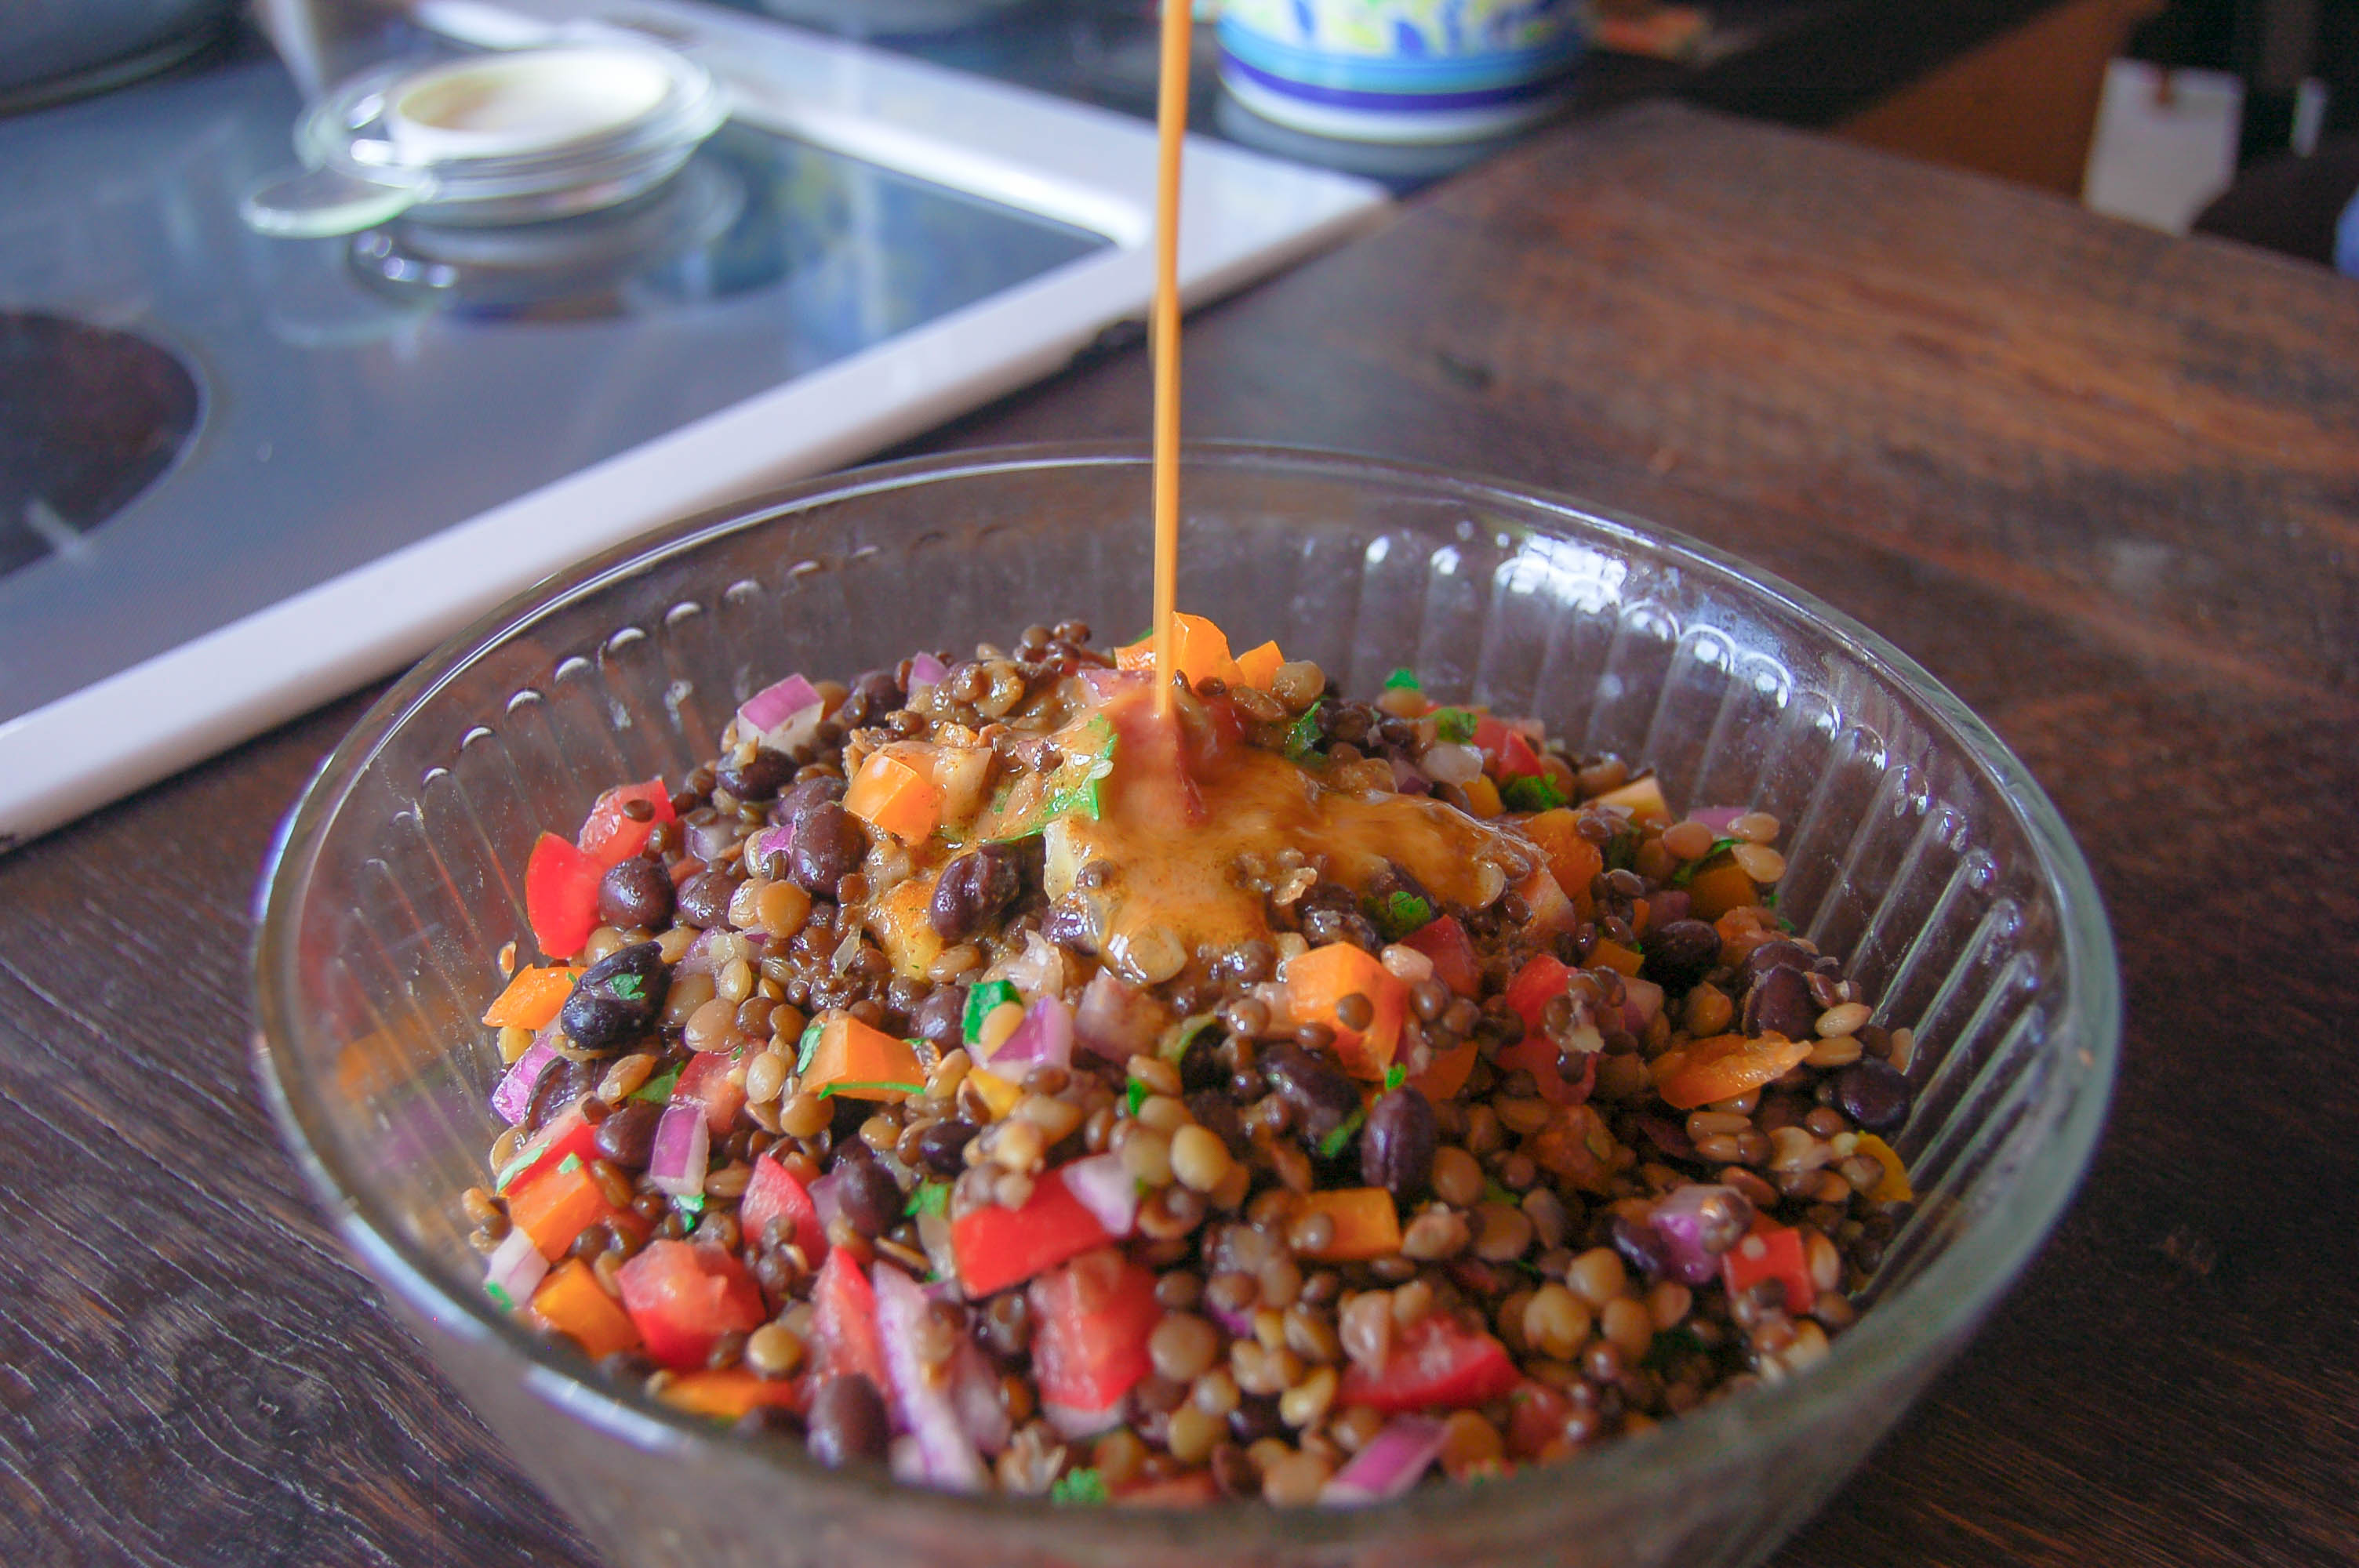
Action shot 🙂

ta da!
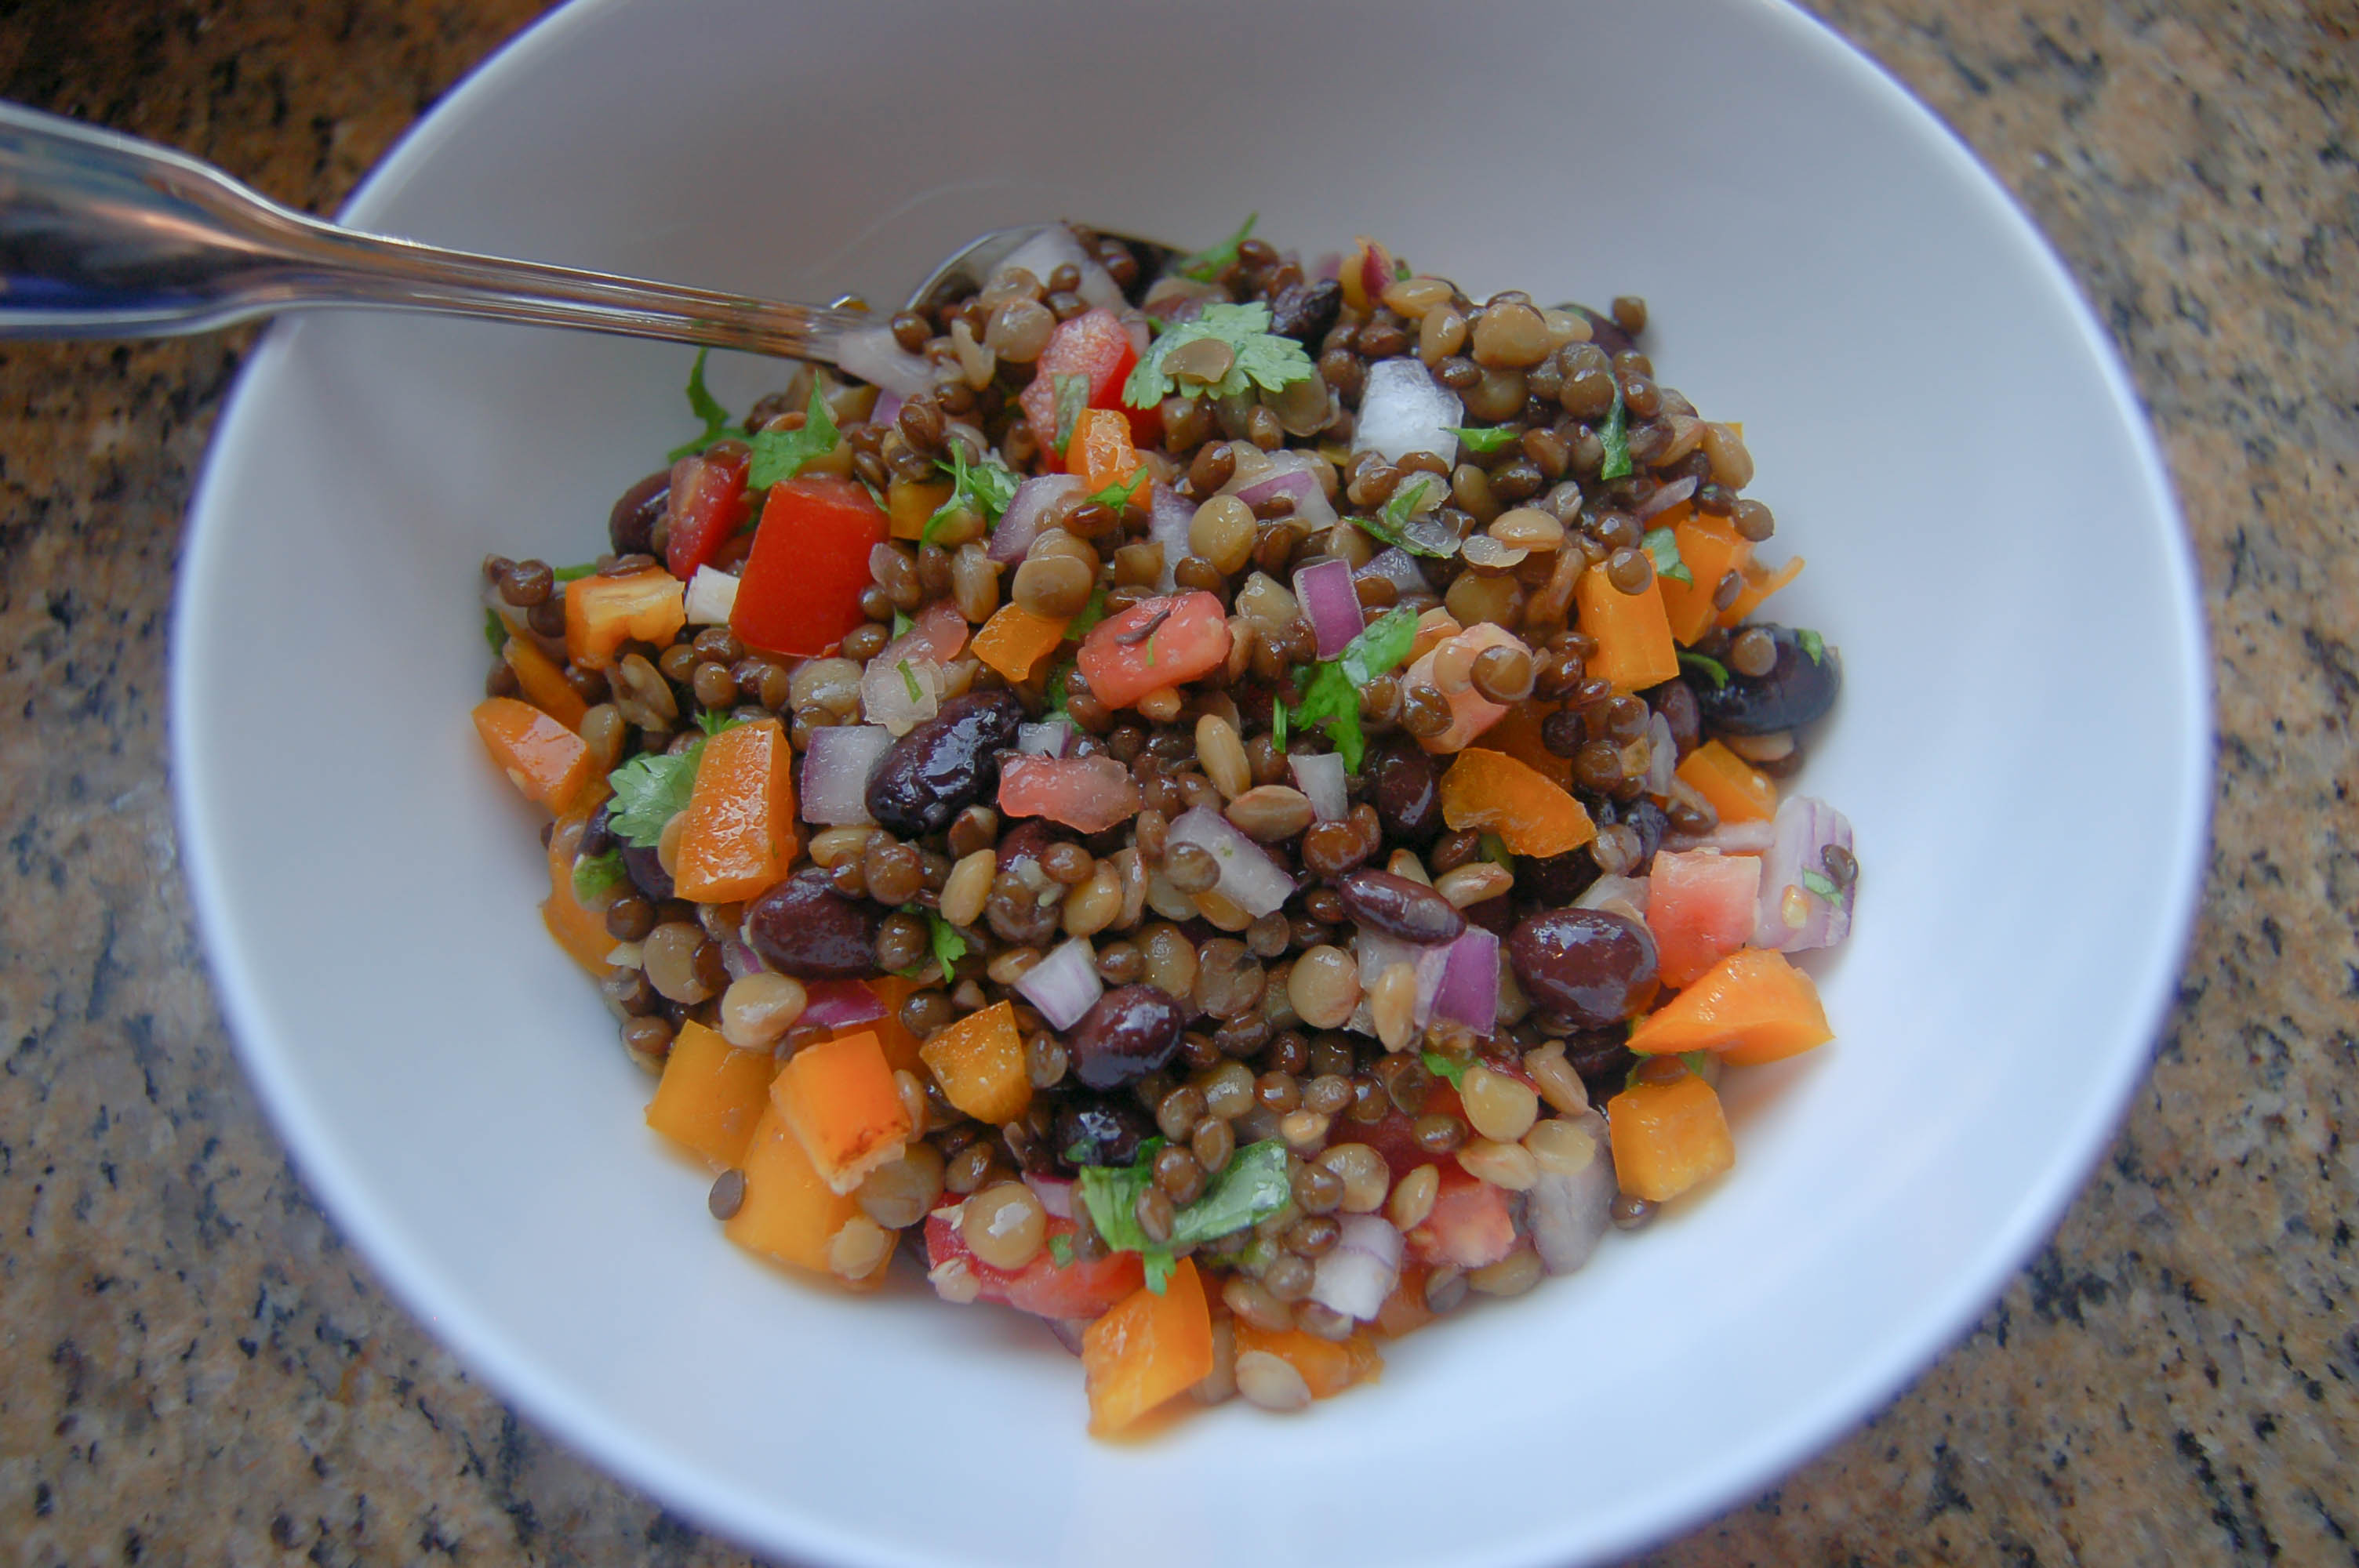
now EAT!
This was perfect. Light and delicious. I preferred it chilled a little bit but it was great room temp too!
I hope everyone had a great holiday week/weekend and that you enjoy this dish too!
Ps- less than 3 weeks until Christmas!!! wooohooo! I’m so excited to share some of my crafts and homemade gifts I’m doing this year with you guys! But of course I have to wait until after the gifts are given so I don’t spoil the surprise 🙂
xoxo