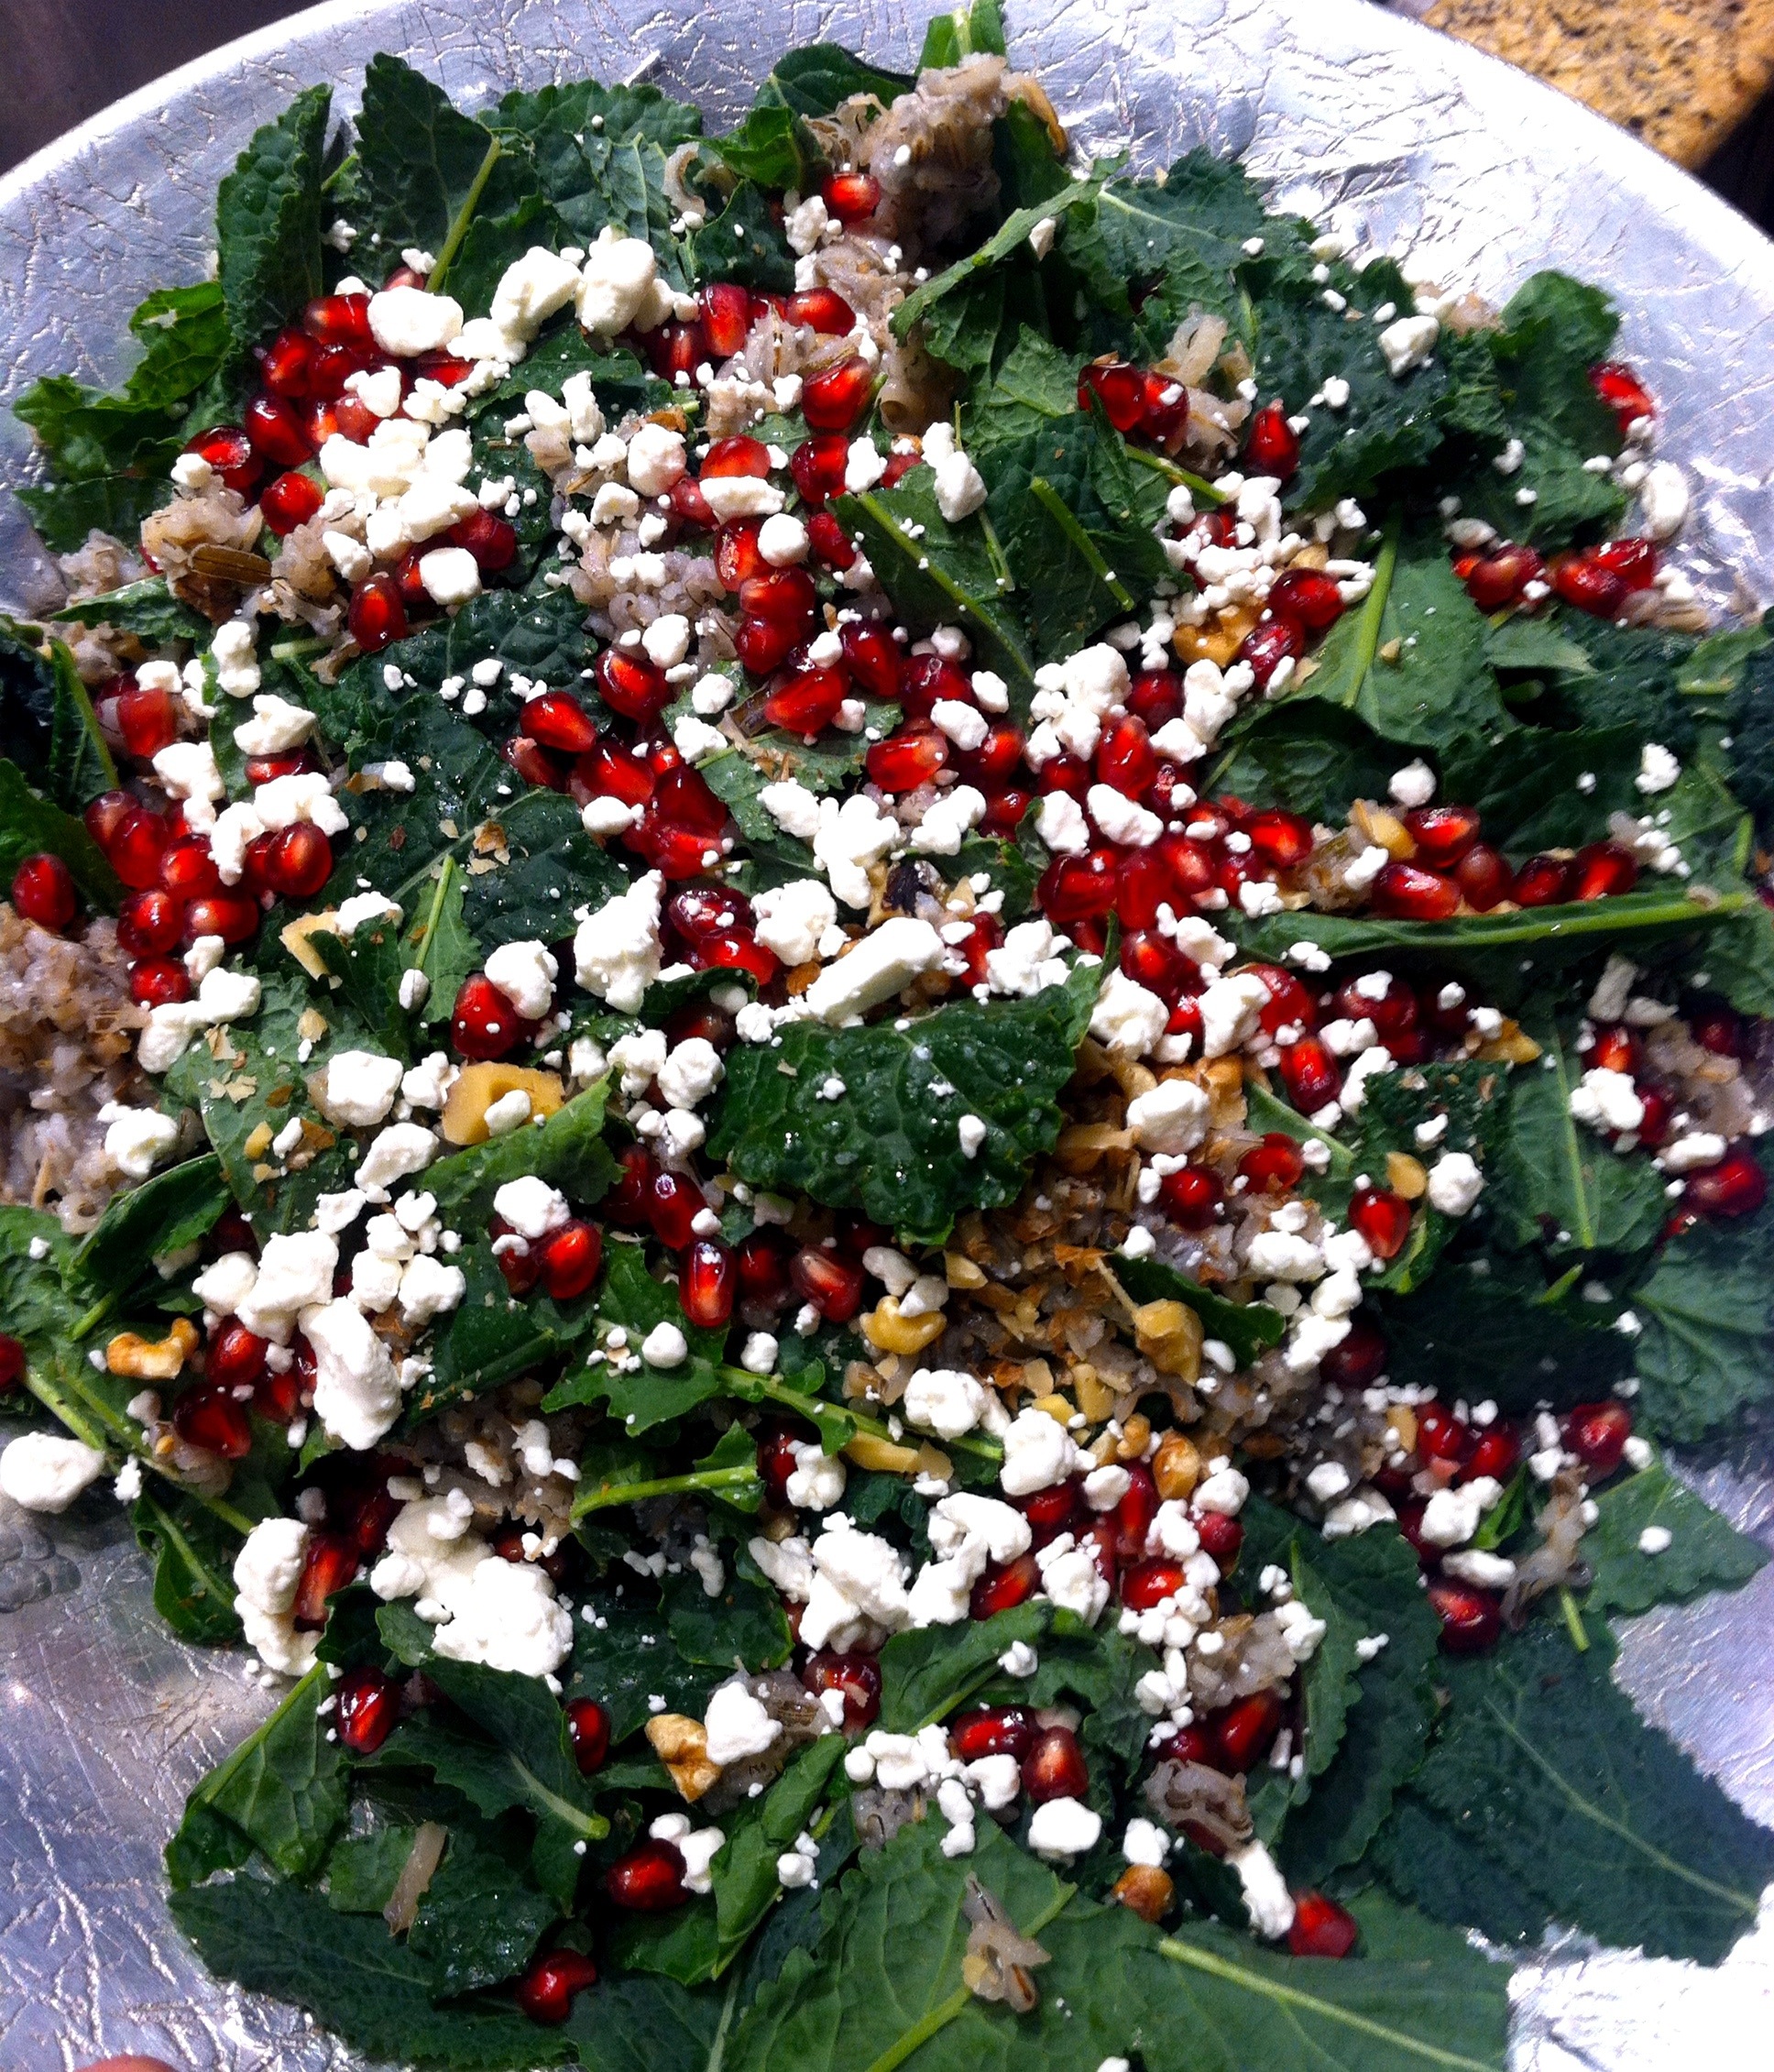
POMEGRANATE, KALE, AND WILD RICE SALAD
Ummmm, seriously you guys, this is one of the best things on planet earth. It caught my eye at first just becuase of how pretty it was but then once I made it, ohhhh maaaaannnn oohhh mannn. Probably could’ve eaten the whole thing myself. The dressing to this is amaze-balls and I’m gonna make it for my regular salads all the time!
INGREDIENTS
For the salad
1 cup pomegranate seeds
2 cups chopped(not tiny)baby kale
2 cups cooked wild rice (you can use leftover rice or buy precooked)
¼ cup toasted walnuts
¼ cup feta or crumbled goat cheese
For the dressing
½ cup minced onion or shallot
2 tablespoons olive oil
2 tablespoons water
2 tablespoons honey
½ tablespoon apple cider vinegar
½ teaspoon salt
1 squeeze lemon or orange juice
INSTRUCTIONS
Prep the salad ingredients (chop, rinse, toast, etc). Chill the ingredients in the fridge while you’re making the dressing if you want a cold salad.
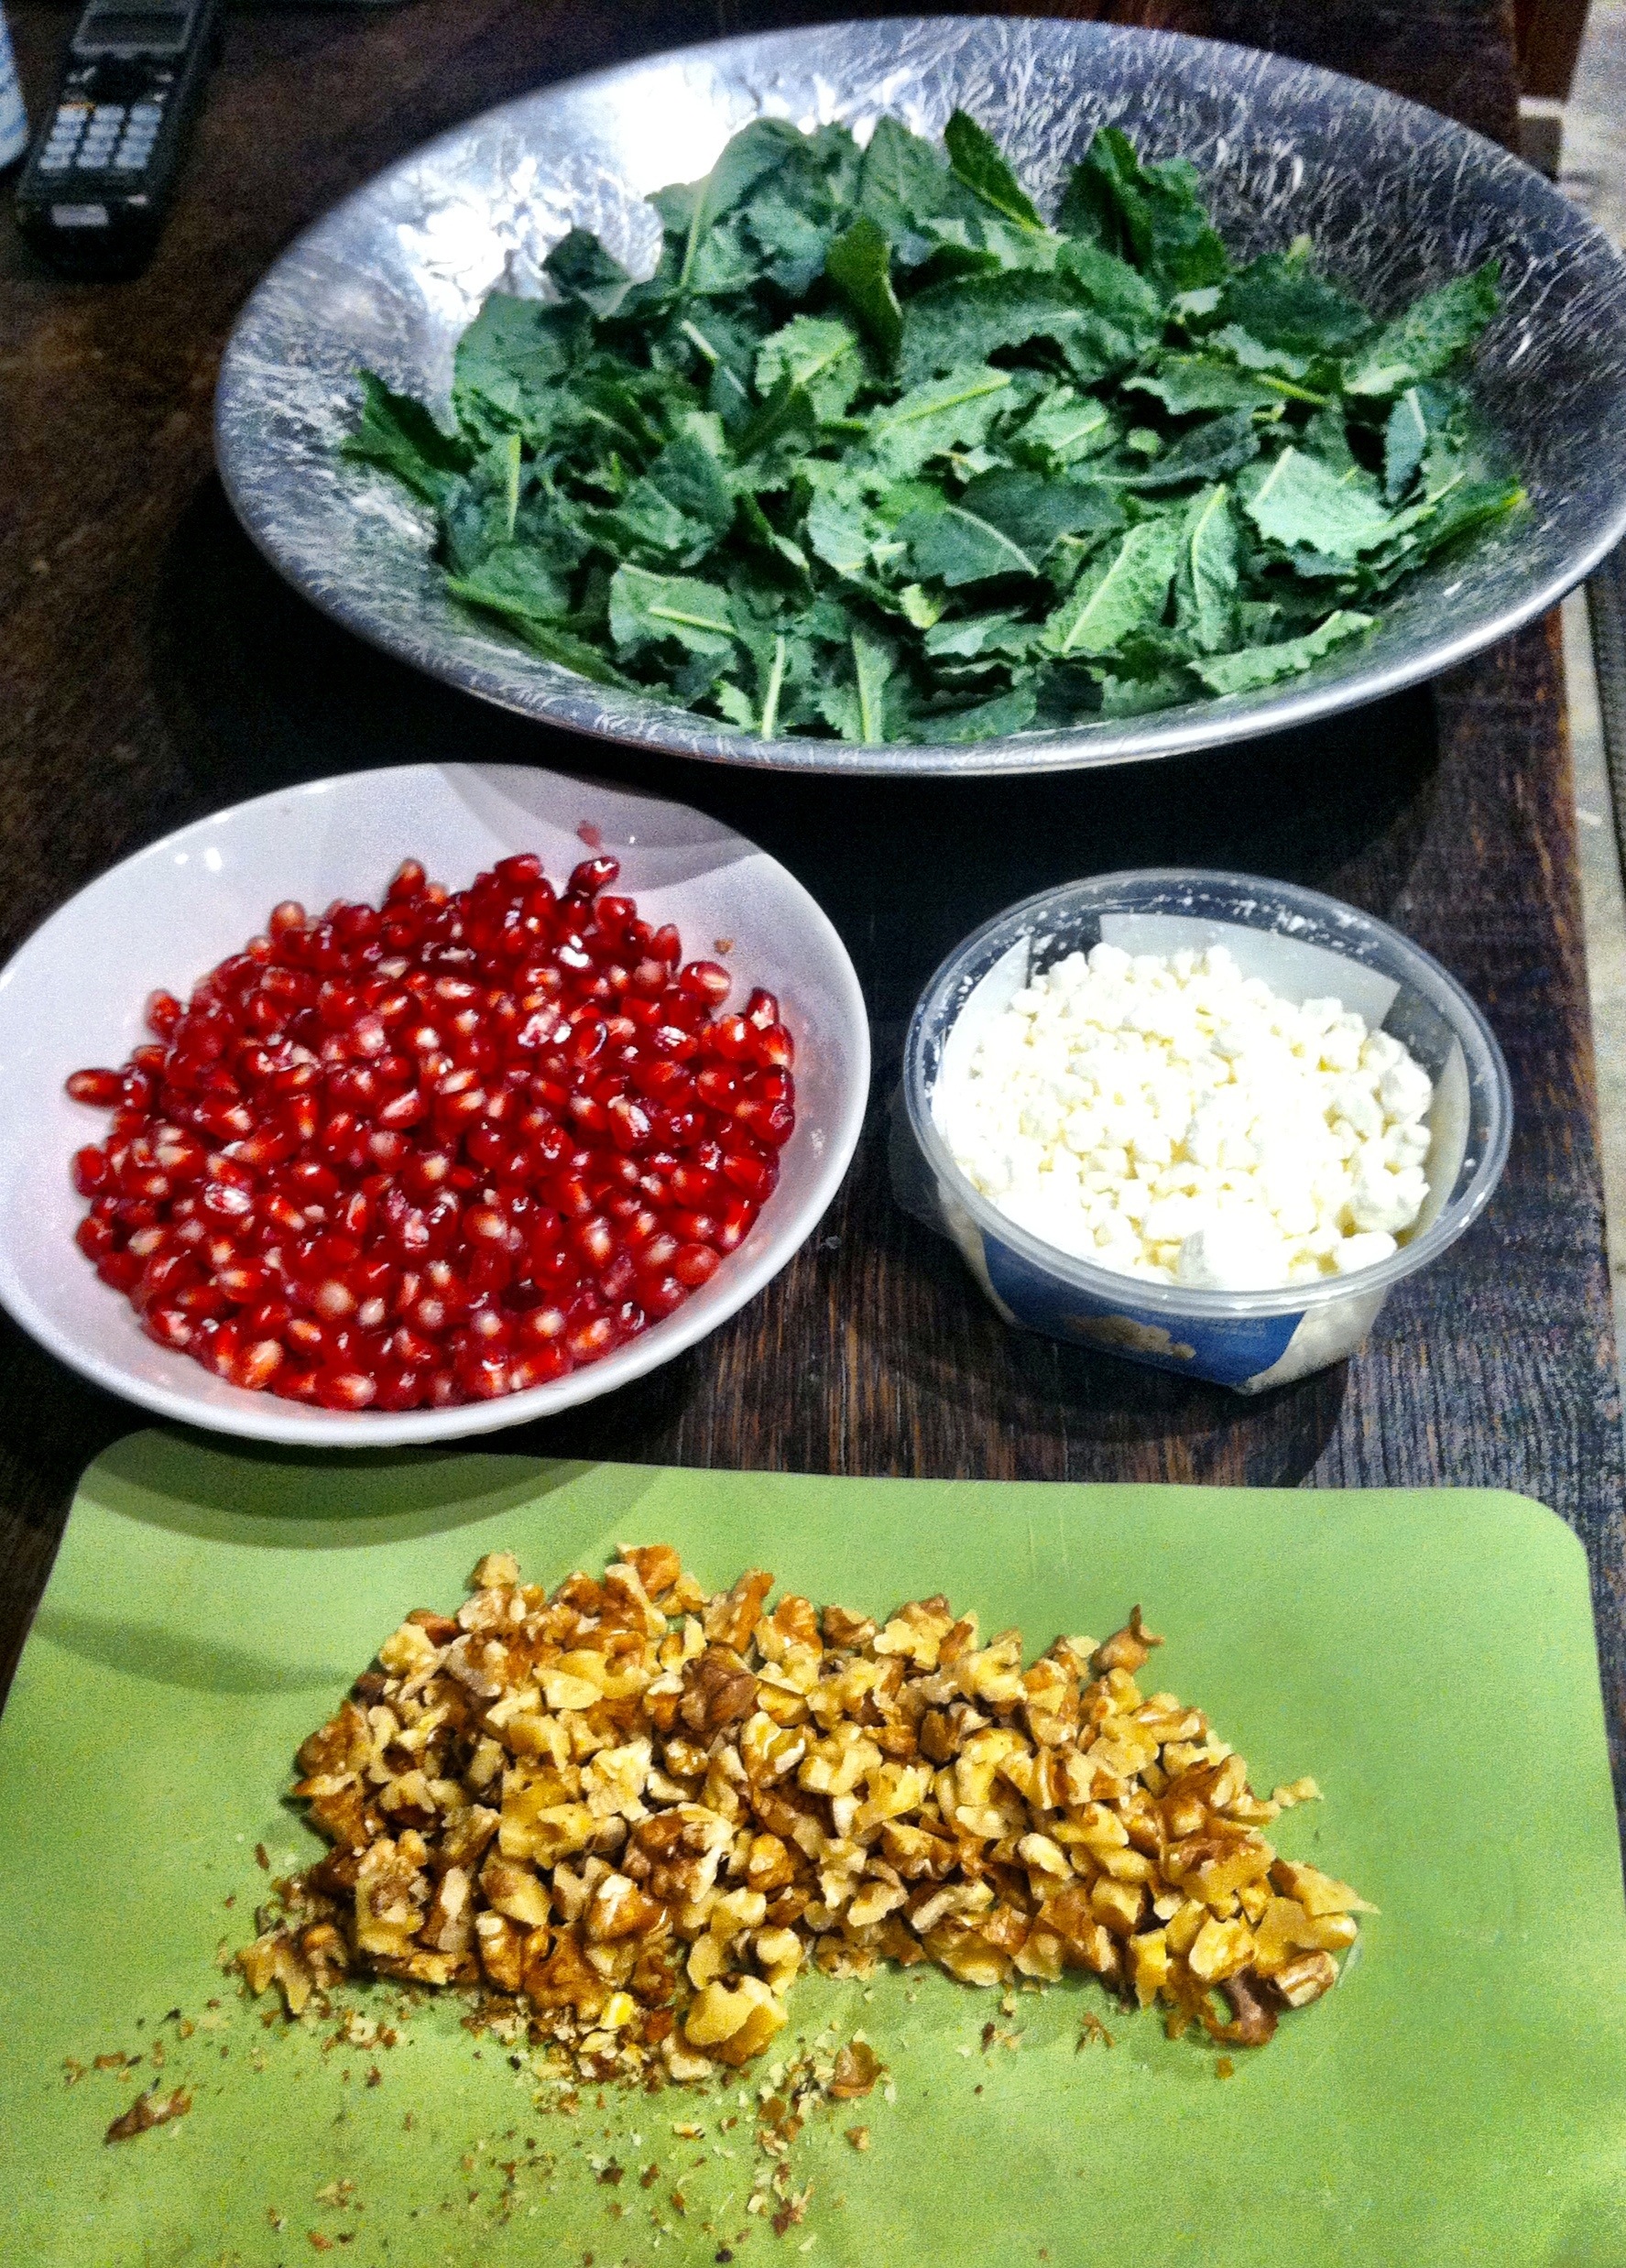
This is more walnuts than I used for the salad, but I toasted about a cup to use for various things, while I was at it anyway 🙂
Mince the shallot or onion and saute in ½ tablespoons olive oil to reduce the ‘bite’ of them. When soft and fragrant, remove from heat and transfer to a food processor. (If you want a stronger flavor for your dressing, skip the sauteing altogether. The shallot in particular works well for not sautéing method as they are milder)
Pulse the onions or shallot with the remaining olive oil, water, honey, apple cider vinegar, salt, and orange juice until smooth and creamy. Taste and adjust. Add additional olive oil or water to keep the mixture moving through the food processor.
Toss the salad ingredients together with the dressing just before serving. I prefer to serve this at room temperature or chilled slightly.
Then: Eat. It. All
Please tell me you guys like this one as much as I did!!!!
xoxo