Homemade Ice Cream

Homemade Ice Cream

(No Machine!)

EDIT OF DSC_8164

Heyoooo! Happy Friday!

So I love ice cream- but it doesn’t love me or my intestinal tract. If you catch my drift……. so it’s definitely a once in a while treat. And Custard it pretty much a no go. Butttt I came across this recipe for home made ice cream with no machine needed?!? whaaaat? of course I needed to try that. And I’m so glad that I did. This is virtually limitless with possibilities I you could put so many different flavors into this!! My favorite ice cream of all time is Chunky Monkey by Ben and Jerry’s. TO. DIE. FOR.  This sort of reminded me of it but even better since it contains peanut butter 🙂 I can’t wait to come up with the next concoction for this recipe.

I couldn’t believe how much like regular real ice cream this was! Jake literally didn’t believe me that I made it. You need to give this a try and let me know what you think! Also please share your flavor ideas with me in the comments below! Here are some of my original thoughts:

  • Cookie Dough with caramel swirl
  • Coffee Ice cream with chunks of chocolate truffle
  • Peanut Butter Caramel Pretzel
  • Brown Sugar & Brandy
  • Strawberry Rhubarb Crisp
  • Pumpkin Pie
  • Creme Brulee
  • Cannoli

Clearly you can tell it’s taking a LOT of self control to have only made this recipe once. Take peek and let me know what you think!

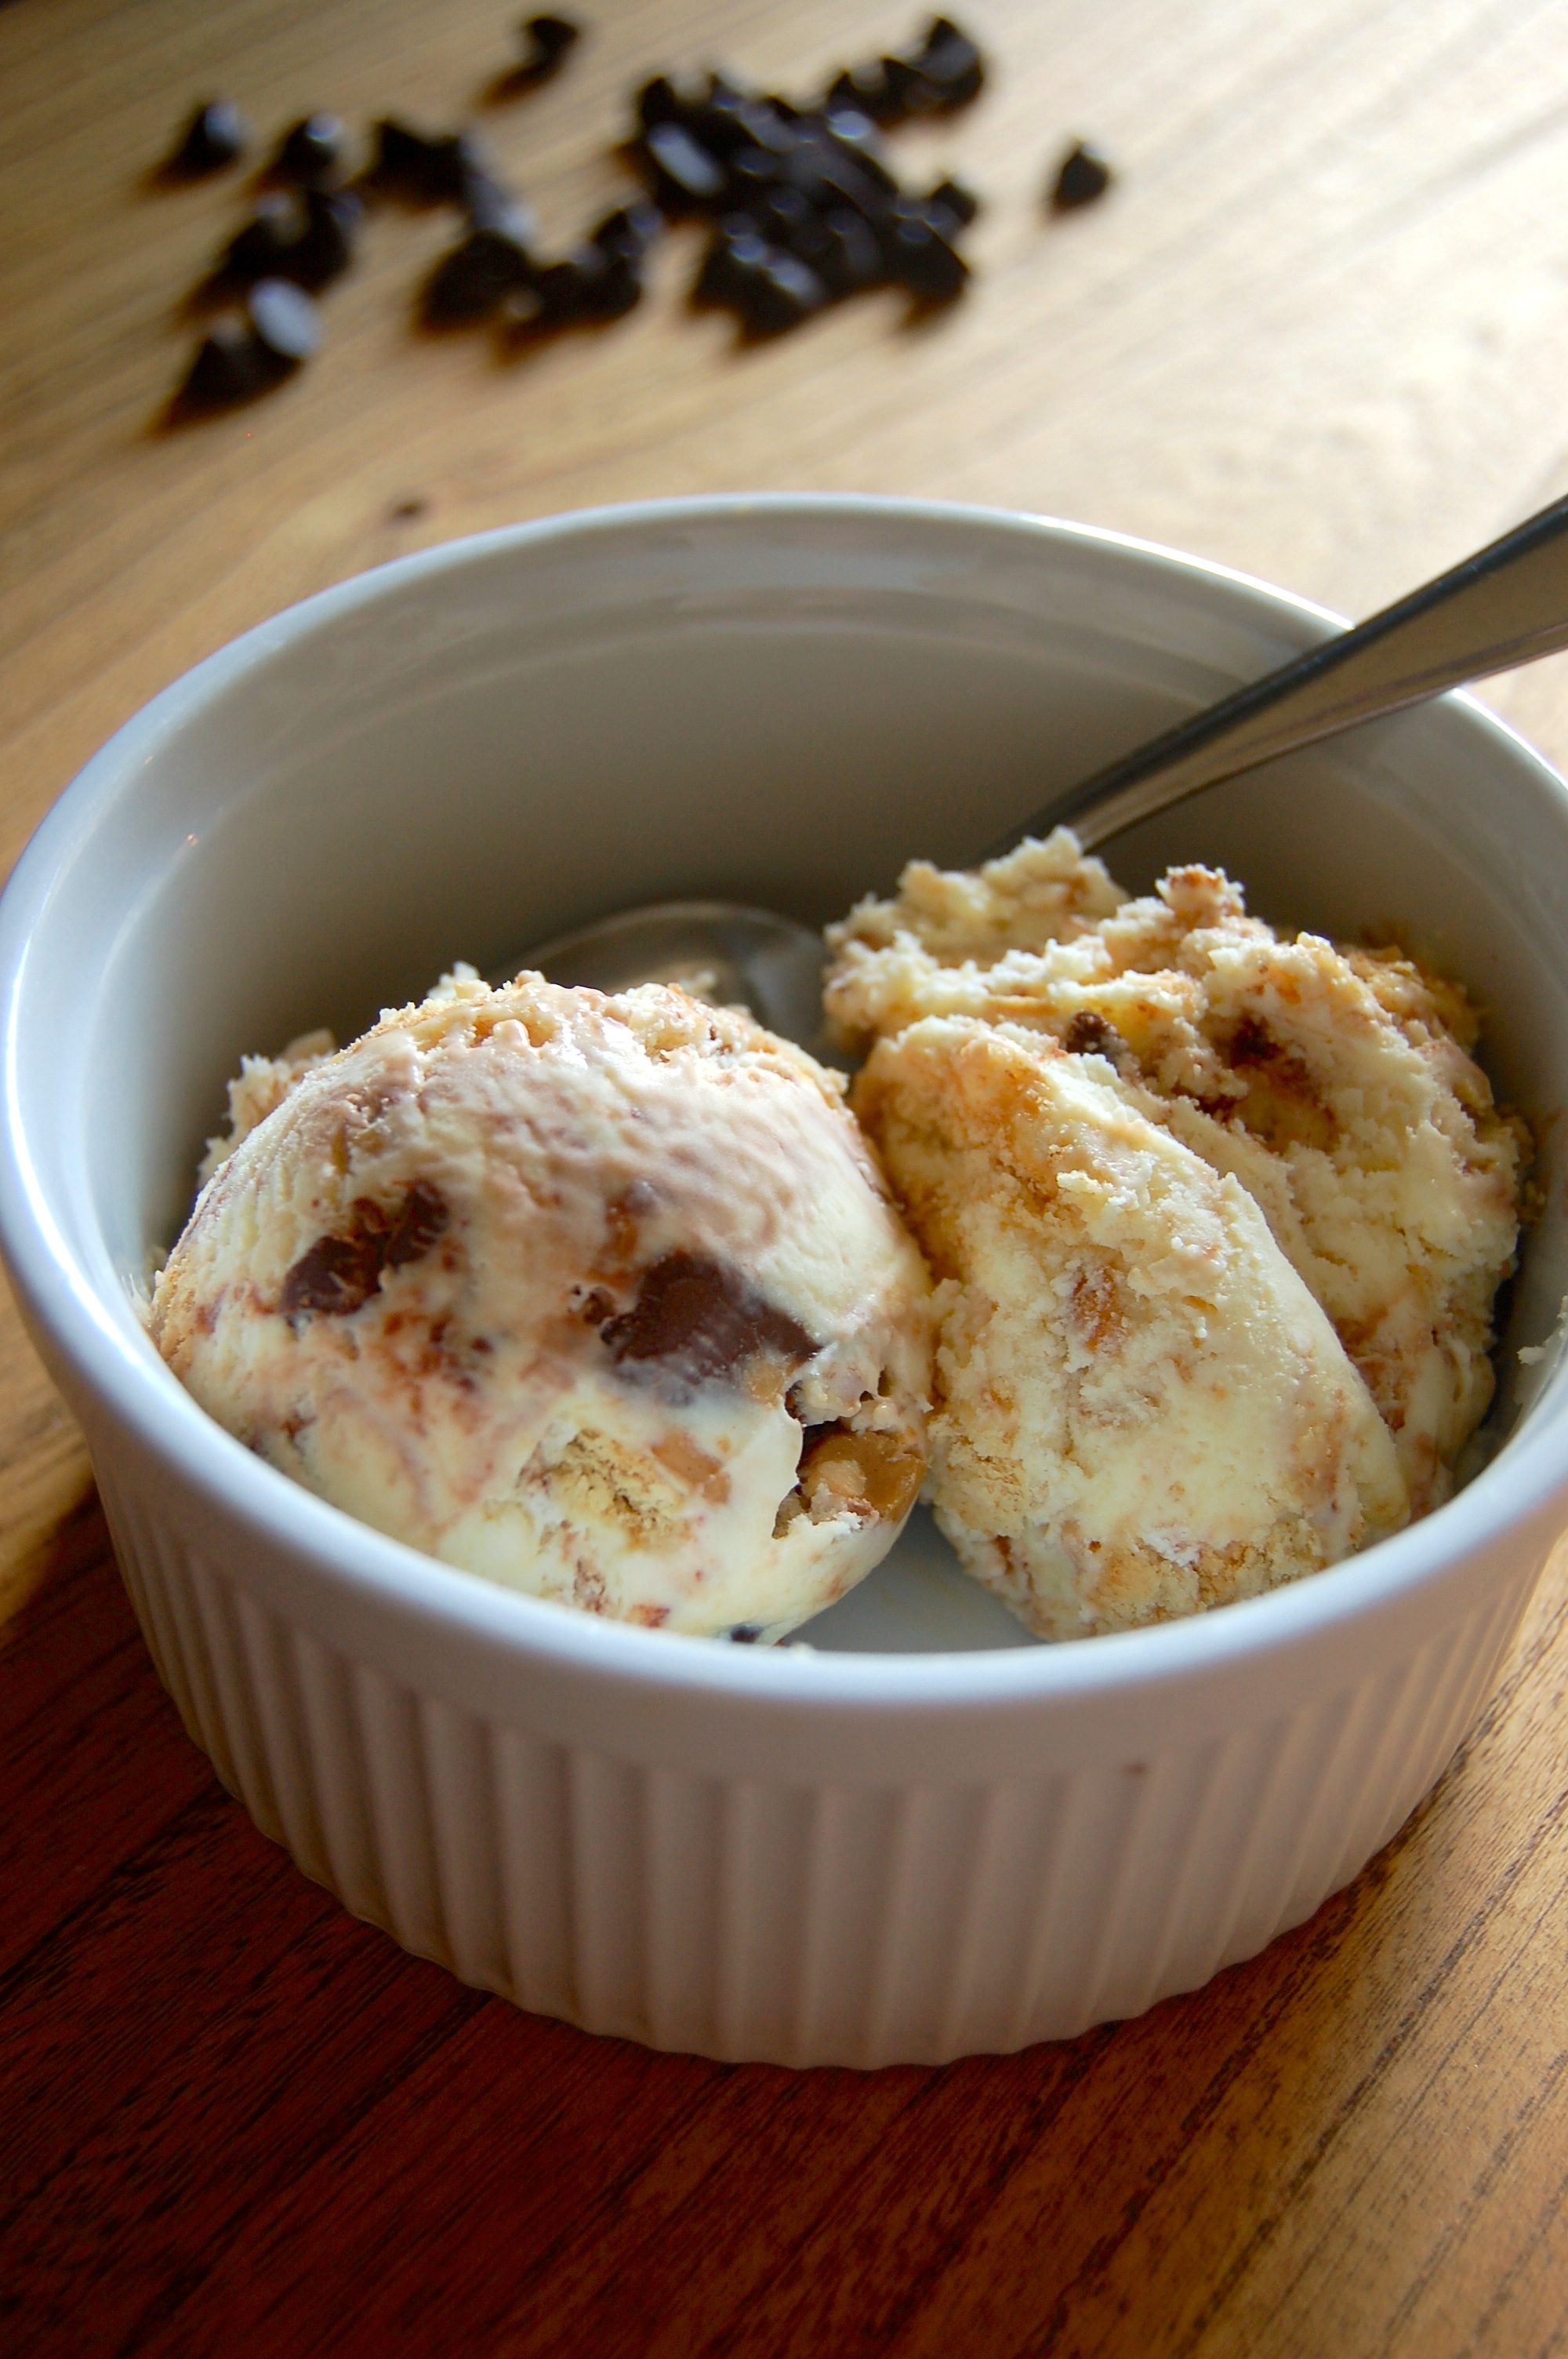
Banana Pudding Ice Cream with Peanut Butter and Chocolate Fudge Swirls

Ingredients:

1 can (14 oz) sweetened condensed milk
1 pkg (3.4 oz) banana cream instant pudding mix
1 banana, sliced
2 graham crackers, broken into small pieces
2 cups (1 pint) heavy cream
1/2 cup peanut butter
1/2 cup hot fudge ice cream topping

Instructions:

1. Put peanut butter into a bowl, and place in the freezer for about 30 minutes to firm up. Meanwhile, whisk pudding mix into sweetened condensed milk. Stir in sliced banana and graham cracker pieces.

2. In a large bowl beat heavy cream until it resembles whipped cream(you may need an electric or stand mixer for this). Fold the whipped cream into the sweetened condensed milk mixture. Retrieve peanut butter from the freezer and pinch off teaspoon-sized dollops and drop into the ice cream. Next squeeze teaspoon-sized dollops of room temperature hot fudge topping into the ice cream. Gently fold it all together.

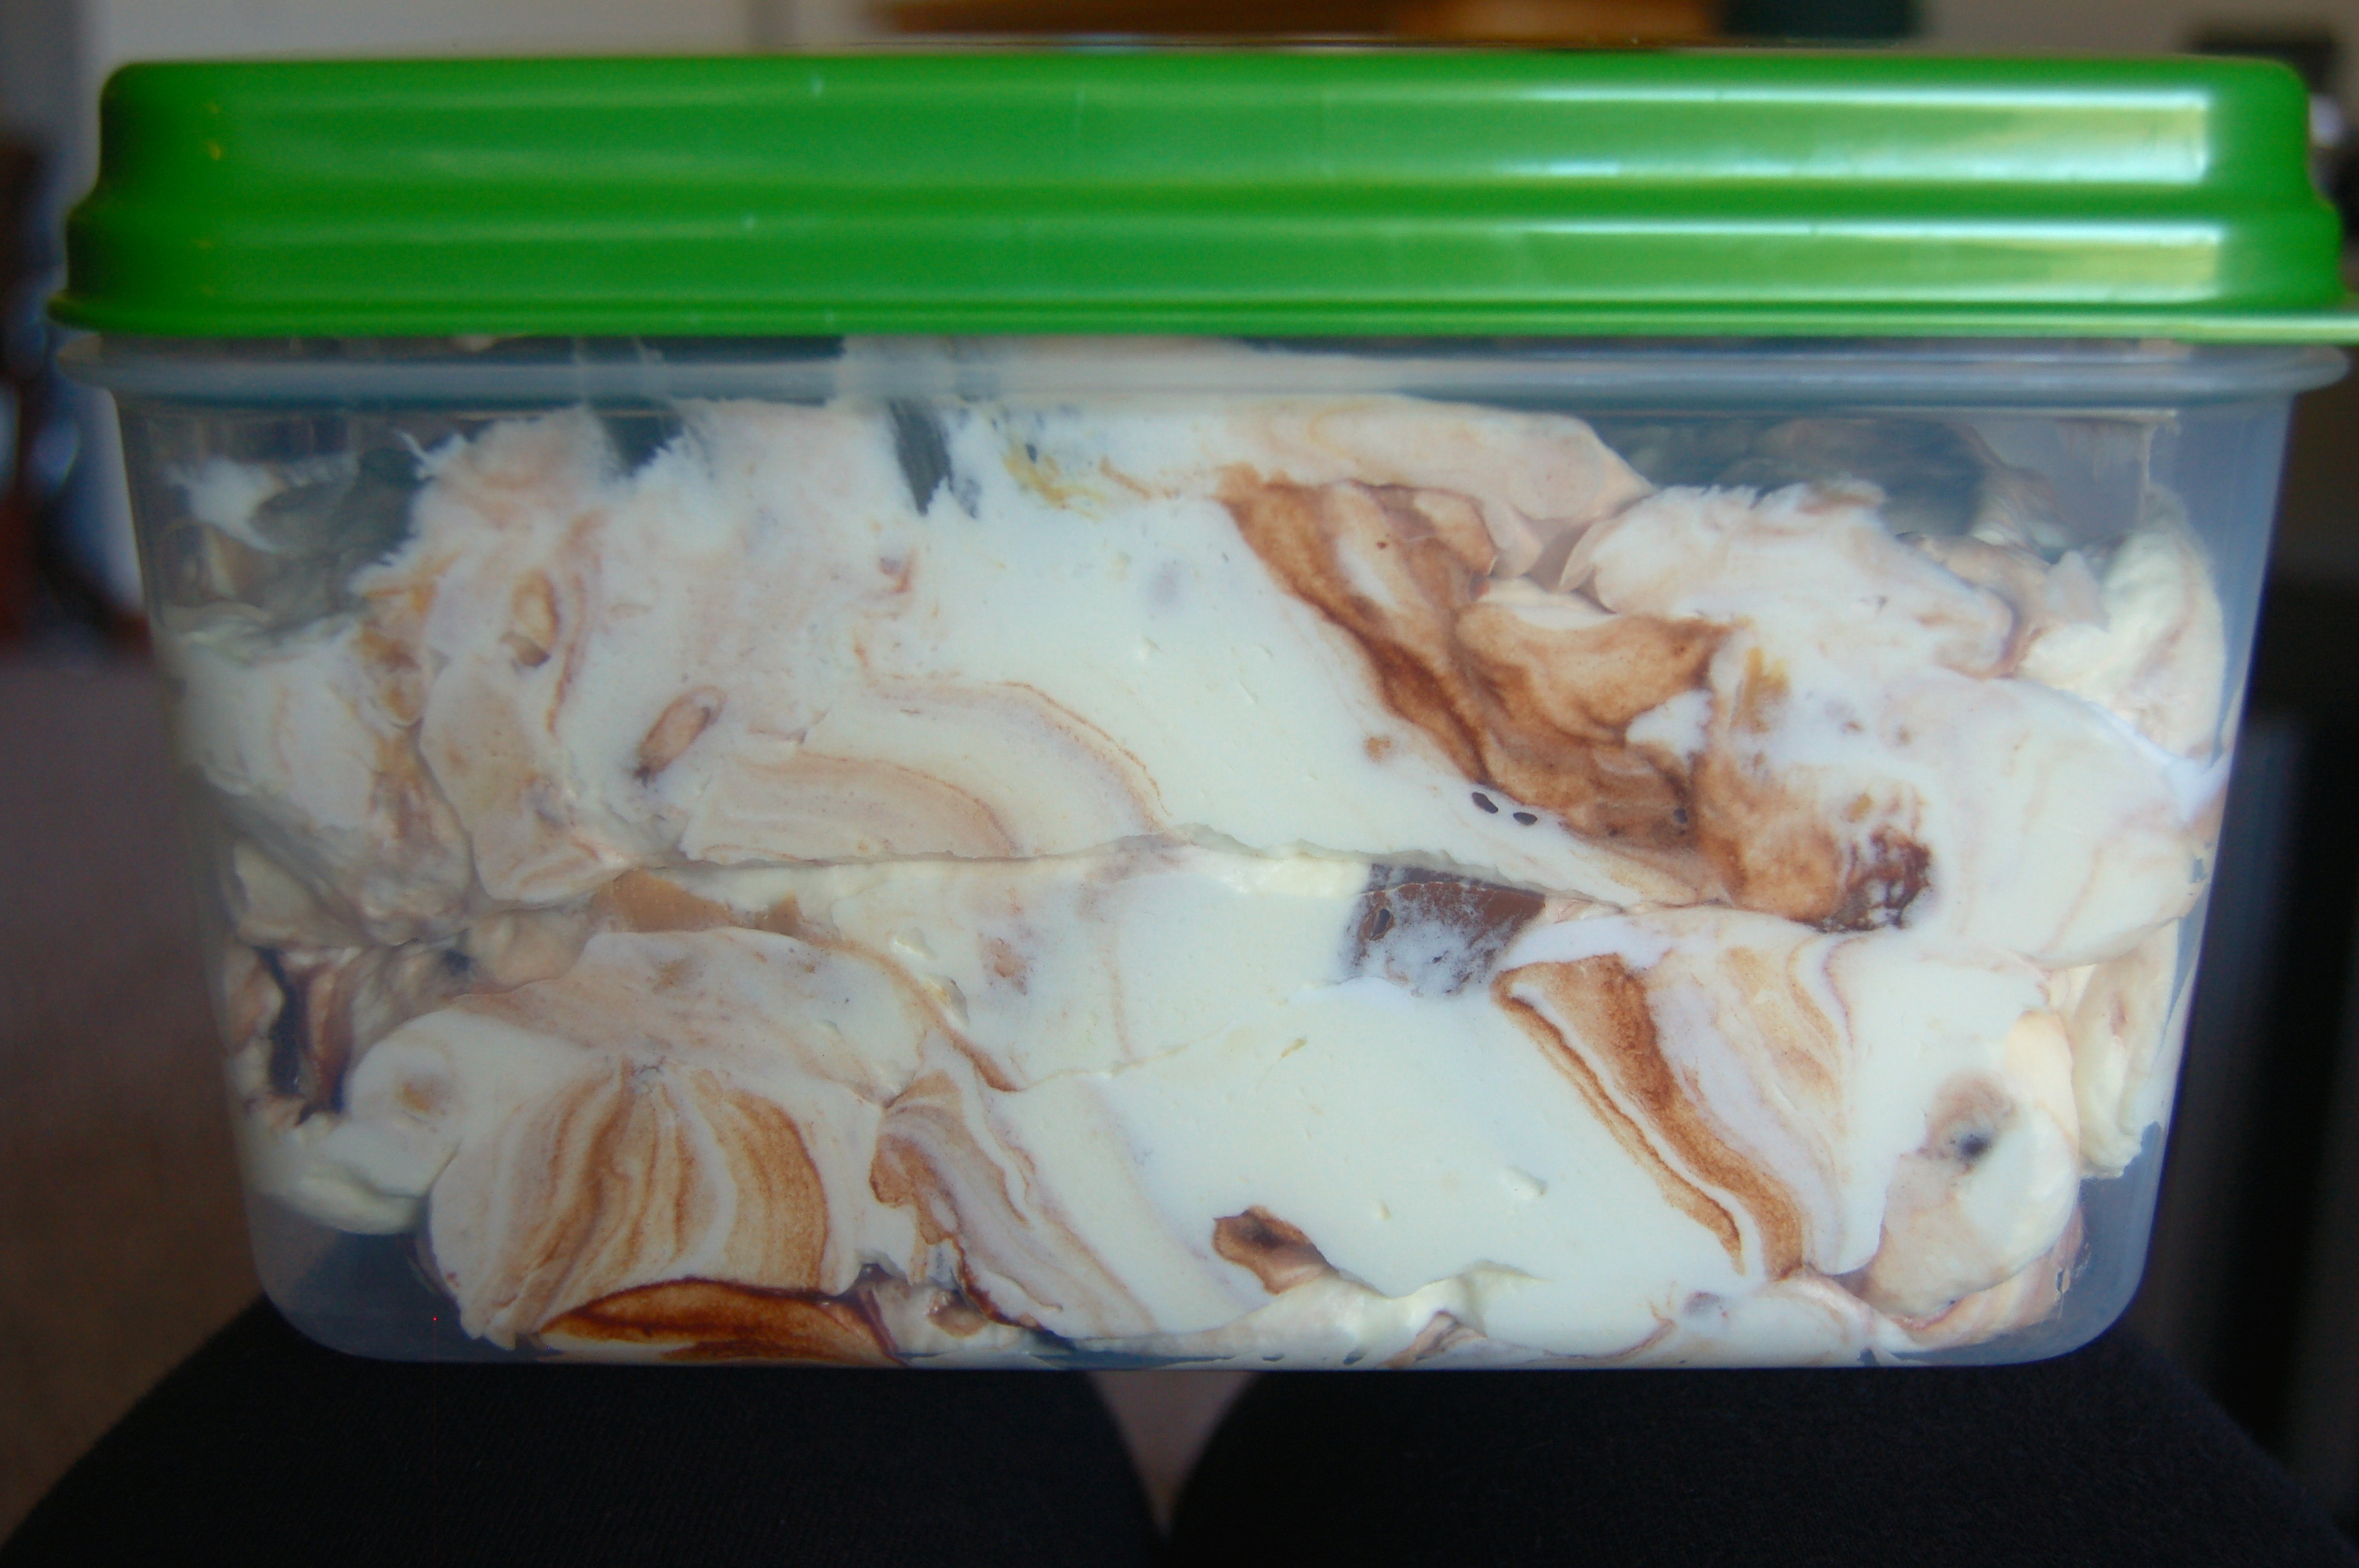
3. Store in a two-quart container and freeze overnight. Serve the next day, topped with whatever your little heart desires!

Here is a picture of it in it’s container ready for the freezer!!

EDIT OF DSC_8145


Thanks for checking out eat laugh craft. Don’t forget to check out our Facebook page, Twitter page, and find us on Pinterest! (Links on Contact page)

xoxo

669058772380712020613

Chicken Fajita Pizza

Chicken Fajita Pizza

EDIT of DSC_8302

Helllooooooo fabulous readers!

So can you believe it’s September? I can’t. Although I’m pretty happy about it. Fall is hands down, 1000%, no doubt about it, my favorite season. Today I went for a walk and it was still a nice day (75) but the air was cooler and the breeze was awesome, and it just got me so excited for Fall to come. I’m all prepped for it. I have THESE amazing new boots in brown (thats dad!!!) and I am just pumped for the first day I can wear them! Also have some new scarves and a beautiful jacket (similar). Not to mention some pumpkin recipes 🙂

Jake and I also have our engagement pictures this fall! Sometime in October so we have that to prep and look forward to! Tonight I’m going to Jake’s football game (he’s the coach) and yesterday the regular season football season started (on a bad note for my beloved pack) but none the less all signs point to Fall!!!!!! And I’m loving every minute.

As summer comes to an end you may be drowning in some veggies (hello tomatoes and peppers!!). Here is a great way to use them up. So delicious. Jake loves anything pizza related and I enjoy that you can make so many different varieties.

I modified the recipe to this a bit- feel free to add/change/remove anything you don’t like 🙂

INGREDIENTS:

1 (11 oz) package Pillsbury pizza dough (although I made my own with this. THE BOMB!)
1/2 cup salsa
1/4 cup re-fried beans
2 cups shredded cooked chicken
1 1/2 cups red, green and yellow sliced peppers or jalapenos depending how much you like heat!
1/4 cup sliced onion
2 cups shredded cheese of your choice
2 tablespoons freshly chopped cilantro, for garnish

DIRECTIONS:

– Heat oven to 400°. Stretch dough to the size of a jelly roll pan. Or follow the directions of the Pizza crust you are using. Once it’s ready to have toppings do the following:

– Mix together the re-fried beans and the salsa in a small bowl and then spread salsa mix over crust as the base.
– Sprinkle 1 cup of the shredded cheese over salsa.
– Top with chicken, bell peppers and onion and then the rest of the cheese.

– Bake according to crust directions or until cheese has melted and pizza is starting to brown around the edges.

– Garnish the pizza with fresh cilantro and some avocado if you’d like.

Sooo good!

EDIT of DSC_8284

There you have it! Another delicious pizza idea in the never ending world of pizza possibilities! Thank you for stopping by and don’t forget about the awesome giveaway coming up this month on the blog!!

xoxo

669058772380712020613


Links:

8561264_fpx

1995C164_GF_PizzaCrust_s_450

Document1

Better Than Takeout Beef & Broccoli

Better Than Takeout Beef & Broccoli

Hi my lovelies!

I have had my share of cheap, delicious, questionable ingredients, Chinese take-out. In college that was my ultimate hang over remedy. Nothing like Sundays filled with headaches, Chinese, and the Green Bay Packers. Buttttttt those days were quite a while ago and since then I’ve (as you know) put a huge effort in to live a healthier life than back then. Somedays though, the craving for the old favorite strikes. So I’ve come up with this healthified version of my favorite and I have to say it tastes EVEN BETTER! You could so easily add way more or different veggies and it would be amazing. Yummmmmm I need to make this again.

One quick note: coming up within the next couple weeks I’m going to be hosting my very first GIVEAWAY on the blog!! I’m really excited about it and can’t wait to share more with you all in the next coming weeks! Make sure to check back often so you don’t miss your chance to win!

Now back to the fooood!

EDIT of DSC_8461

I even have take out chopsticks to make the whole “experience” 🙂

Ingredients:
1/2 tsp baking soda
1 tsp sugar
1 tbsp cornstarch
1 tbsp low-sodium soy sauce
1 tbsp water
2 tbsp oil of your choice
1/2 lbs flank steak, sliced into thin strips
1/2 c low-sodium soy sauce
2 tbsp brown sugar
4 cloves garlic, minced
2 tbsp flour of your choice (I used almond flour)
1 tbsp rice wine vinegar
3 tbsp oil of your choice
2 heads broccoli, cut into pieces
3 or 4 small sweet peppers, cut into strips

Instructions:

1. Whisk together the baking soda, sugar, cornstarch, soy sauce, water, and oil in a large bowl. Toss the steak with the marinade to coat. Cover and refrigerate at least 1 hour.

2. In a small bowl, stir together the soy sauce, brown sugar, garlic, flour and vinegar until smooth. Set aside.

3. In a large wok, heat 2 tablespoons of oil over high heat until shimmering. Add broccoli and saute 3 minutes, stirring often. Transfer broccoli to a plate. I like my broccoli to still be crunchy but if you don’t like that- cook for a little longer.

4. Reduce heat to medium-high. Carefully add the remaining tablespoon of oil to the pan. Add the marinated meat and half of the sauce mixture and saute for 3- 4 minutes, stirring often, until the meat is cooked through. Stir in the broccoli that you had set aside, the pepper strips, and the remaining sauce. Saute 1 minute more to heat it all through. Serve over rice and fall in love!

EDIT of DSC_8423

So simple and delish! Give it a try and let me know what you think! As always thanks for stopping by the blog and come back soon to make sure you enter for your chance to win the giveaway!

xoxo

669058772380712020613

Asian Cobb Salad

Asian Cobb Salad

EDIT of DSC_8242

Happy Friday!! I am currently, as we speak, on vacation!! I’ll be back Sunday and will reply to comments and messages then as well as hopefully share some of my trip! 🙂 Now about this salad…

First of all- a disclaimer for all my photography friends. I’m aware these photo’s are grainy as *bleep!* . My ISO was cranked WAYYYY up since these pictures were taken basically by moonlight.really though…

I desperately need an artificial lighting solution. I can’t just be waiting around for the absolute perfect natural light every time I make something I want to blog. I live in Wisconsin. C’mon. In the winter that would mean I had about 20 seconds of a shooting window. Soooooo if any angel investors want to buy me one of these……that’d be cool. joking.

But main point of this story is that I don’t want to hear one comment about blurry, grainy, ISO pumped up, photos. Thanks.

Now back to the fooood!

Super healthy, beautiful, delicious, quick,  and satisfying, salad. You could add or remove anything your heart desires. Thats the beauty of salads. Soooo versatile.

Ingredients: 

Salad:
5 cups chopped romaine lettuce ( or your favorite kind of lettuce)
1 (11-ounce) can mandarin oranges in light syrup, drained
1/3 cup shredded chicken
1/3 cup grated carrots
1 avocado, halved, seeded, peeled and diced
2 hard-boiled eggs, diced
1/4 cup sliced green onions

Sesame Vinaigrette:
1/4 cup plus 2 tablespoons rice wine vinegar
1 small clove garlic, tiny minced or pressed through a garlic press
1 tablespoon sesame oil
1 tablespoon sugar
1 teaspoon fresh grated ginger
1 teaspoon soy sauce
1 teaspoon fresh lime juice

Instructions: 

  • To make the vinaigrette, mix together rice wine vinegar, garlic, sesame oil, sugar, ginger, soy sauce, and lime juice in a small bowl; set aside.(you can adjust the amount of garlic depending on your preference)
  • To assemble the salad, place your greens in a large bowl; top with arranged rows of mandarin oranges, chicken, carrots, avocado, eggs and green onions.
  • Serve with sesame vinaigrette and eat it up!

EDIT of DSC_8250

EDIT of DSC_8251

Does any one know what could be causing that red line in the bottom right of this picture on all of my photographs?

Isn’t it pretty! This would look great on a tablescape for a party of some kind. And the sesame dressing is deeeelcious and could be used for so many other things!

Thanks so much for checking out the blog!


xoxo

669058772380712020613

Creamy Tomato Spaghetti with Shrimp

 Creamy Tomato Spaghetti with Shrimp

Edit Of DSC_8482JPG

Hi my fellow foodies!

Man I can’t believe how fast summer is going. I’m off on vacation starting TODAY!!! YAYAYAY I will hopefully have lots of pictures to share when I come back and hopefully a few fun food items too.

Take a look at this beauty. This was incredibly tasty, although definitely not a low fat meal. More of a treat from time to time or could be something impressive to make for the in-laws or any guests you may have. You can experiment with different ingredients. I’m a sucker for basil especially in the summer time so I garnished mine with it. Deeeelicious. Hope you enjoy!!

Ingredients:

  • 1/2  lb medium raw shrimp, shell removed
  • Âľ lb spaghetti or angel hair pasta
  • 1 tablespoon olive oil
  • 6 medium tomatoes, diced
  • 1 small onion, finely chopped
  • ÂĽ teaspoon hot chili flakes
  • ½ teaspoon dried basil, or 2 Tbsp chopped fresh basil(I prefer fresh)
  • 1 garlic clove, minced
  • 4 tablespoons unsalted butter
  • 1 cup dry white wine
  • ½ cup heavy cream
  • salt and pepper to taste
  • Parmesan to serve

Instructions: 

  1. Put the tomatoes, onion, chili flakes, basil, garlic and butter in a heavy pan , season with pepper.
  2. Add the wine and cook over med/high heat until mixture is soft and most of the wine has evaporated. You will have about ÂĽ cup liquid remaining in the pan.
  3. Peel shrimp and dry on paper towels. Lightly season shrimp with salt and pepper and saute in 2 tablespoons olive oil over medium/high heat, just until cooked through, about 3 minutes. Set aside.
  4. Cook pasta in salted water with 1 tablespoon olive oil, according to the package instructions until al dente (tender but firm to the bit). Rinse, Drain and set aside.
  5. Once the sauce has mostly evaporated, stir in the cream and add the shrimp. Warm through gently for 2 minutes.
  6. Toss the pasta with the sauce. Sprinkle with Parmesan and fresh basil and serve!

DSC_8486 copy

Doesn’t it look good?! Yummmmmm. Give it a try and let me know what you think! Thanks for taking a look around the blog!

xoxo

669058772380712020613