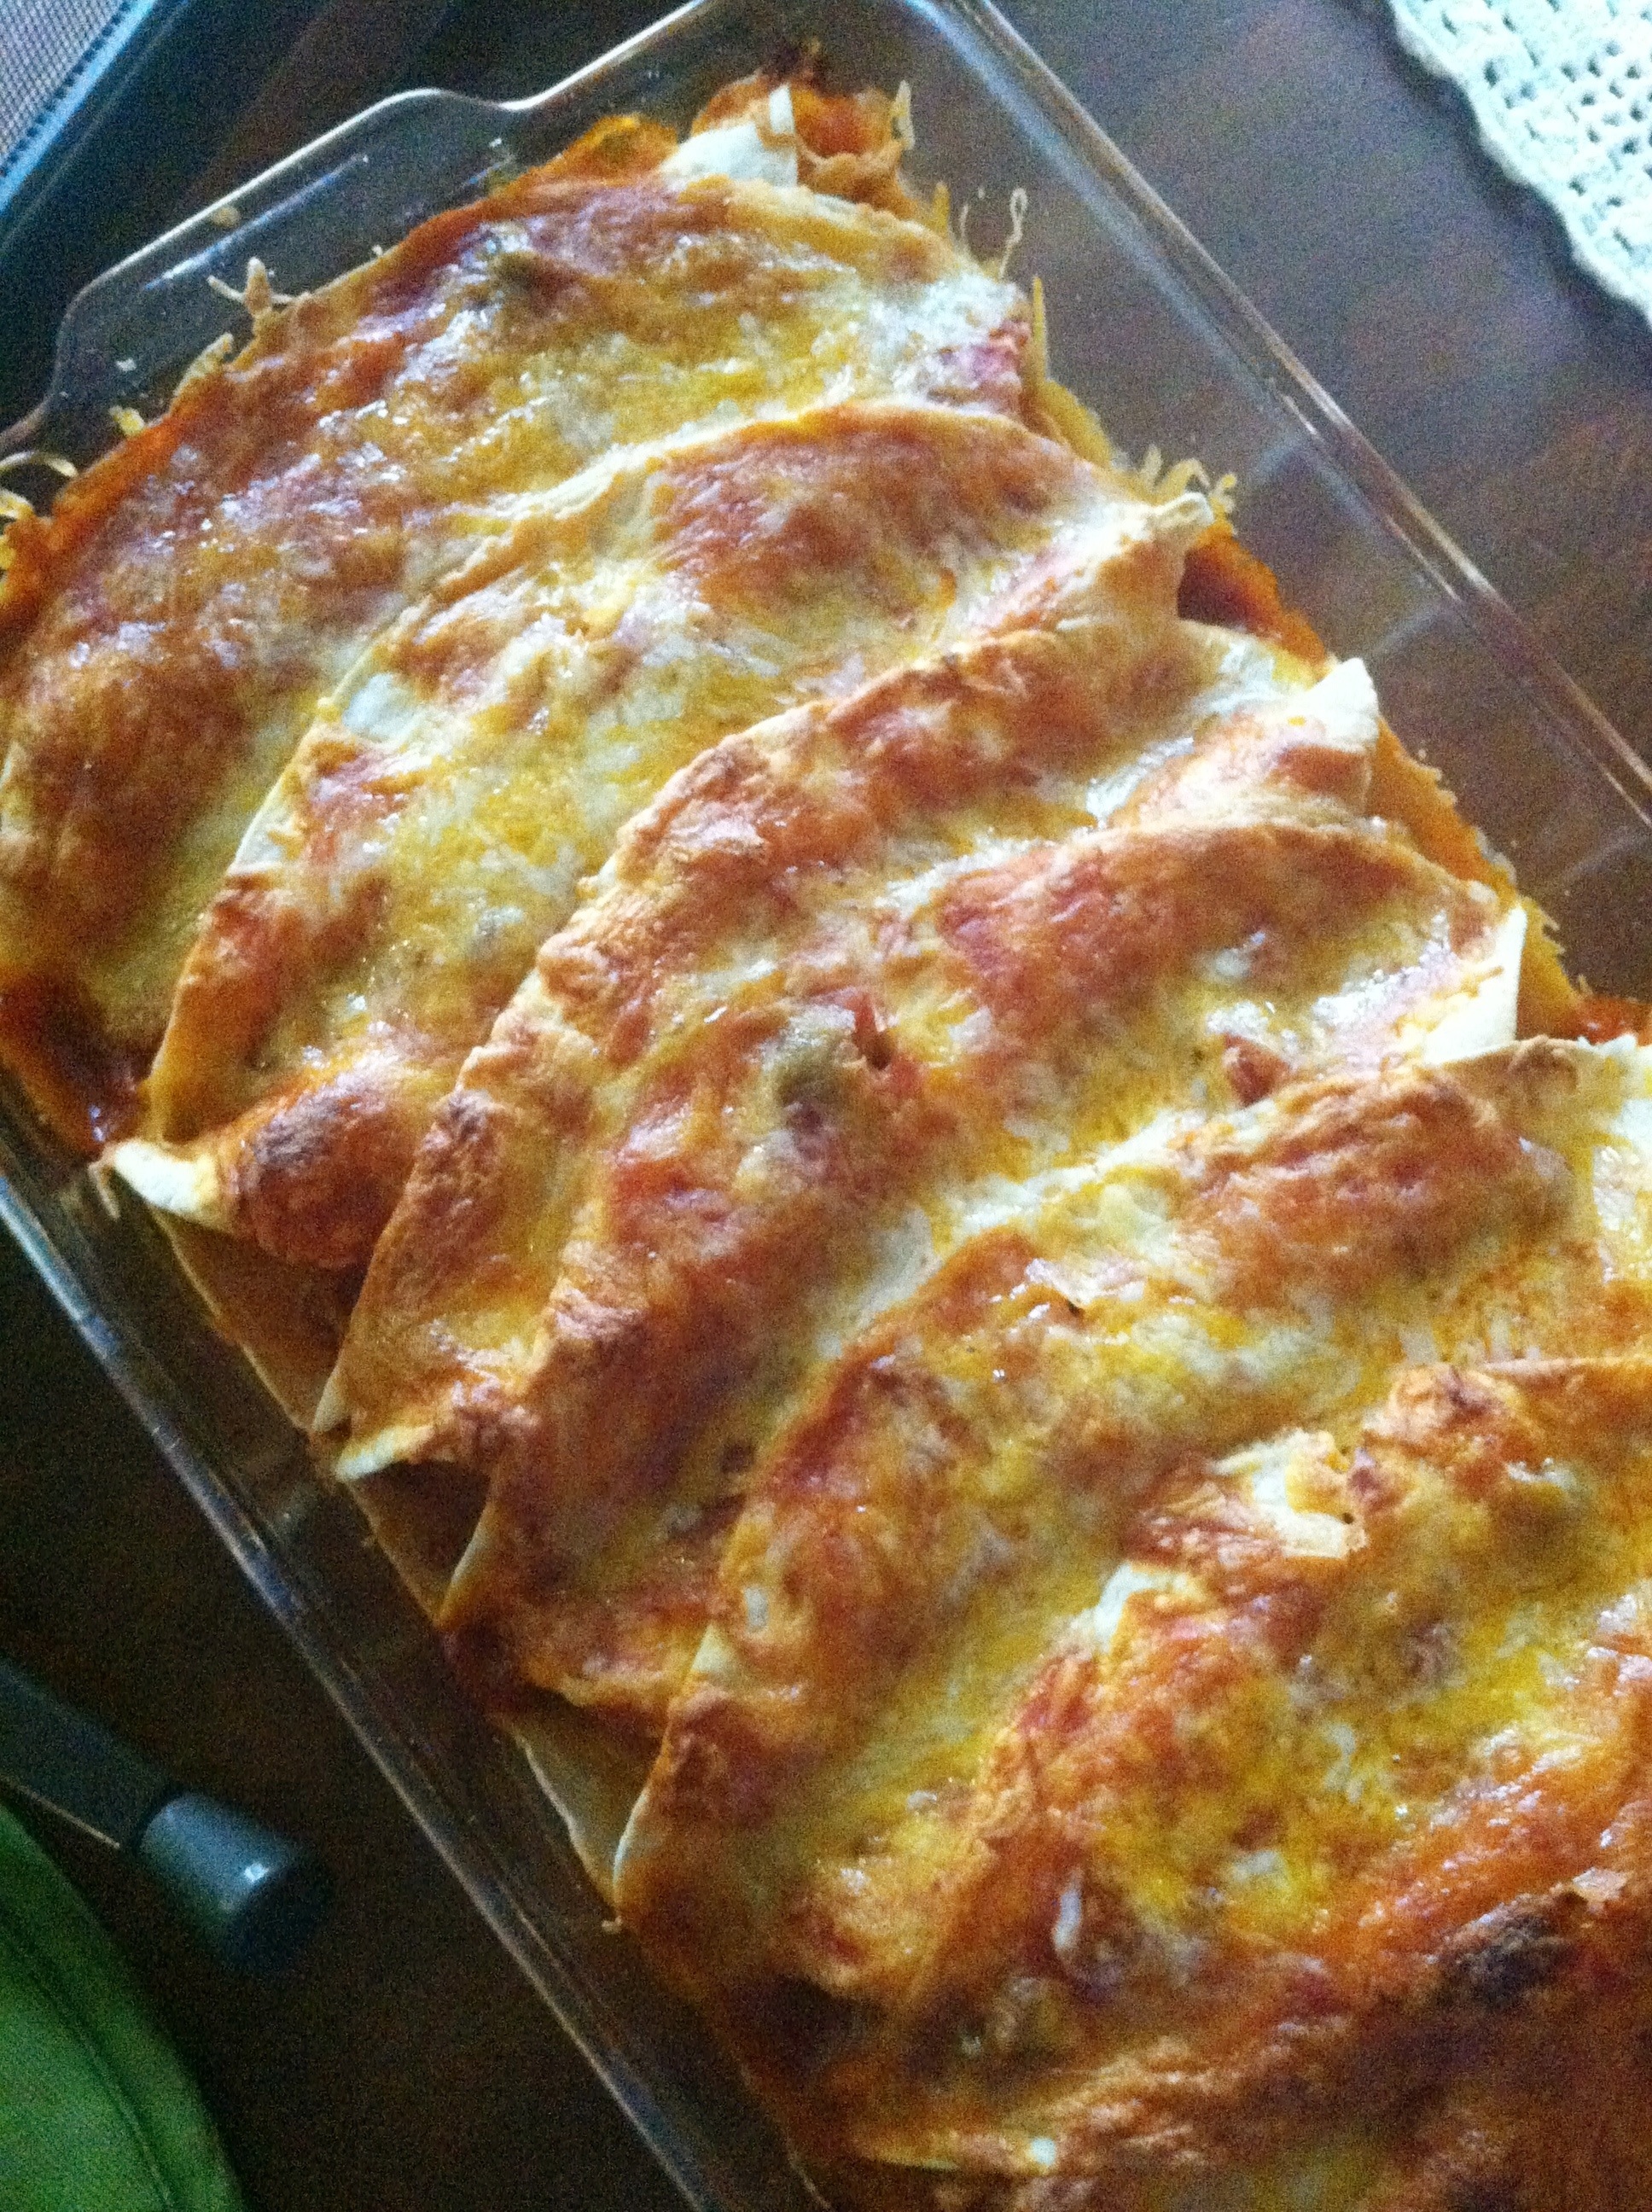
Creamy Spinach & Sausage Pasta
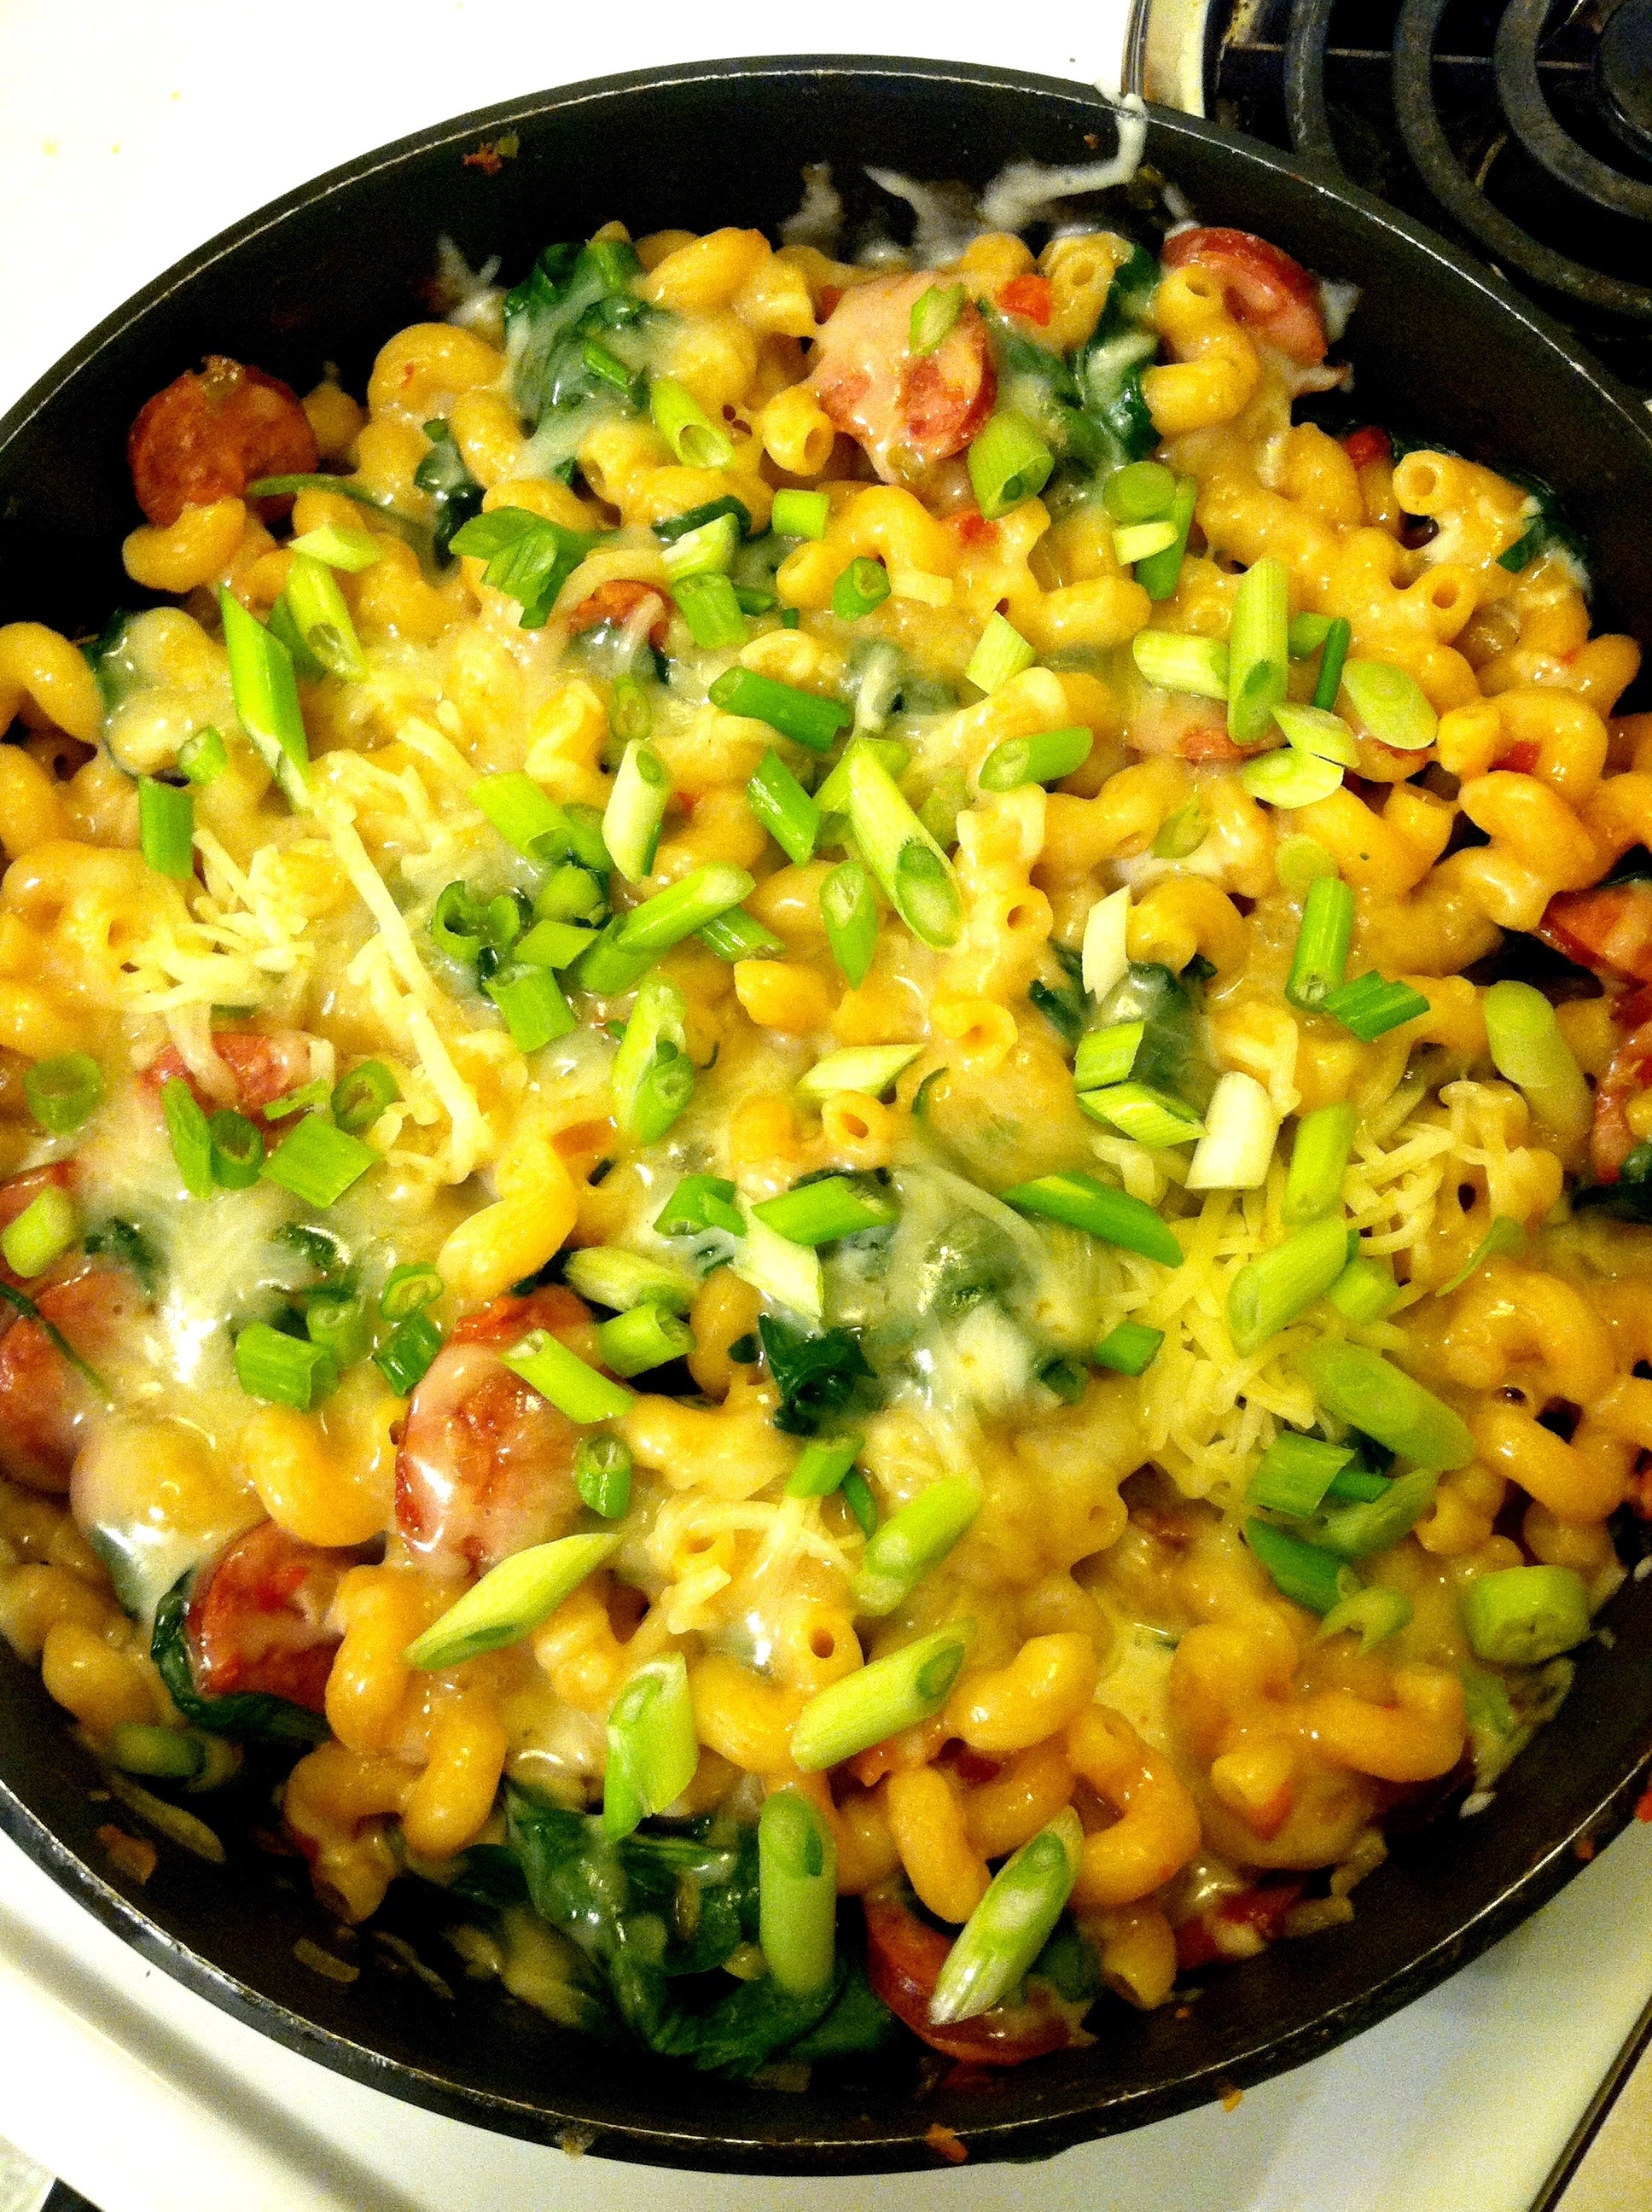
This picture could definitely use some better lighting but you get the idea 😉
Ingredients
- 1 package smoked sausage of your liking
- 1 Tbsp olive oil
- 1 medium onion
- 1 (14.5 oz.) can diced tomatoes w/chiles
- 2.5 cups chicken broth
- 1 lb pasta (any shape you want)
- 1 package fresh spinach
- 1 cup (4 oz.) shredded monterrey jack
- 1 bunch green onions
Instructions
- Thinly slice the smoked sausage and add it to a large skillet with 1 tablespoon of olive oil. Saute the sausage over medium heat until it is nicely browned (about 5-7 minutes). Drain off the excess fat.
- Dice the onion and add it to the skillet. Continue to saute until the onion has softened (about 5 minutes). Add the can of diced tomatoes with chiles and the chicken broth. Stir to combine and dissolve any browned bits off of the bottom of the skillet.
- Add the uncooked pasta to the skillet and make sure it is all submerged under the liquid. Place a lid on the skillet and allow the mixture to come up to a boil. Once it reaches a boil, turn the heat down to low and let it simmer for about ten minutes, or until the pasta is tender. Stir once or twice while the pasta cooks to keep it from sticking.
- Stir in the fresh spinach, one cup at a time, until wilted. If you add it all at once, the skillet will be too full to stir. Keep the heat on while adding the spinach, so the liquid will continue to simmer and thicken.
- Sprinkle the shredded cheese on top, replace the lid, and let it sit for a few minutes, or until the cheese is melted. Slice the green onions and sprinkle them over top. Serve hot!
Jake seriously loved this! He snuck a bit before I sat down and was like ” this is so good! What is in here? Seriously this is really delicious”. That always makes me super happy when he loves what I cook. Now you can share this with your loved ones 🙂 Enjoy!