Better Than Takeout Beef & Broccoli

Better Than Takeout Beef & Broccoli

Hi my lovelies!

I have had my share of cheap, delicious, questionable ingredients, Chinese take-out. In college that was my ultimate hang over remedy. Nothing like Sundays filled with headaches, Chinese, and the Green Bay Packers. Buttttttt those days were quite a while ago and since then I’ve (as you know) put a huge effort in to live a healthier life than back then. Somedays though, the craving for the old favorite strikes. So I’ve come up with this healthified version of my favorite and I have to say it tastes EVEN BETTER! You could so easily add way more or different veggies and it would be amazing. Yummmmmm I need to make this again.

One quick note: coming up within the next couple weeks I’m going to be hosting my very first GIVEAWAY on the blog!! I’m really excited about it and can’t wait to share more with you all in the next coming weeks! Make sure to check back often so you don’t miss your chance to win!

Now back to the fooood!

EDIT of DSC_8461

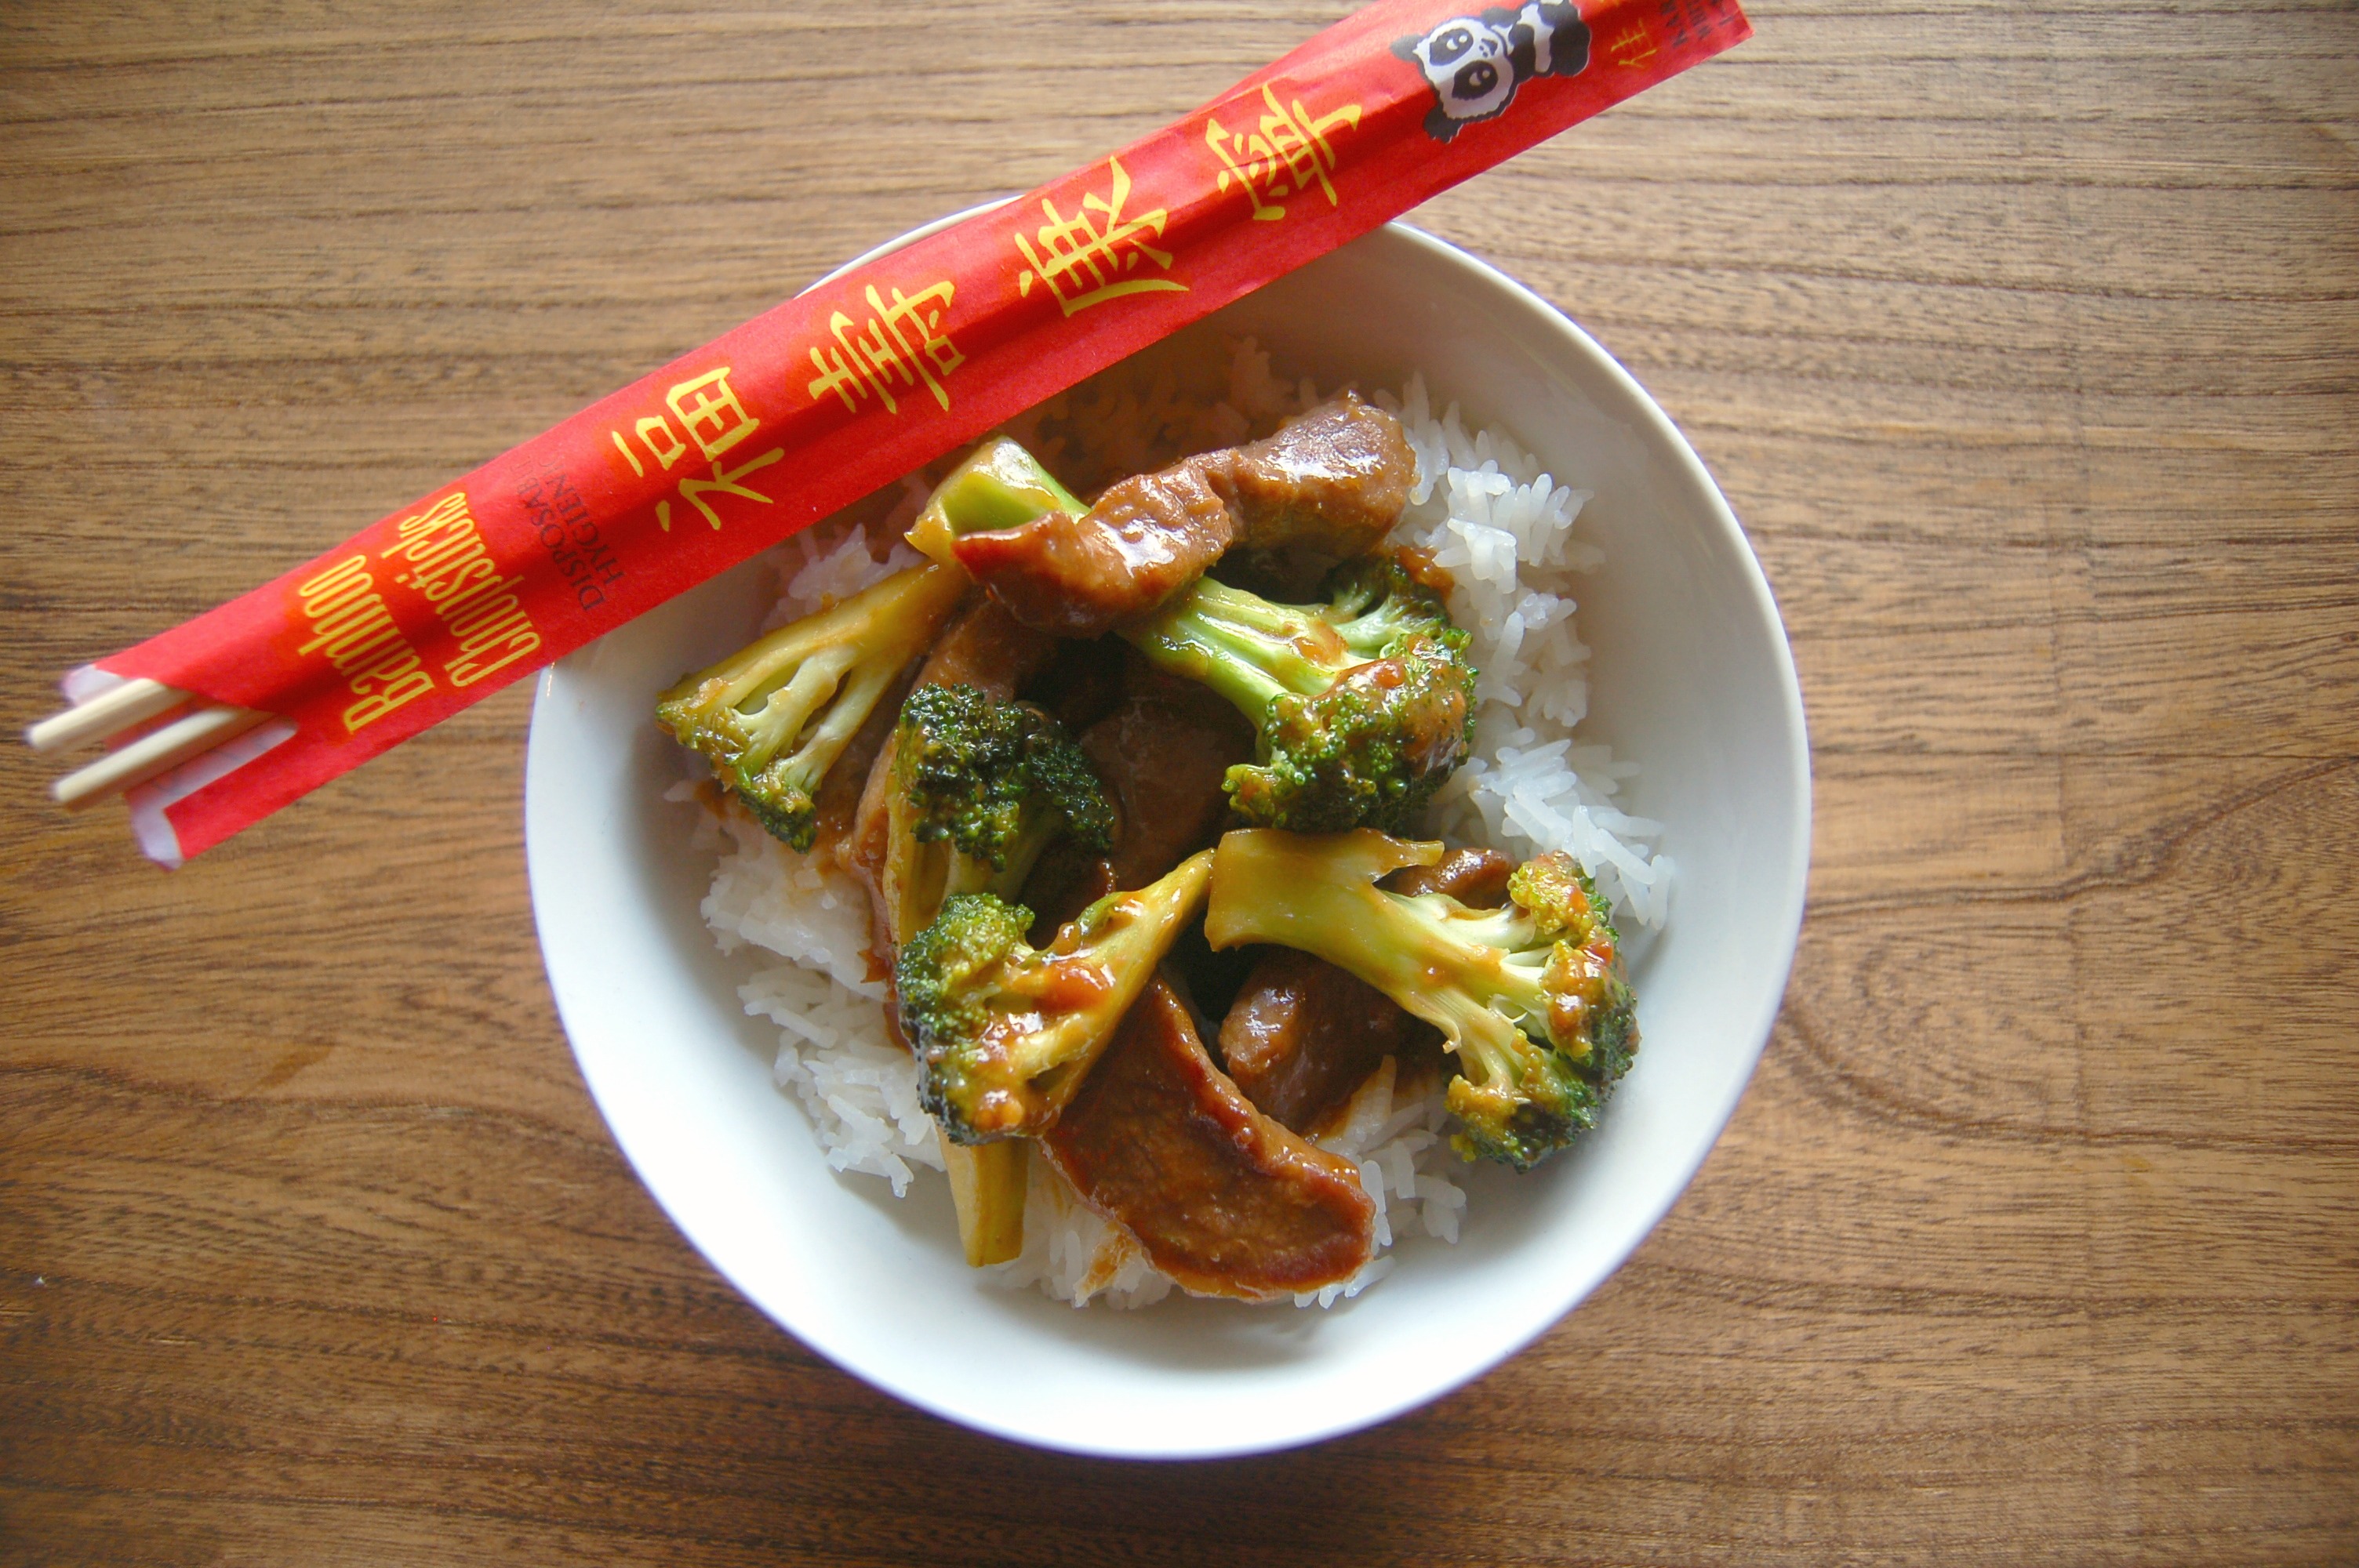
I even have take out chopsticks to make the whole “experience” 🙂

Ingredients:
1/2 tsp baking soda
1 tsp sugar
1 tbsp cornstarch
1 tbsp low-sodium soy sauce
1 tbsp water
2 tbsp oil of your choice
1/2 lbs flank steak, sliced into thin strips
1/2 c low-sodium soy sauce
2 tbsp brown sugar
4 cloves garlic, minced
2 tbsp flour of your choice (I used almond flour)
1 tbsp rice wine vinegar
3 tbsp oil of your choice
2 heads broccoli, cut into pieces
3 or 4 small sweet peppers, cut into strips

Instructions:

1. Whisk together the baking soda, sugar, cornstarch, soy sauce, water, and oil in a large bowl. Toss the steak with the marinade to coat. Cover and refrigerate at least 1 hour.

2. In a small bowl, stir together the soy sauce, brown sugar, garlic, flour and vinegar until smooth. Set aside.

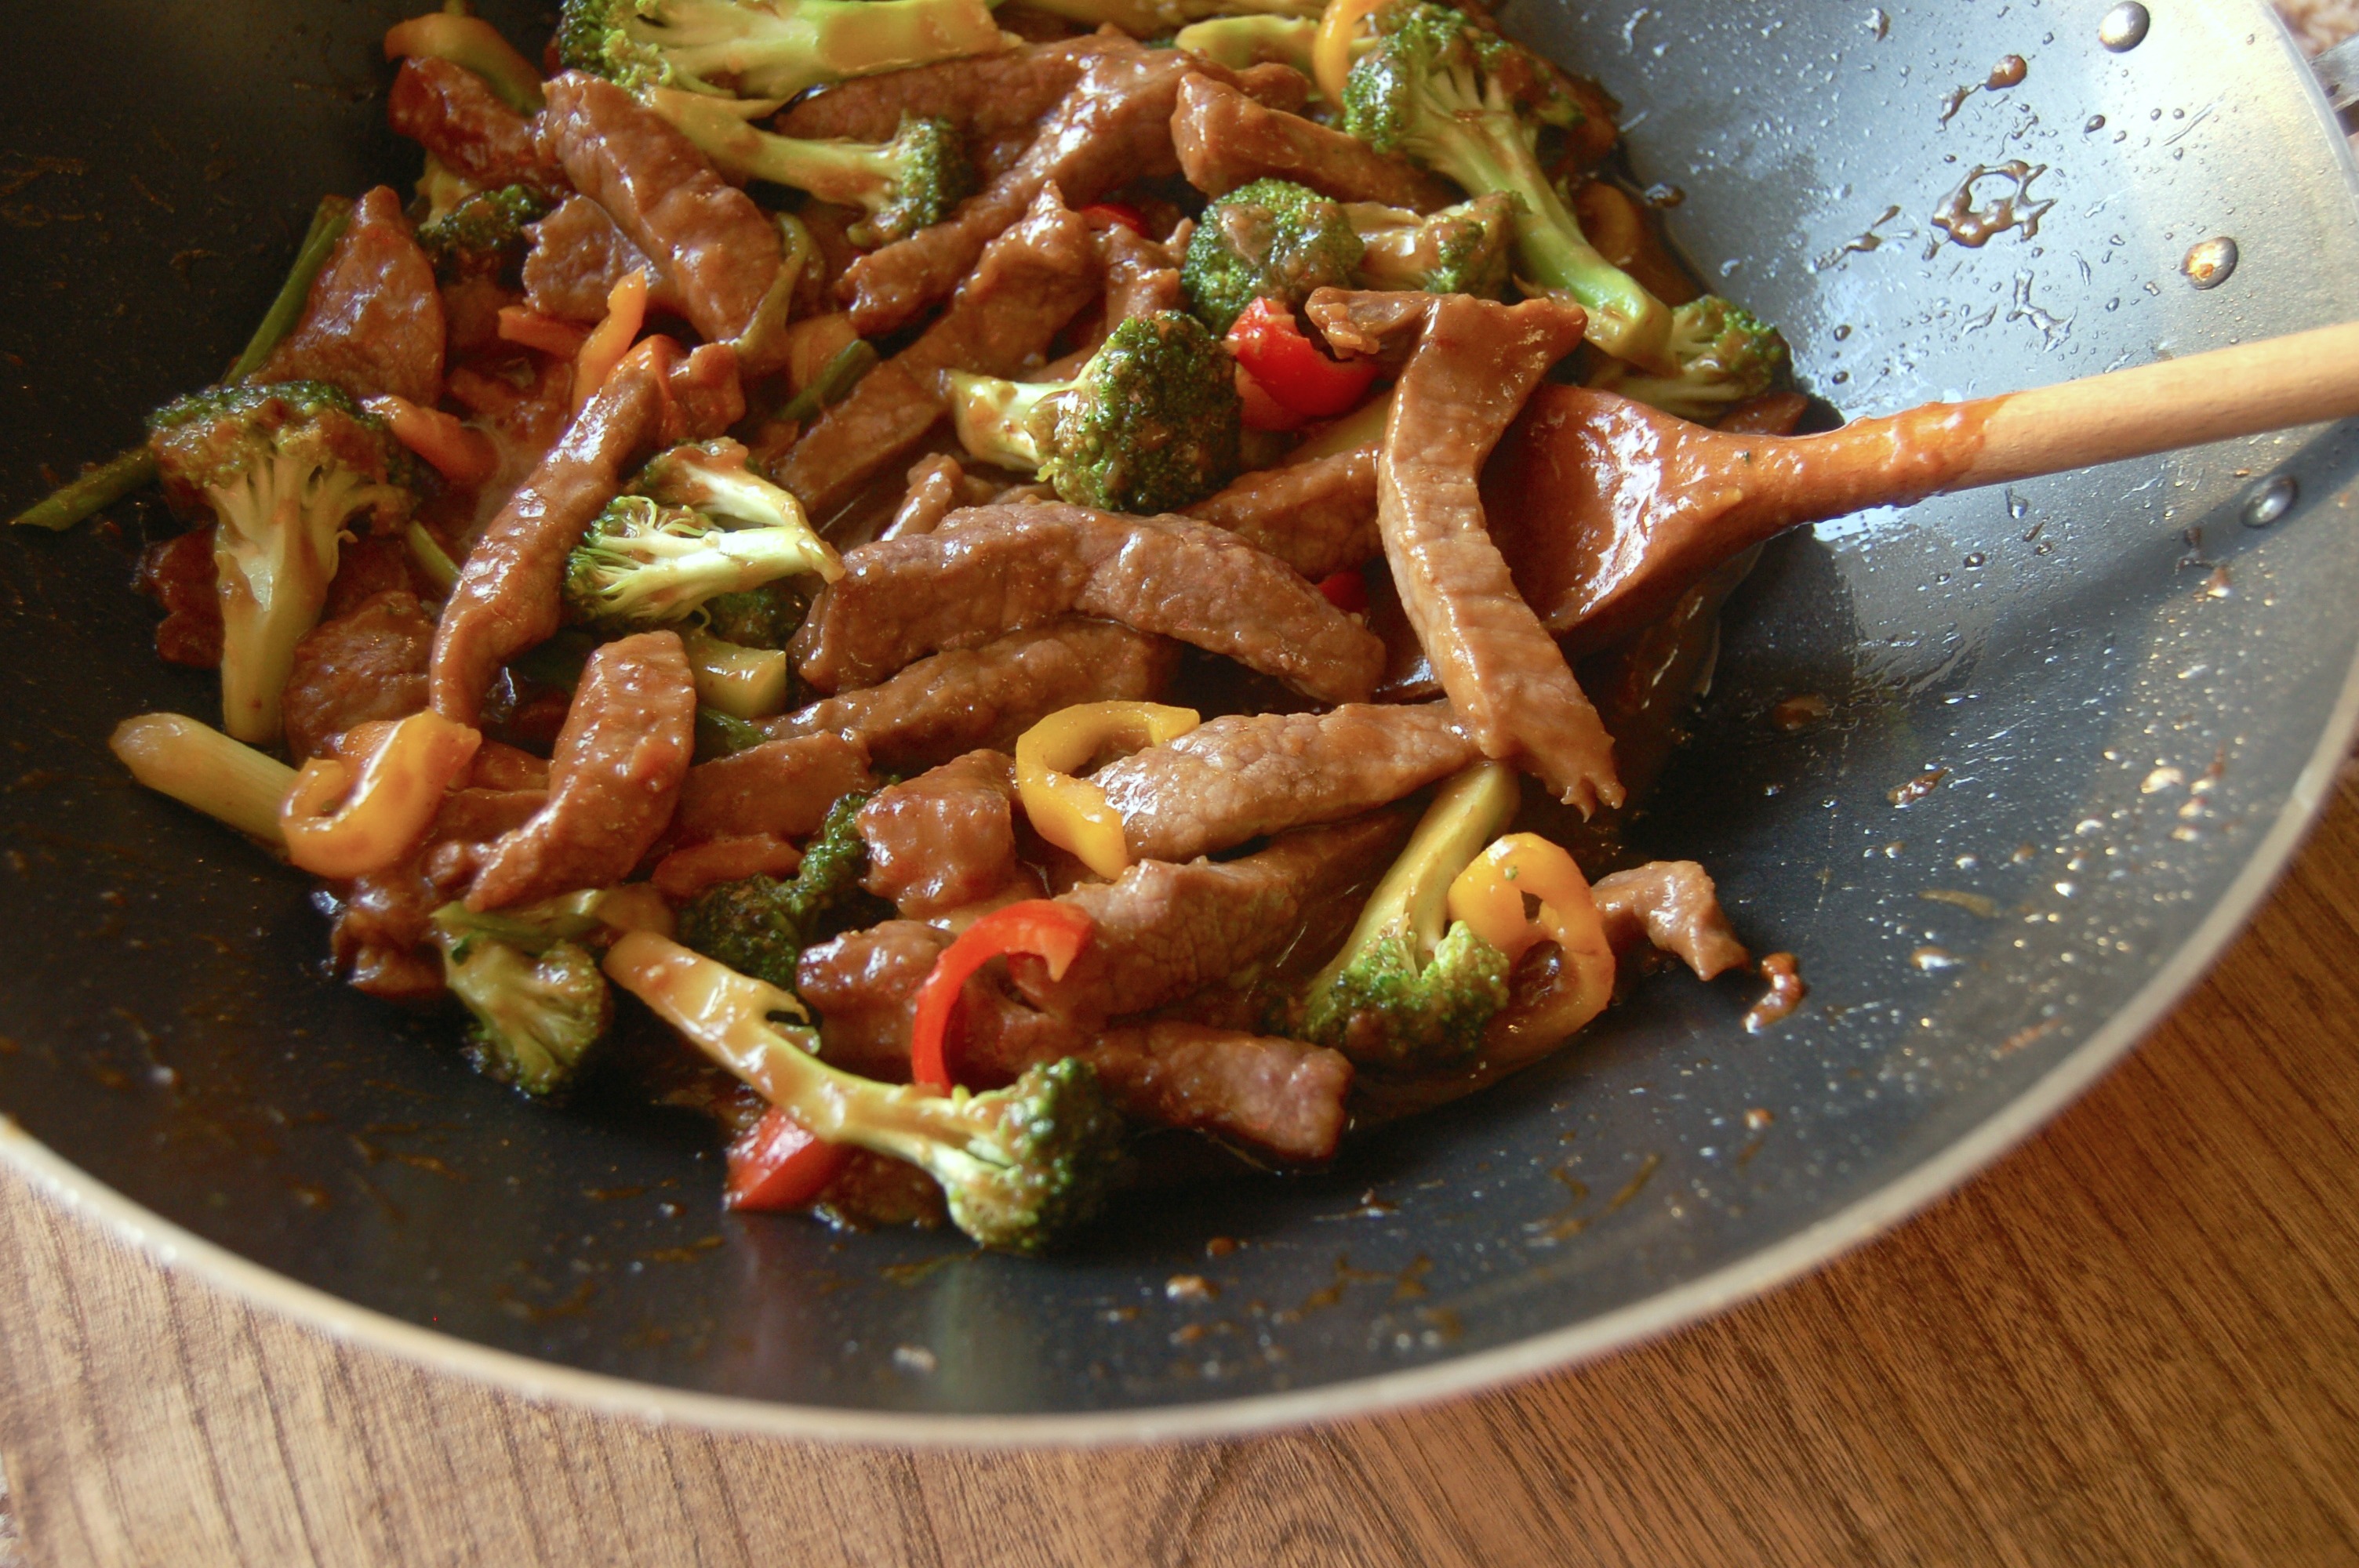
3. In a large wok, heat 2 tablespoons of oil over high heat until shimmering. Add broccoli and saute 3 minutes, stirring often. Transfer broccoli to a plate. I like my broccoli to still be crunchy but if you don’t like that- cook for a little longer.

4. Reduce heat to medium-high. Carefully add the remaining tablespoon of oil to the pan. Add the marinated meat and half of the sauce mixture and saute for 3- 4 minutes, stirring often, until the meat is cooked through. Stir in the broccoli that you had set aside, the pepper strips, and the remaining sauce. Saute 1 minute more to heat it all through. Serve over rice and fall in love!

EDIT of DSC_8423

So simple and delish! Give it a try and let me know what you think! As always thanks for stopping by the blog and come back soon to make sure you enter for your chance to win the giveaway!

xoxo

669058772380712020613

Malted Milk Ball Creme Brulee

Malted Milk Ball Creme Brulee

EDIT of DSC_8379JPG

Hi All!

I can’t believe that today is AUGUST 1ST! I mean I love August as it’s my birthday month ❤  🙂 but holy crap! Summer flew by.

So today I wanted to share a seriously delicious (although not quite what I’d call low fat/healthy) special dessert. Who doesn’t love a good creme brulee? Actually I’m sure there are plenty of people who don’t. Buttttt from time to time it is a great treat. And of course who doesn’t love to use a mini blow torch in the kitchen 🙂 Seriously it makes you feel like a bad assssss.

These require a little bit of work and are pretty rich but they are great and an impressive dessert for a special occasion!

Ingredients: 

  • 2 cups heavy cream (you must use heavy cream)
  • 2 1/2 ounces milk (or dark if you prefer) chocolate, chopped
  • 2 tablespoons malted-milk powder
  • 4 large egg yolks
  • 1/4 cup plus 4 teaspoons sugar
  • Salt

Instructions:

  1. Preheat oven to 300 degrees. Bring cream to a simmer in a small saucepan over medium-high heat. Add chocolate and malted-milk powder; stir until chocolate melts and powder dissolves. Whisk together yolks, 1/4 cup sugar, and a pinch of salt.

  2. Whisk hot cream mixture into yolk mixture. Strain into a large measuring cup.

  3. Arrange four 6-ounce ramekins in a roasting pan. Divide custard evenly among ramekins, leaving 1/4 inch at the top.

  4. Place roasting pan in oven, and fill halfway with boiling water. Bake until custards are set, 60 to 70 minutes. Remove from oven and from water bath. Let cool. Refrigerate until cooled, about 2 hours.

  5. Sprinkle 1/2 teaspoon sugar onto each custard. Hold a small handheld kitchen torch(like this one) at a 90-degree angle 3 to 4 inches from surface of each custard, and move flame back and forth until sugar caramelizes and is deep golden brown, or you can broil until sugar caramelizes.

  6. The plain baked custards(no caramelized sugar) can be refrigerated for up to 2 days. Just take out of the fridge and follow step 5 to caramelize tops just before serving.

EDIT of DSC_8383

How freaking fun is that, right?!? It’s fun to do, fun to eat, and fun to look at too! This is more work than my average posted recipe but I hope you give it a try and come back to let me know how yours turned out!

Thanks for stopping by the blog!

xoxo

669058772380712020613

Apple Dumplings

Apple Dumplings

DSC_8401 copy

Happy Friday!

I’m back from vacation and I had an amazing time! Hopefully I’ll do a post soon with pictures and details 🙂 So last week was a week I was scheduled to pick up my CSA but as you know, I was on vacation. My aunt and uncle picked it up for me and I told them to help themselves and I would take whatever was left. So I don’t have my bi-weekly CSA post ready yet 😦 and might just combine with the next week. But in the mean time, feast your eyes (and bellies!) on these beautiful and delicious Apple ‘Dumplings’.

They require a little bit of work, but the outcome is worth it. I promise.

Ingredients:

    • 2 cups granulated sugar
    • 1 1/2 cups water
    • 1/4 cup butter
    • 1/4 tsp ground cinnamon
    • 1/4 tsp ground nutmeg
    • 2 cups all-purpose flour
    • 2 tsp baking powder
    • 1/2 tsp salt
    • 3/4 cup shortening or butter
    • 2/3 cup milk
    • 1/4 cup granulated sugar
    • 1/2 tsp ground cinnamon
    • 3 cups shredded, peeled cooking apples (3 to 4 medium); Golden delicious, Rome, Granny Smith or Jonathan apples

 Instructions: 

Sauce:

In a large saucepan, combine 2 cups sugar, water, butter, 1/4 tsp cinnamon and nutmeg. Bring to boiling. Boil 10-15 minutes; set aside (should be a liquidy syrup consistency)

Dough: In large mixing bowl, combine flour, baking powder, salt. Using pastry blender, cut in shortening or butter until pea-sized clumps of dough form throughout. Make well in center of dough and add milk all at once. Stir just until moistened. Knead dough on lightly floured surface 10 to 12 strokes or until nearly smooth- don’t over kneed it. Roll out to 12×10-inch rectangle (I found I needed a little extra flour and to wet my hands before this 🙂 )

Filling:

Combine 1/4 cup sugar and 1/2 tsp cinnamon; set aside. Sprinkle apples evenly over dough. Sprinkle with sugar mixture. Roll dough into spiral, starting from a long side. Pinch seam to seal. Cut into twelve 1-inch thick pieces (a serrated knife works best). Place in a 13x9x2-inch baking pan. Pour sauce over dumplings. Bake in a 350 degree oven about 50 minutes or until golden. Cool 20-30 minutes before serving.

DSC_8405 copy

Yeah- soooo good. And not drenched in a frosting or glaze, which I really really liked.

DSC_8411 copy


What do you think? Pretty right? Give it a try and come back and tell me how yours turned out! I love to hear from my readers.

xoxo

669058772380712020613

Asian Cobb Salad

Asian Cobb Salad

EDIT of DSC_8242

Happy Friday!! I am currently, as we speak, on vacation!! I’ll be back Sunday and will reply to comments and messages then as well as hopefully share some of my trip! 🙂 Now about this salad…

First of all- a disclaimer for all my photography friends. I’m aware these photo’s are grainy as *bleep!* . My ISO was cranked WAYYYY up since these pictures were taken basically by moonlight.really though…

I desperately need an artificial lighting solution. I can’t just be waiting around for the absolute perfect natural light every time I make something I want to blog. I live in Wisconsin. C’mon. In the winter that would mean I had about 20 seconds of a shooting window. Soooooo if any angel investors want to buy me one of these……that’d be cool. joking.

But main point of this story is that I don’t want to hear one comment about blurry, grainy, ISO pumped up, photos. Thanks.

Now back to the fooood!

Super healthy, beautiful, delicious, quick,  and satisfying, salad. You could add or remove anything your heart desires. Thats the beauty of salads. Soooo versatile.

Ingredients: 

Salad:
5 cups chopped romaine lettuce ( or your favorite kind of lettuce)
1 (11-ounce) can mandarin oranges in light syrup, drained
1/3 cup shredded chicken
1/3 cup grated carrots
1 avocado, halved, seeded, peeled and diced
2 hard-boiled eggs, diced
1/4 cup sliced green onions

Sesame Vinaigrette:
1/4 cup plus 2 tablespoons rice wine vinegar
1 small clove garlic, tiny minced or pressed through a garlic press
1 tablespoon sesame oil
1 tablespoon sugar
1 teaspoon fresh grated ginger
1 teaspoon soy sauce
1 teaspoon fresh lime juice

Instructions: 

  • To make the vinaigrette, mix together rice wine vinegar, garlic, sesame oil, sugar, ginger, soy sauce, and lime juice in a small bowl; set aside.(you can adjust the amount of garlic depending on your preference)
  • To assemble the salad, place your greens in a large bowl; top with arranged rows of mandarin oranges, chicken, carrots, avocado, eggs and green onions.
  • Serve with sesame vinaigrette and eat it up!

EDIT of DSC_8250

EDIT of DSC_8251

Does any one know what could be causing that red line in the bottom right of this picture on all of my photographs?

Isn’t it pretty! This would look great on a tablescape for a party of some kind. And the sesame dressing is deeeelcious and could be used for so many other things!

Thanks so much for checking out the blog!


xoxo

669058772380712020613

Creamy Tomato Spaghetti with Shrimp

 Creamy Tomato Spaghetti with Shrimp

Edit Of DSC_8482JPG

Hi my fellow foodies!

Man I can’t believe how fast summer is going. I’m off on vacation starting TODAY!!! YAYAYAY I will hopefully have lots of pictures to share when I come back and hopefully a few fun food items too.

Take a look at this beauty. This was incredibly tasty, although definitely not a low fat meal. More of a treat from time to time or could be something impressive to make for the in-laws or any guests you may have. You can experiment with different ingredients. I’m a sucker for basil especially in the summer time so I garnished mine with it. Deeeelicious. Hope you enjoy!!

Ingredients:

  • 1/2  lb medium raw shrimp, shell removed
  • ¾ lb spaghetti or angel hair pasta
  • 1 tablespoon olive oil
  • 6 medium tomatoes, diced
  • 1 small onion, finely chopped
  • ¼ teaspoon hot chili flakes
  • ½ teaspoon dried basil, or 2 Tbsp chopped fresh basil(I prefer fresh)
  • 1 garlic clove, minced
  • 4 tablespoons unsalted butter
  • 1 cup dry white wine
  • ½ cup heavy cream
  • salt and pepper to taste
  • Parmesan to serve

Instructions: 

  1. Put the tomatoes, onion, chili flakes, basil, garlic and butter in a heavy pan , season with pepper.
  2. Add the wine and cook over med/high heat until mixture is soft and most of the wine has evaporated. You will have about ¼ cup liquid remaining in the pan.
  3. Peel shrimp and dry on paper towels. Lightly season shrimp with salt and pepper and saute in 2 tablespoons olive oil over medium/high heat, just until cooked through, about 3 minutes. Set aside.
  4. Cook pasta in salted water with 1 tablespoon olive oil, according to the package instructions until al dente (tender but firm to the bit). Rinse, Drain and set aside.
  5. Once the sauce has mostly evaporated, stir in the cream and add the shrimp. Warm through gently for 2 minutes.
  6. Toss the pasta with the sauce. Sprinkle with Parmesan and fresh basil and serve!

DSC_8486 copy

Doesn’t it look good?! Yummmmmm. Give it a try and let me know what you think! Thanks for taking a look around the blog!

xoxo

669058772380712020613