
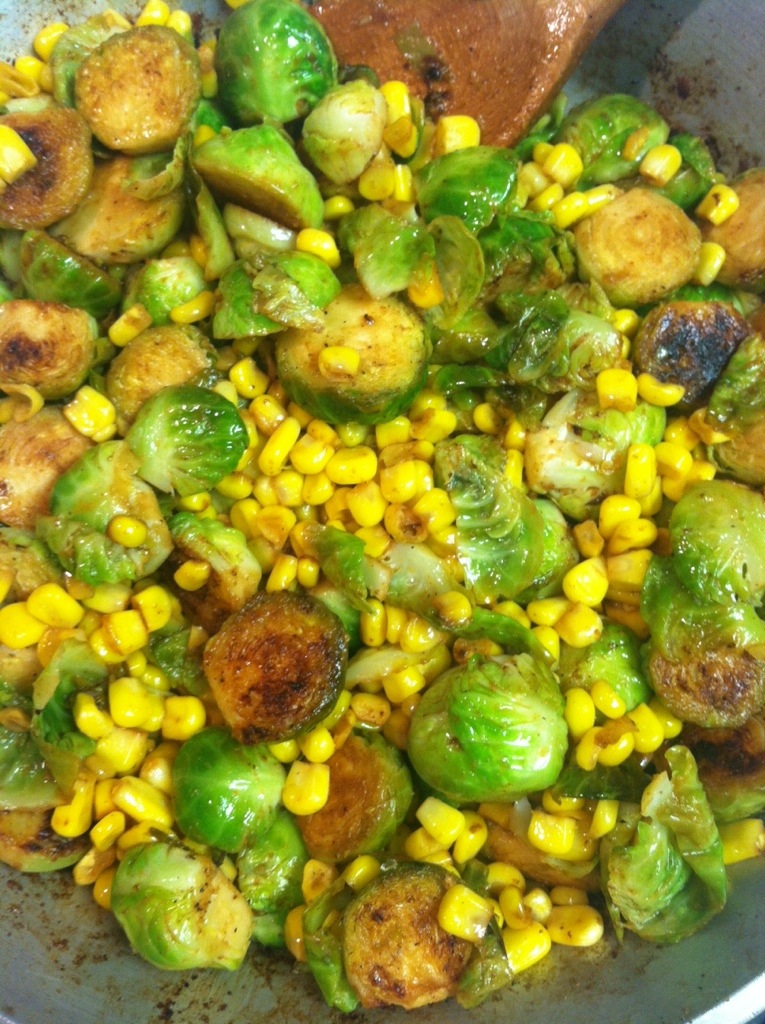
Lemony Brussel Sprouts & Corn
Ingredients:
1 lb brussel sprouts
2 ears of corn, kernels freshly cut off of the cob
3 tbs olive oil, divided
1/2 lemons-worth of juice
1 tsp cayenne pepper
1 tsp garlic powder
1 tsp onion powder
salt & pepper
Directions:
1. In a large pan heat 1 tbs olive oil over medium-high heat. Cut brussel sprouts in half and add to pan. Sprinkle with lemon juice, cayenne pepper, garlic powder, onion powder, and generous pinches of salt & pepper.
2. Shake and stir to coat, continue to shake every so often, to enable a caramelized sear but not an over-cook on one side.
3. After about 10 minutes (adding more olive oil as needed), when brussel sprouts are browned, soft on the outside, but a bit hard n crunch on the inside, add fresh corn kernels to the pan.
4. Drizzle 1 tbs olive oil over the corn, sprinkle with more salt & pepper and stir & shake to fully mix.
5. Cook altogether for another 5 minutes, until corn is warmed through.
6. Eat it!
Soooo good. I could have eaten just these for dinner that night. This is the first time I made brussle sprouts for Jake and I was a little scared because I mean C’mon brussle spouts have GOT TO BE one of the most hated/feared vegitables on the planet. I love them and have been known the just eat them raw, but word on the street is not toooo many people are huge fans. Hopefully you like them! and if not, maybe give them another shot with this recipe?!?!?
xoxo


