Pesto Poppers

Pesto Poppers

DSC_9406

Hey-YO!

Christmas is NEXT WEEK?!? WHAT? I know crazy.

So I know I’ve already told you that I’m all done shopping and wrapping gifts but for some reason this year I don’t feel super ‘Christmas-y’. I mean it’s five freaking days away! I’m hoping once I have one of my many family Christmas gatherings this weekend, I’ll feel more festive 🙂

The holidays are full of yummy food, get-togethers with friends, drinks, parties. And if you’re anything like me, your fiance will spring a commitment on you the hour before and “oh-you’re supposed to make something and bring it”……

I mean that didn’t happen or anything….

Well if you find yourself in the same situation or you have unexpected guests this holiday season (or really any time of the year!) this super fast and delicious appetizer will be your saving grace.

Not only are they great- but they seem like they’d take forever yet can be whipped up in about 10 minutes!

Behold the Pesto Popper

DSC_9408

Pesto Poppers

Ingredients:

  • Puff Pastry Dough
  • Mozzarella Cheese (I think the fresh would be best)
  • Pre-made pesto
  • Toothpicks

Directions:

Preheat oven to 400F.

Follow puff Pastry directions to thaw accordingly. Using a lightly floured surface and a lightly floured rolling pin, roll out the puff pastry. Then using a cookie or biscuit cutter(*I used a drinking glass since i didn’t have a round cutter) cut out circles. You can keep rolling out the dough to get as many circles as you can.

In the center of each place a dollop of pesto and a chunk of cheese.

Pull all sides together and secure with two toothpicks per popper (sort of making a ‘X’). Place on a baking sheet and bake 15-20 minutes, or beautifully brown.

Remove from the oven and take out the toothpicks. Serve warm or room temp, although I’m partial to warm since the cheese is still gooey 🙂

DSC_9398

There you have it! See? So easy and good. And everyone will ask you how to made these. I think the puff pastry makes them ‘elegant’. You could also do so many flavor combinations for these. I’m really digging the idea of a tapenade or roasted red pepper version.

If you guys make these and try different flavors- PLEASE come back and tell me how they turned out 🙂

Hope you all enjoy this, enjoy this weekend, and if you’re traveling for the holidays in the coming days, travel safe and I hope everything goes as planned.

xoxo

669058772380712020613

Lentil & Black Bean Salad with Spicy Lime Dressing

Lentil & Black Bean Salad with Spicy Lime Dressing

Ah- Who still feels full after Thanksgiving?! Oh just me? There’s just always such delicious food and I over indulge every.single.time. No shame.

But I always run into the issue the week afterwards of obviously needing to eat, but not hungry, or nothing sounds good, or only the stuffing and mashed potatoes sound good but I ate them all… ugh, the struggles. I need something lighter.

Enter delicious veggies:

DSC_9240Yum. These plus protein rich beans and lentils= me eating without feeling guilty!

Plus it helps keep me full longer- ultra bonus.

Plus look how pretty it is! ultra ULTRA bonus

DSC_9252

Lentil & Black Bean Salad with Spicy Lime Dressing

Ingredients
1 cup dry lentils (green or brown or both!)
2 cups cooked black beans or 1 15oz can, rinsed and drained
1 bell pepper of your choice, chopped
1/2 small red onion, diced
3  roma tomatoes, chopped
½ cup cilantro, stems removed and chopped

-Dressing-
Juice of 1 lime
2 Tbsp. olive oil
1 tsp. dijon mustard
1 clove garlic, minced (or 1 tsp garlic powder)
1 tsp. cumin
1/2 tsp. oregano
1/4 tsp. chipotle powder
1/4 tsp. cayenne pepper
1/8 tsp. salt

Directions
Put lentils into a small sauce pan with plenty of water to cover, bring to a boil then lower the heat to simmer, cover, and cook until lentils are tender; which is about 30-40 minutes, but check your package for specific instructions! Drain lentils and let cool slightly

While lentils are cooking, make the dressing: place all ingredients in a small bowl or cup* and whisk to combine. Set aside.

Combine the bell pepper, onion, tomatoes, beans, and lentils in a large glass* bowl. Add the dressing and toss to combine. Add cilantro, and lightly toss once more.
You can serve it immediately or chill covered in the fridge to let the flavors combine and enjoy later!

This was really really really tasty and would be something awesome to make to bring for lunches at work throughout the week! It was just what I needed, light and refreshing.

*I suggest using a glass bowl because the dressing contains lime juice. The acidity in lime juice often reacts with metal in metals bowls and can give your food a metallic taste- yuk!

DSC_9315

Pourrrrr over

DSC_9318

Action shot 🙂

DSC_9319

ta da!

DSC_9282

now EAT!

This was perfect. Light and delicious. I preferred it chilled a little bit but it was great room temp too!

I hope everyone had a great holiday week/weekend and that you enjoy this dish too!

Ps- less than 3 weeks until Christmas!!! wooohooo! I’m so excited to share some of my crafts and homemade gifts I’m doing this year with you guys! But of course I have to wait until after the gifts are given so I don’t spoil the surprise 🙂

xoxo

669058772380712020613

Quick Pickled Jalapenos

Quick Pickled Jalapenos

 IMG_4806.JPG
Hello my favorite blog readers 🙂
So if you have been following my blog for any amount of time you know that I absolutely LOVE LOVE LOVE spicy food. Seriously sometimes I cause myself pain for the love of spicy food. This was one of those times. My mom has a ginormous garden and also some friends who also have ginormous gardens, long story short, I went home one time and she asked if I wanted some of their home grown organic jalapenos.
Um duh yes I do.
Fast forward she gives me a bag of about 100. Not lying. Fast forward more- I wanted to just dice some and throw in the freezer to use for recipes and various things throughout the year but I also wanted to try this at home pickling recipe. I love pickled jalapenos but sometimes they are so mushy and sort of gross and not that spicy.
Ok soooooooo not to sound pompous but I don’t really think that jalapenos are that spicy. Sometimes you get a spicy one but more often than not, they’re just sort of a warm heat in your mouth. Anyway, I never use gloves or anything when I cut them up normally because I just wash my hands when I’m done and go on my merry way. I’m sure you can tell where this story might be going- I’ll get to the point.
HOLY SHIT. The peppers my mom gave me were soooo effing hot. Mind you I didn’t even cut them all my hand. (I washed, cut the tops off and cut in half lengthwise and then diced with this bad boy) well after about 5 (of the 100) I’m like whoa- I am having a hard time breathing. I started coughing and my eyes burned. I licked one of the peppers and hot damn my mouth was on fire. Well I couldn’t just stop in the middle so I kept going.
I had to take approximately 10 breaks to cough/ gag/drool/die in the sink, literally my mouth and eyes had saliva and tears flowing out of them at a rate beyond my control. Then to top this all off, my hands started throbbing. Like on FIRE. Especially my finger tips and cuticle areas. Seriously, my anxiety brain had thoughts of paralysis running through my mind and they were getting swollen and hurt so bad I could barely bend my fingers. You think I’m being dramatic. I am not. Swear on my life.
Anyway- I’m crazy and apparently a masochist so I finished all the peppers, cleaned up, washed everything twice, washed my hands like 50958209348 times and put ice on my hands. Ok. How fun was that?!?
Ahhhhh, next day,  I wake up and start getting ready for work, doing my makeup, get something in my eye, use my finger get said thing out of my eye, ruin all my makeup because my eye starts burning and watering like cray cray again………….. I mean jesus. I called my mom asking her what she was trying to do to me with these killer psycho jalapenos. She said they mayyy have cross pollinated with some hotter ones…… perf.
Anyway, after about 3 days my hands returned to normal and I was able to touch my face without breaking out in tears.
You’re probably thinking “this story is supposed to make me want to make these freaking peppers?!”….. um yes. Yes, it is. These babies are soooo freaking good. Crisp and spicy (as the story above eludes to 🙂 ) and not full of any chemicals that you’ll get in the store bought kinds. The story’s main point was to make you laugh and also caution you don’t by lethal grade jalapenos and if you do, wear a HAZMAT suit or at the very least gloves and possibly goggles too 🙂
You need to try these- but be careful!
IMG_4806.JPG
Ingredients: 
3/4 cup water
3/4 cup white vinegar
3 T white sugar
1 T kosher salt
1 clove garlic, crushed or chopped
1/2 tsp oregano
15-20 jalapeno peppers, sliced into rings
Directions:
1.  Combine water, vinegar, sugar, kosher salt, garlic, and oregano in a saucepan over high heat.  Bring to a boil, stir in jalapeno peppers and remove from heat.  Let cool for 10 minutes or longer.
2.  Pack peppers into jars using gloves or tongs, cover with vinegar mixture, cover, and refrigerate until ready to eat!
I love these. And so fast and simple. This is 100%, without a doubt, one of those things that I will no longer buy store bought versions of. There is no comparison taste and texture wise. I’ll just be more cautious with prep next time!
Thanks for stopping by. Make sure to follow us on Twitter, Facebook, and Pinterest to keep up to date with our activities!
xoxo
669058772380712020613

Detox Bath

Detox Bath

Slide1

Hi Hi Hi! This post is something a little different than the regular foodie post but still I really wanted to share this with all of you!

I had heard about detox baths for so long, but never had tried them. I honestly didn’t understand them or comprehend that it was more than just a regular hot relaxing bath. I thought it was totally just a mental/relaxation thing (that IS part of it) but had no idea what a detox bath could actualllllyyy do for your body. Until recently….

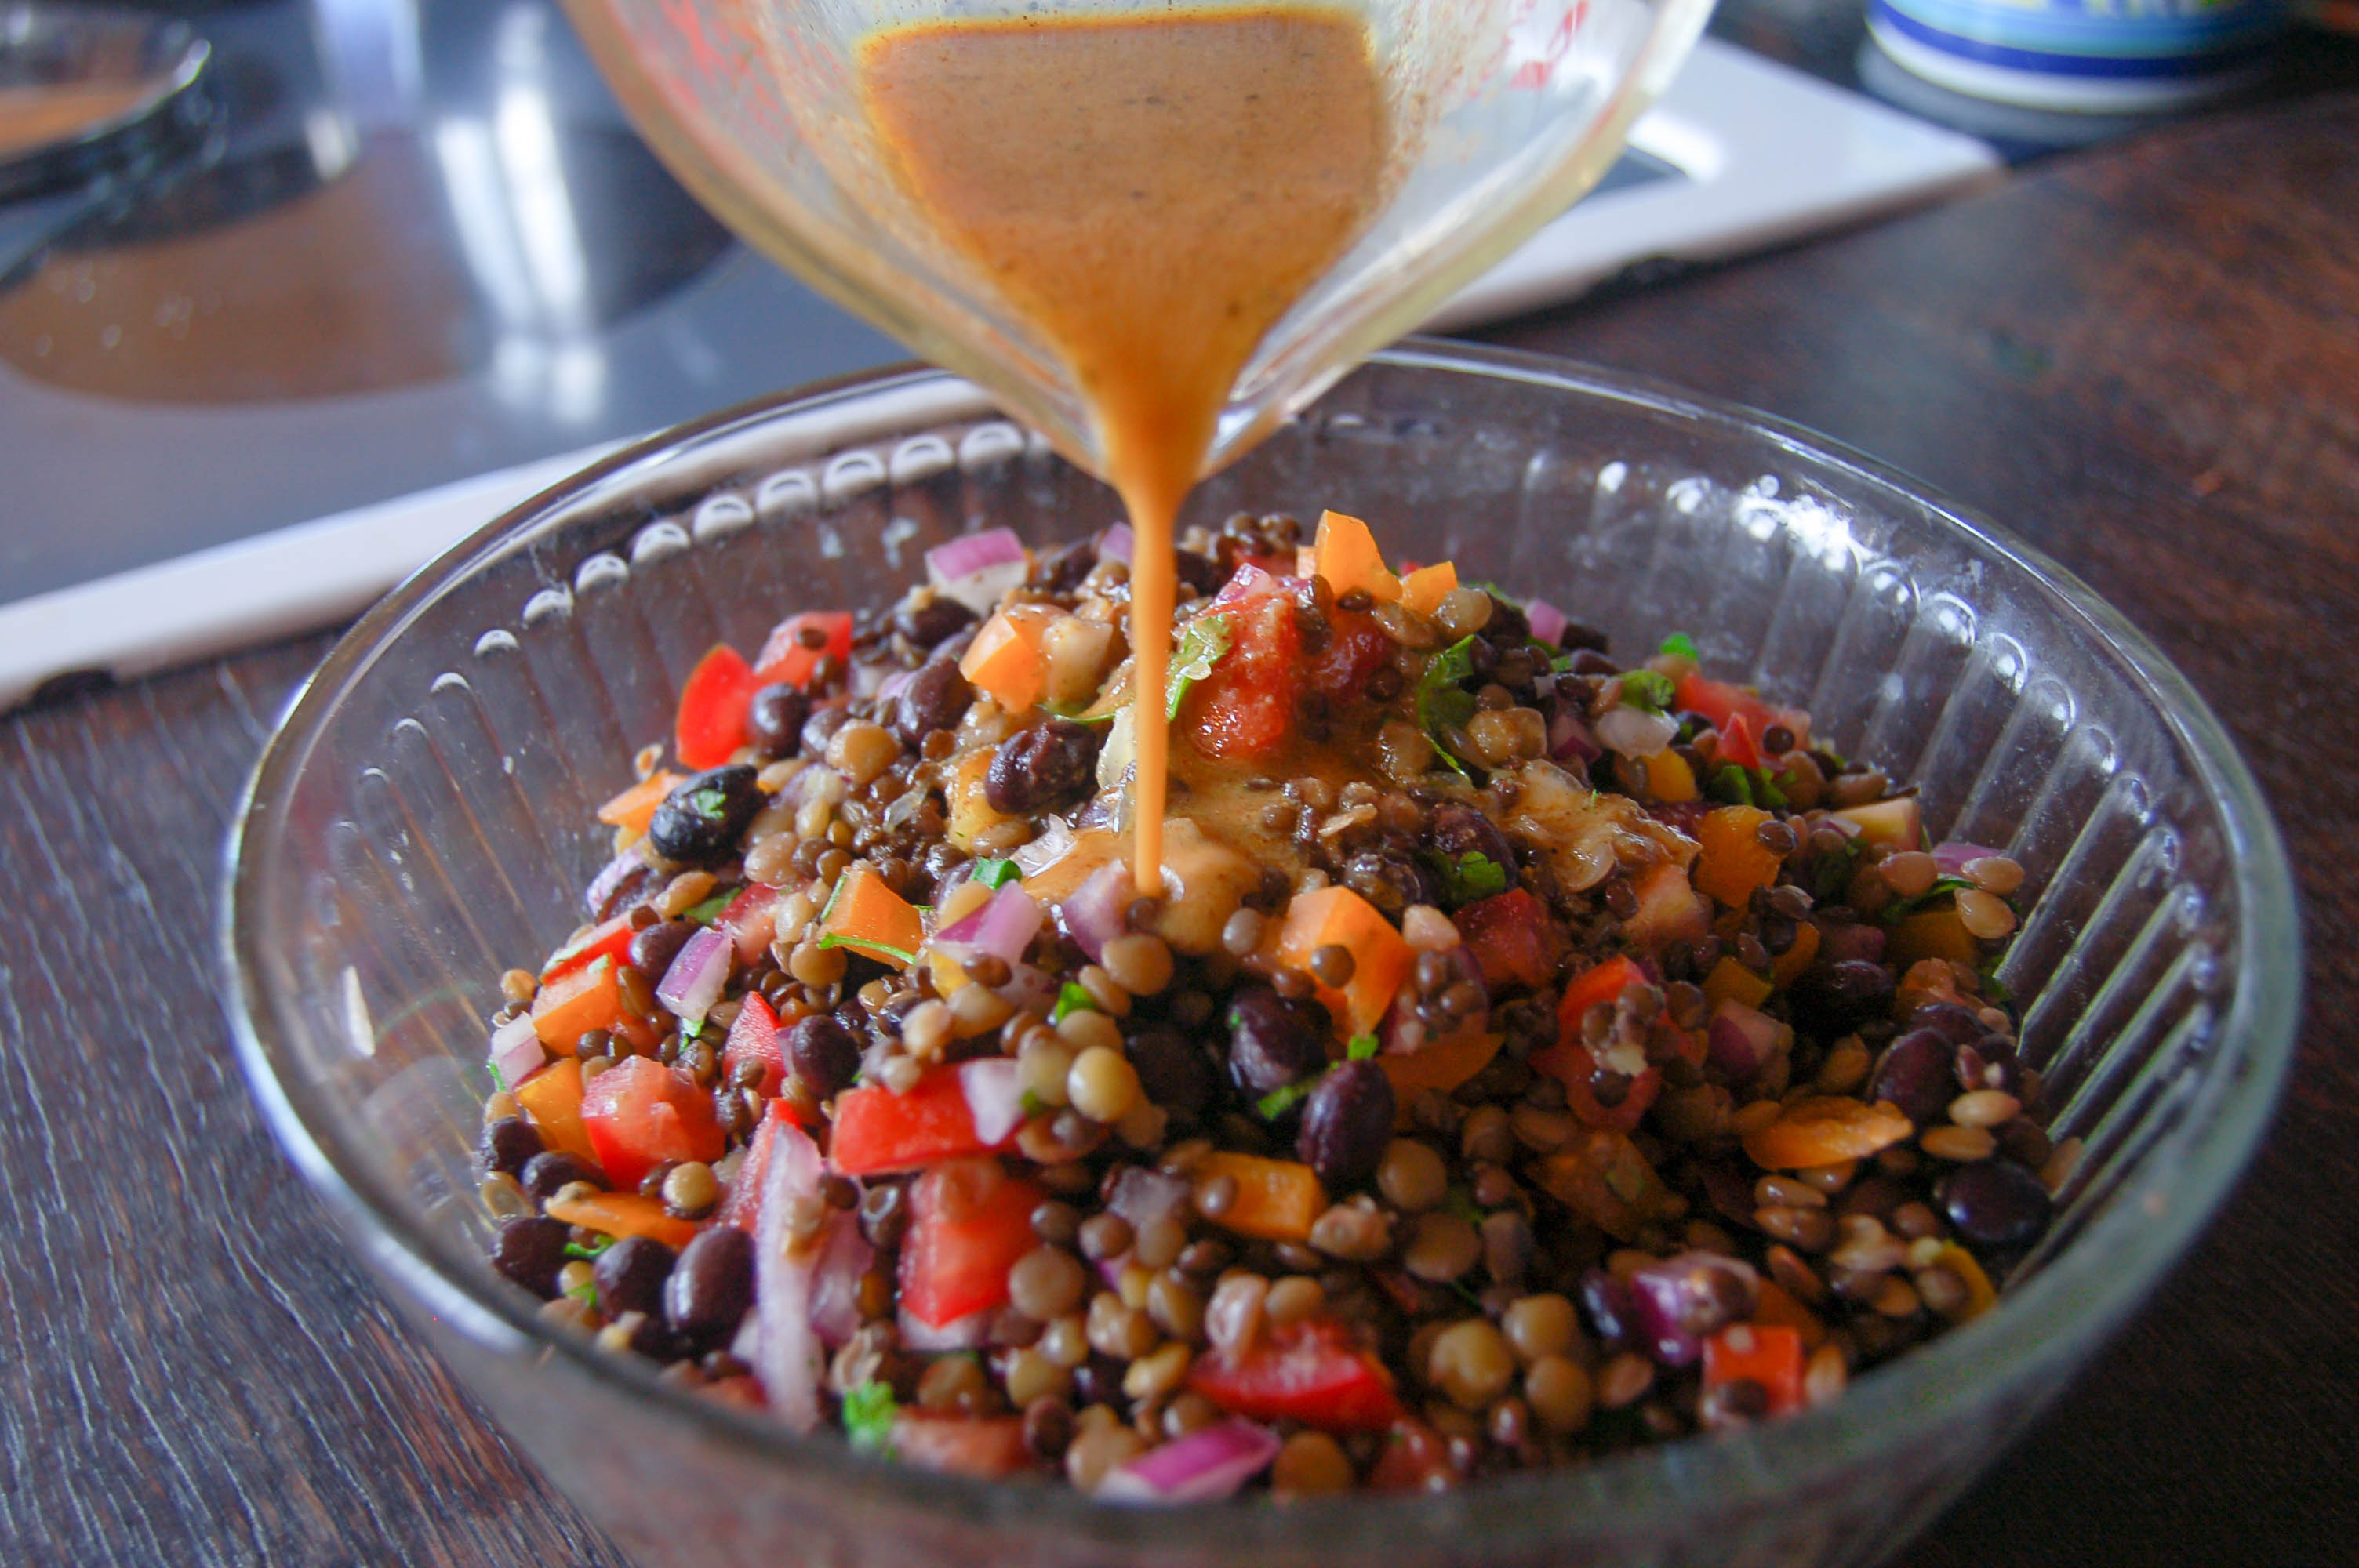
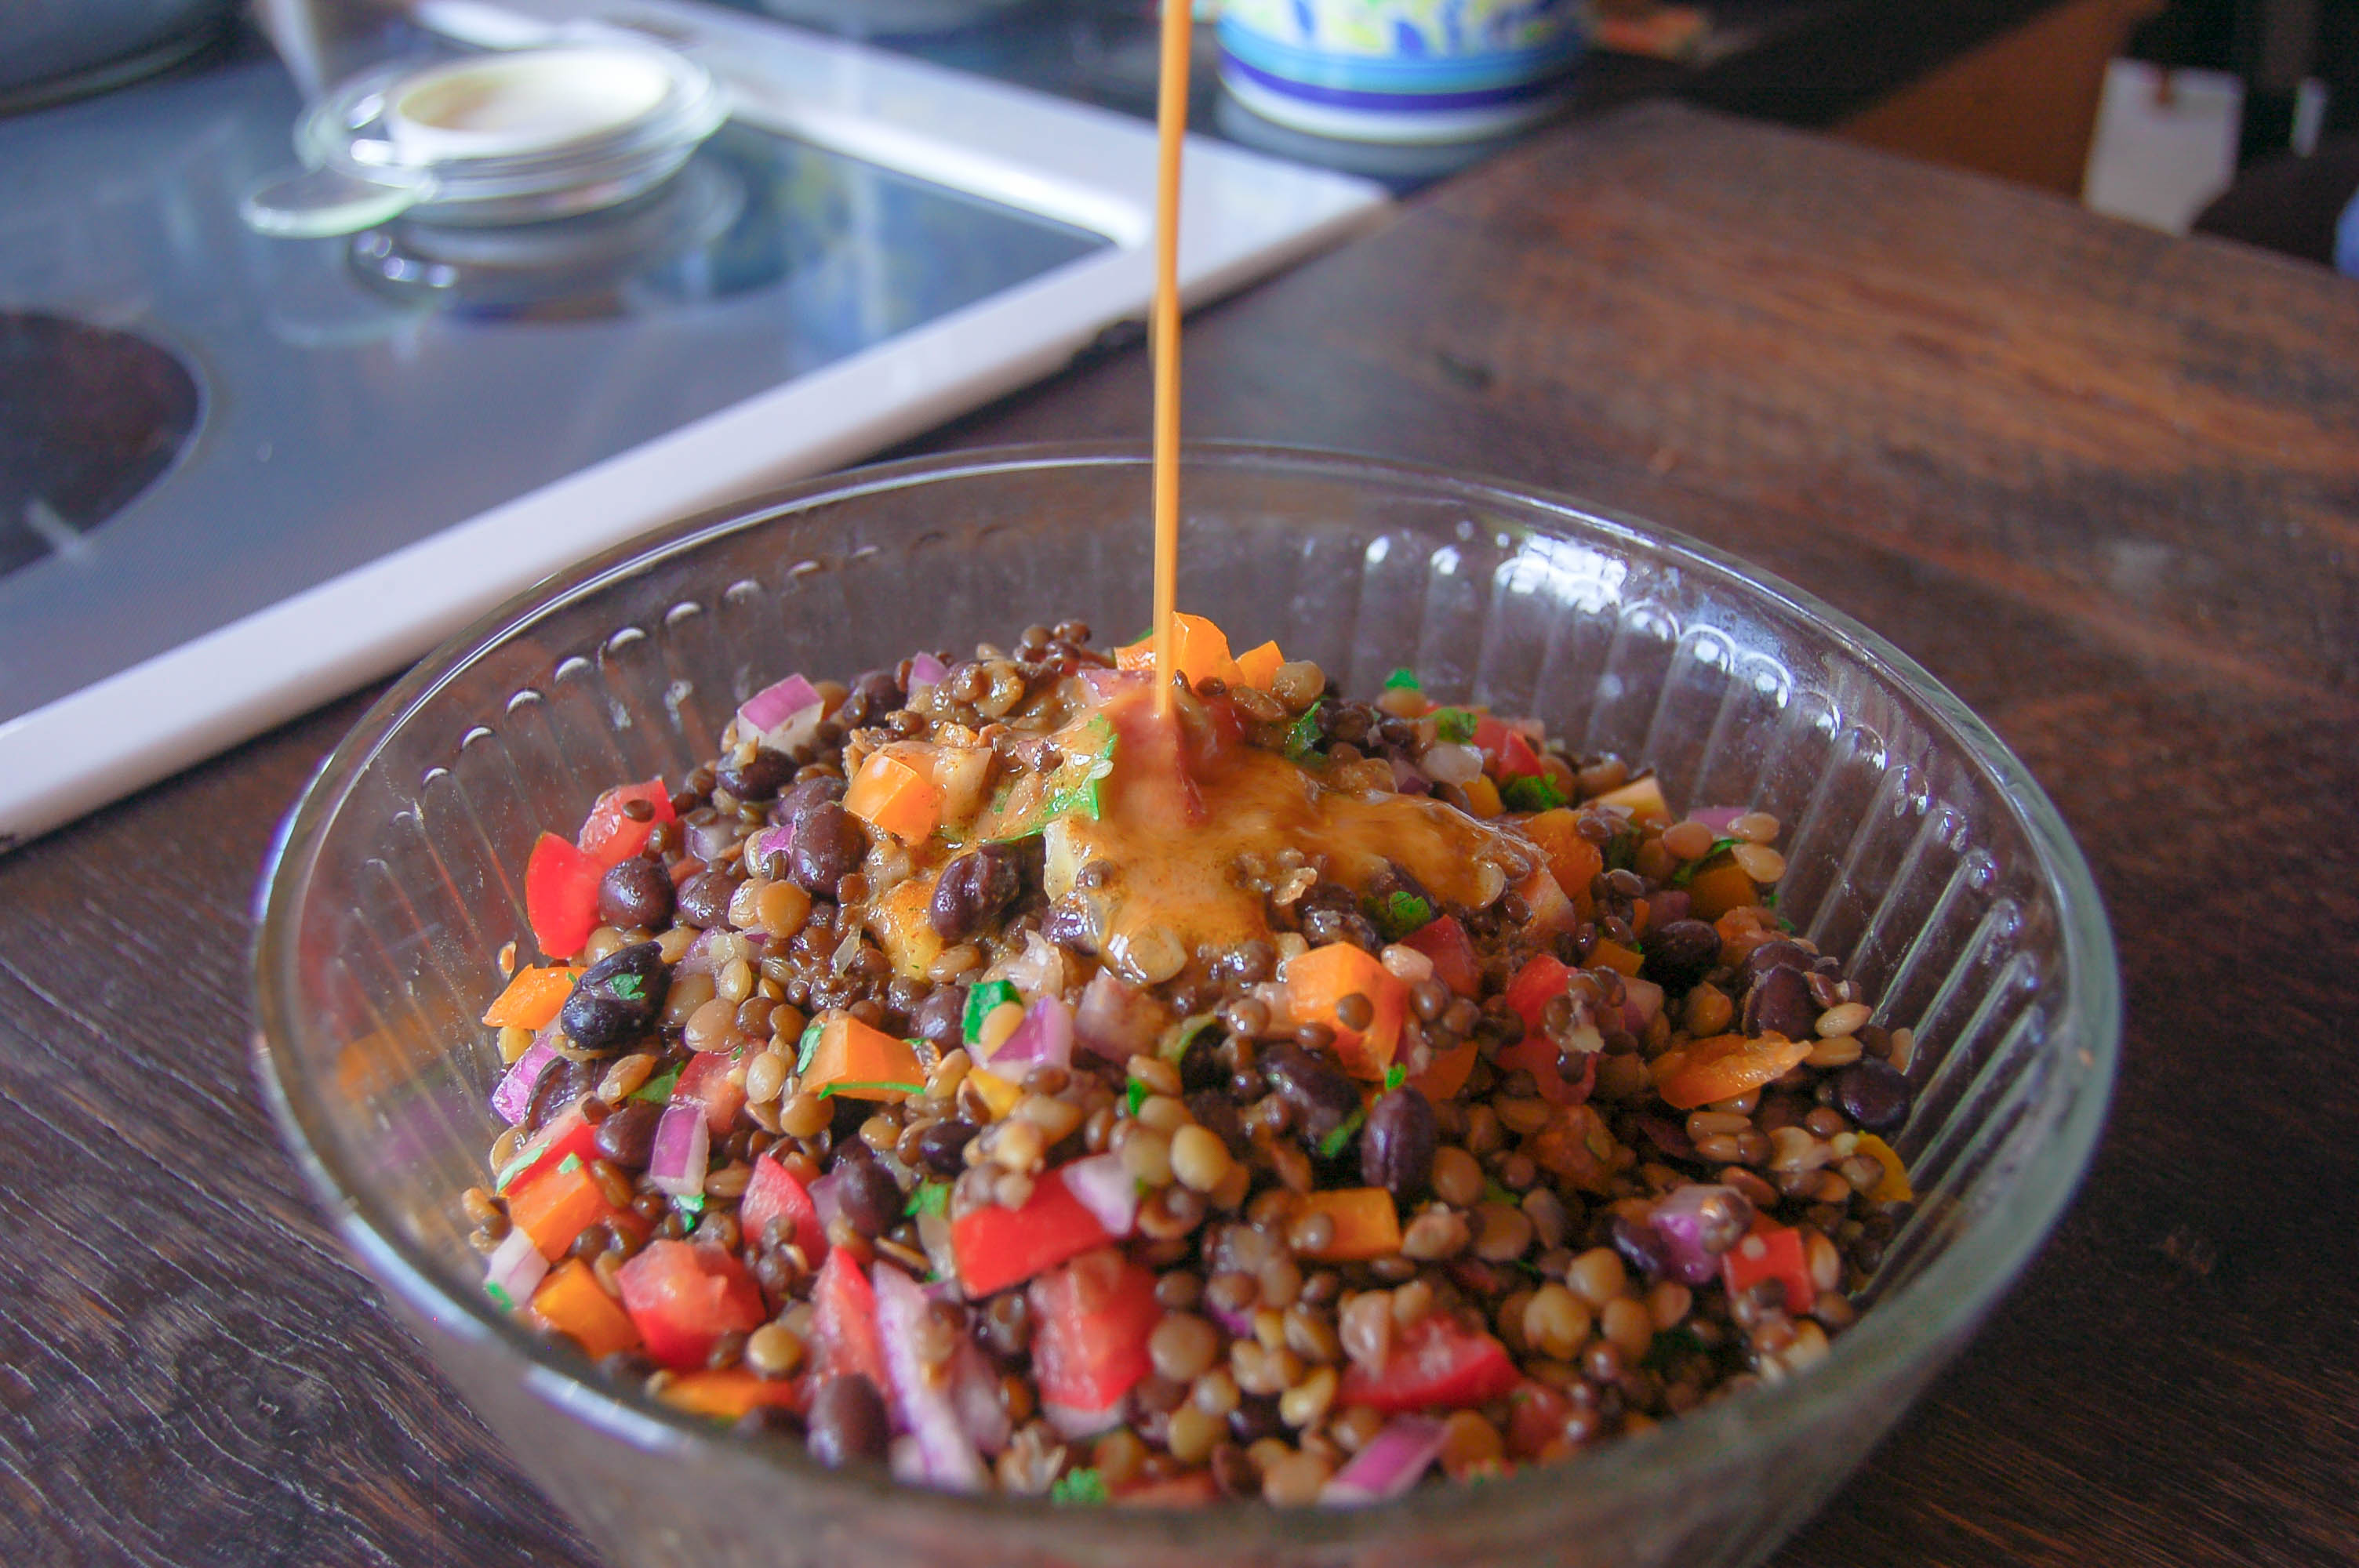
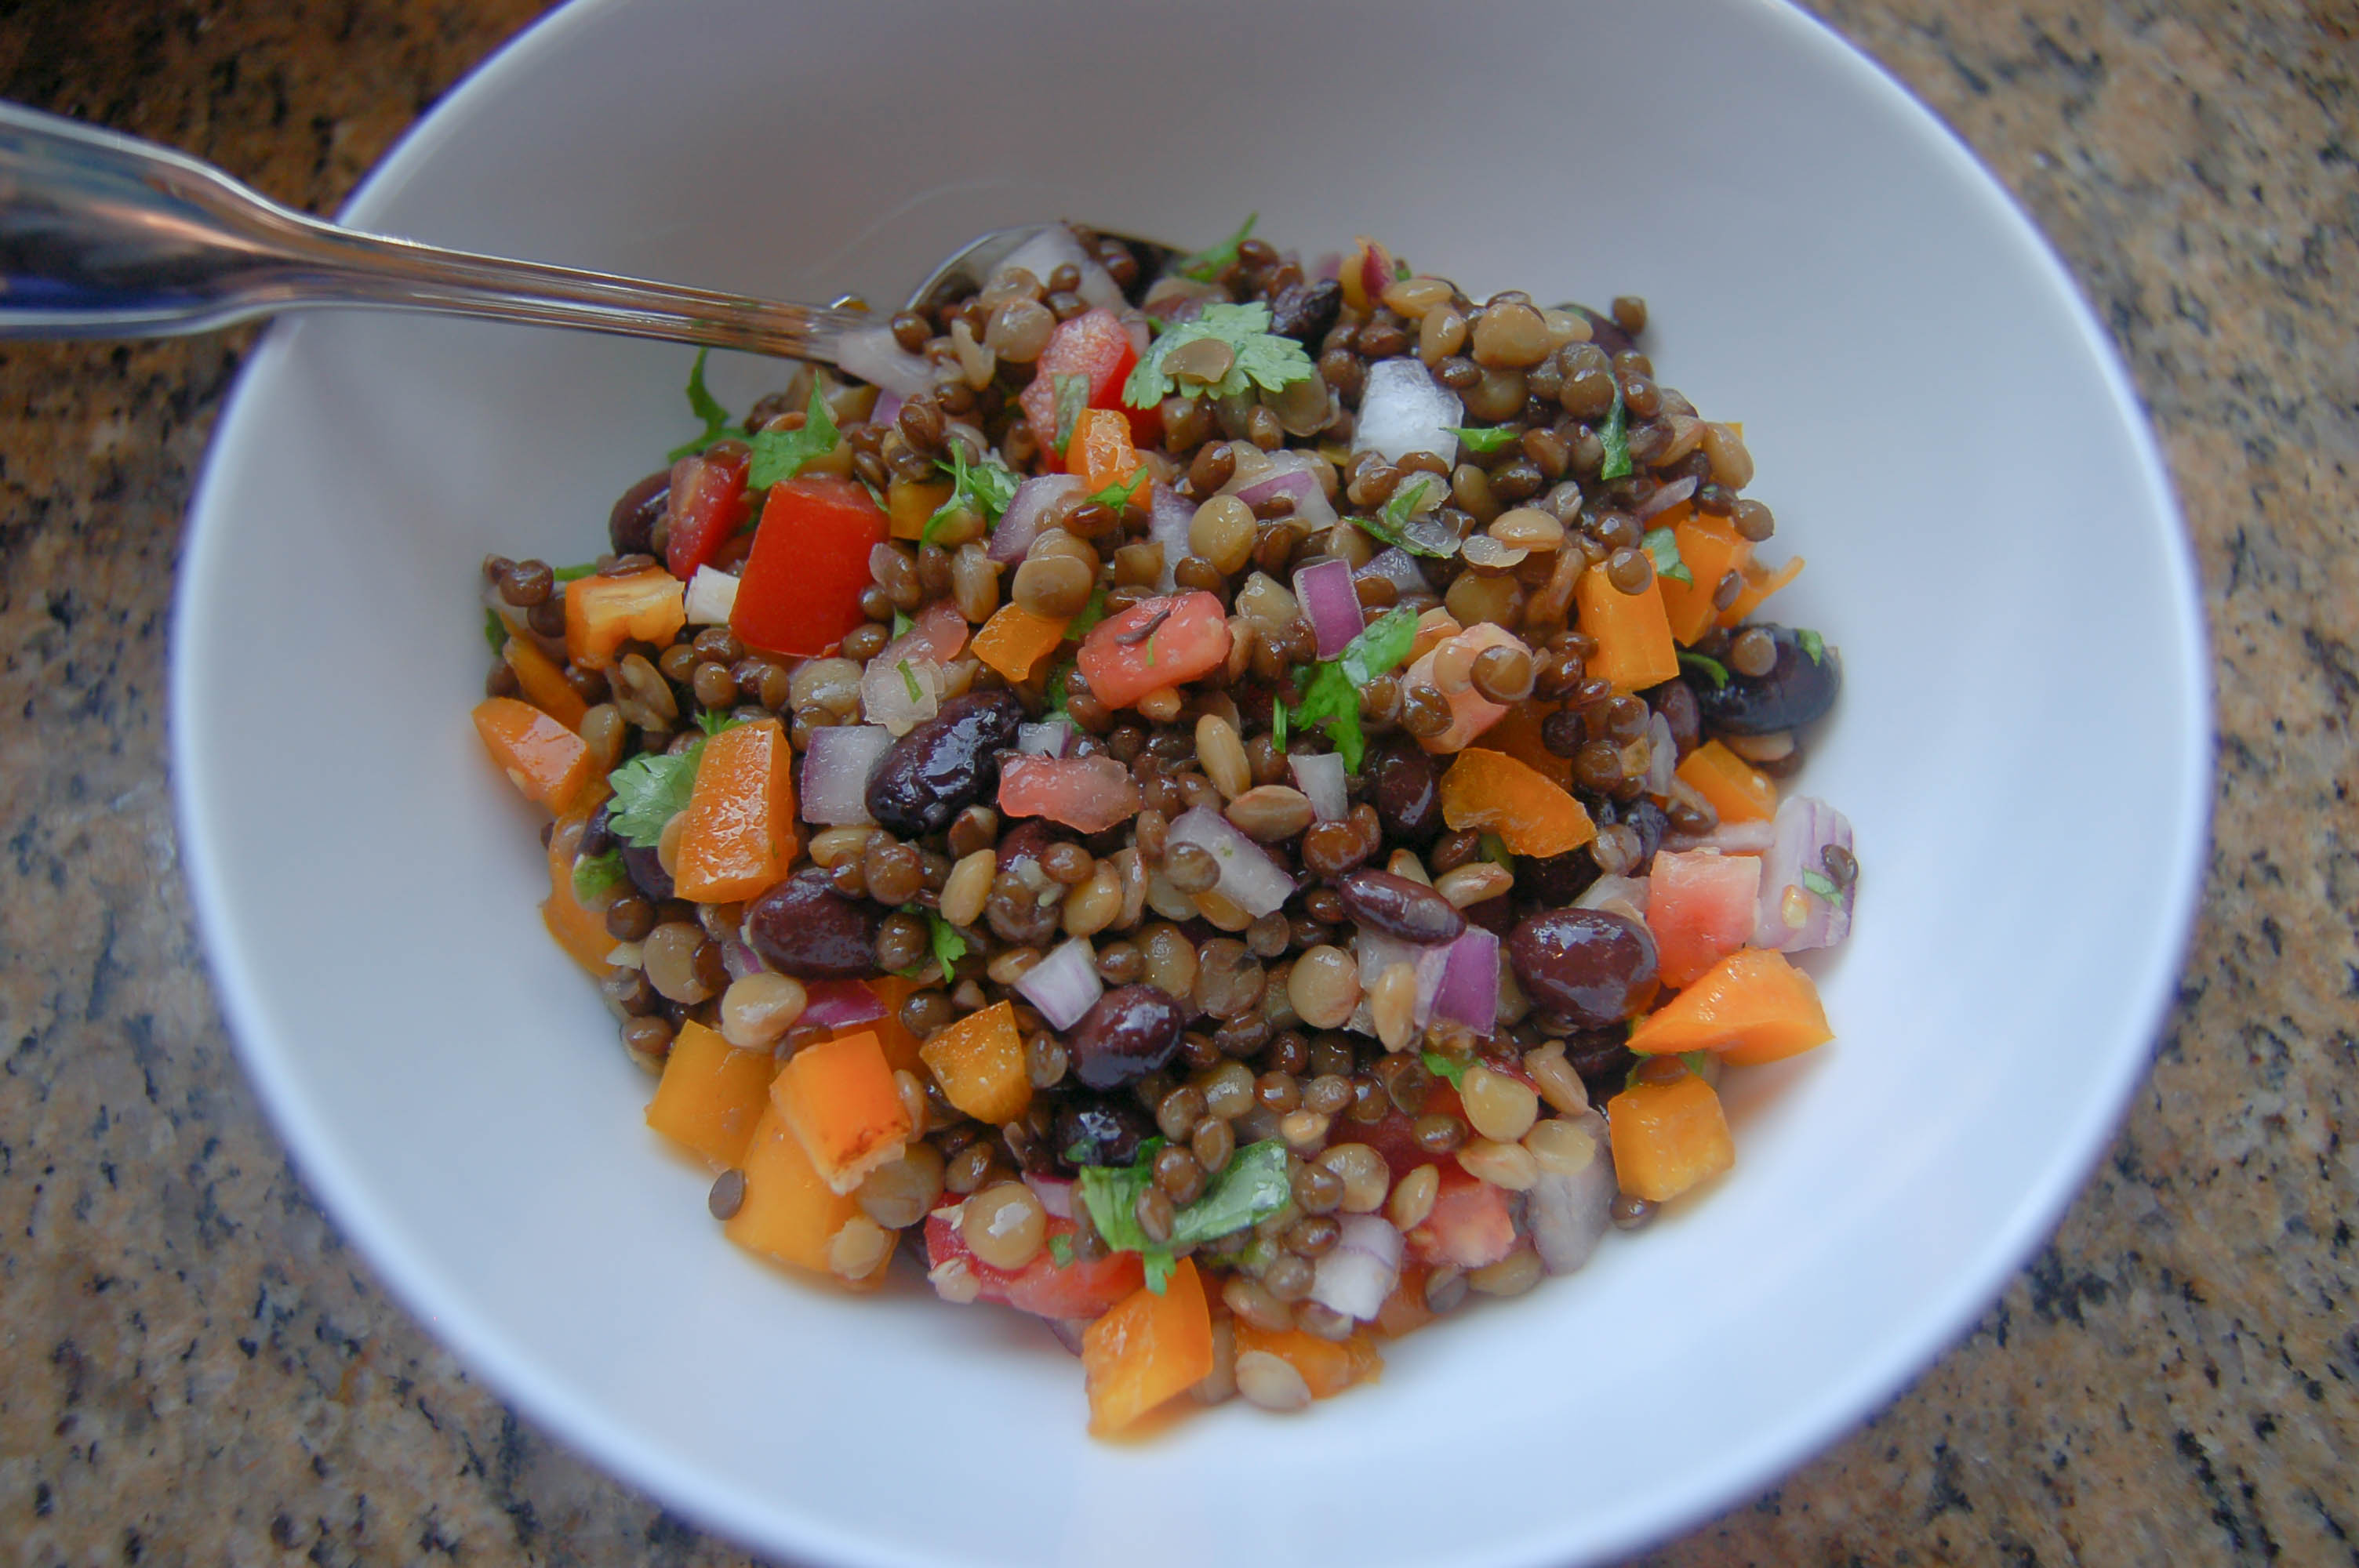
I have been detoxing internally for about 3 weeks now. That involves an elimination diet of caffeine, alcohol, gluten, dairy, soy as well as eating as whole and natural as possible (i.e. just because a cracker is gluten free- I still shouldn’t be eating it). The detox program I’m doing is through Arbonne (more on that later) but really it involves sticking to the above guidelines, having one of their protein shakes for breakfast and or lunch followed by a healthy dinner. This is my second detox program (they last 28 days) and the first one I did I lost 14 pounds! So I’m excited to report back after I complete this second one. Anyway, somehow the idea of a detox bath popped into my head and that I should try one. Seriously I don’t know where the idea came from other than I knew I had a Friday night to myself and thought- hey why not. I looked up several “recipes” and combined several to make the version I used.

First before I get into my experience- lets just talk about what the hell a detox bath is in the first place.  Our bodies naturally detoxify themselves on a constant basis. As humans we are exposed to toxins at high levels and particularly in this day and age each of us are exposed to more toxins than ever before. We are exposed the second we wake up. We breath in polluted air, we take showers with water that is full of residual pollutants and toxins, we use shampoo and beauty care products full of chemicals, we brush our teeth with toothpaste that most likely contains fluoride, then we move on to eating breakfast. Breakfast probably consists of food that has been exposed to harsh chemicals and pesticides or genetically modified . We don’t even have to leave the house to put excessive strain on our bodies natural detoxification abilities. Then just imagine what happens when you leave your house and are out and about in our dirty, albeit beautiful, world. Our bodies can’t keep up with all the stuff we keep exposing it to. It would be virtually impossible to eliminate all toxins from our body but there are ways we can encourage our body and promote it’s natural ability to boost our health, strengthen our immune system and prevent illnesses.

Our bodies have several ways in which it detoxifies. One is through the liver which removes harmful toxins and metabolic waste, converts them to water soluble compounds and excretes them from our body through our urine. For toxins that cannot be converted to water soluble or aren’t water soluble, our livers excrete this through bile which then travels through our intestinal tract and is  removed by going #2 🙂 There are still some toxins yet, that can not be or aren’t removed through these two methods and usually we end up sweating those out through our skin.

In a world where:

  • 2,100 chemicals, including pesticides, herbicides, medications such as antidepressants and recreational drugs are in our water supply
  • 80,000 metric tons of carcinogens are released into the air annually in North America
  • Over 80% of foods have genetically modified ingredients
  • The EPA estimates that the average U.S. citizen has residues from over 400 toxic compounds in their body
  • 82,000 chemicals are in use today in the United States, but only a fourth have ever been tested for toxicity ∗

You can see why it’s important to aid our bodies all that we can. I’m not sure who thought of a detox bath but I’m glad they did! For centuries people have been using Mineral Salts (Epsom, dead sea) to aid in healing various illnesses and improving overall health and well being. Most detox baths do have empsom salt(also known as Magnesium Sulfate) in them. Due to it’s properties to help with easing stress, regulate activity of 300+ enzymes, reduce inflammation and relieve sore muscles, flush toxins, and improve circulation. Good stuff!!

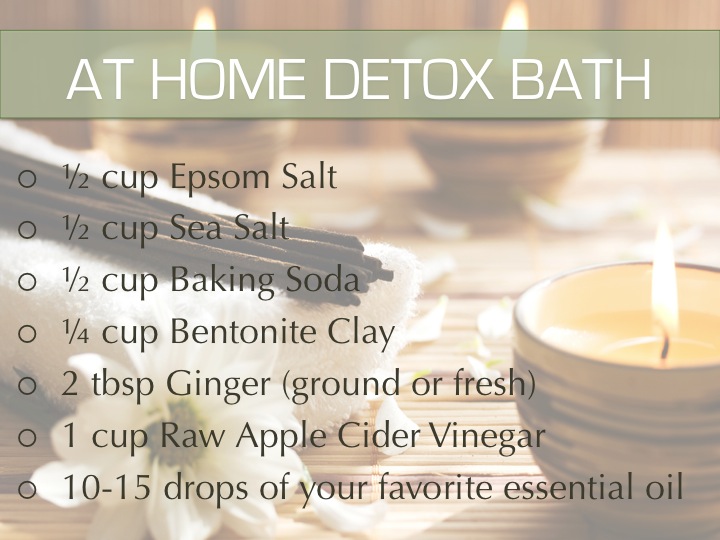
Now as I said I sort of combined several “recipes” that I had found and created my own. I’ll briefly go over what and why for each ingredient.

Epsom Salt – see above 🙂

Sea Salt– see above 🙂

Baking Soda– this will not only help help neutralize your water (if you don’t have filtered water) but also improve mineral absorption.

Bentonite Clay – this is a unique healing natural clay that has electrical components that assist in the ability to absorb toxins specifically heavy metals and chemicals. If you are having troubles finding this you can order online or try looking at your local coop or health foods store. For my fellow Madisonians- Willy Street Coop has a great selection of natural clay powders.

Ginger–  Not only does ginger smell great but it has anti inflammatory properties and for some reason or another it is supposed to really make you sweat. Which is why I added it to my bath- to aid in sweating out all the bad! 🙂

Raw Apple Cider Vinegar – Not only do I love AC Vinegar for it’s fermentation and all around rock star healthy living awesomeness (I should do a whole post on this stuff) but this is also specifically used in this bath to help remove and flush Uric Acid from your body. But I recommend using raw with the “mother” as this is the most pure and natural form of it and most likely will do a better job. THIS is an amazing brand to use.

Essential Oils– really meant to help with the mind and relaxation part of this bath. When it smells good you can close your eyes and pretend you are on an island with the water crashing around you…..oh I mean that’s what I did anyway. You can use anything you want (that is safe for topical use) I used a mix of Lavender oil and Tee Tree Oil but you could use whatever you wanted. Make sure you are using pure oils. Unfortunately a lot on the market today have many fillers in them. Young Living  is a great brand and my personal favorite but doTerra is another good option.  Here is a great source for some ideas on which oils to use for different symptoms.

So now that you know the ‘why’, I’ll tell you how!

Slide1

Seriously- I’m not kidding when I say, STAY HYDRATED!! On a normal day I drink about 100 oz of water. The day I did this bath, I had already drank about 120 oz by 4 pm and then drank another 32 oz while in the bath, and then another 32 oz when I got out. And I was still suuuuuppper light headed when I got out of the bath. I realize I that drink more water than the average person so please take care of yourself and drink lots of water!!

I was amazed how much I sweat when I was in the bath- seriously my face was dripping in it, even by the end of my 40 minutes in the tub, I was still hot hot hot. And I continued to sweat for about 30 minutes after getting out. It was amazing. Also, without going into took gory of details, my sweat smelled FUNKY! Like I don’t even know how to explain it. But I usually sweat a lot (like I would say more than the average person) and it never smells but this sweat was a little funky smelling. Also when I was done with the bath I noticed it had a beige grey brown tone to it. Way more so than at the beginning of the bath. I mean I know I put ginger and AC Vinegar in there but it was definitely a different color at the end than it was at the beginning.

I was so tired when I was done. My body was exhausted and my muscles were really sore! Almost as if I’d just done a really good workout. Not the sore where it “hurt” but the good sore feeling. You know what I’m talking about, right? 🙂 I couldn’t believe how good I felt afterwards and all of the signs that the bath actually worked and it wasn’t all in my head. Seriously, I’m sold. I’ll be doing these on the regular from here on out.

Hope you learned something today and I hope that you give a detox bath a try! As always that you for stopping by and checking out the blog!

xoxo

669058772380712020613

∗Some of this information (and specifically the stats cited above) were pulled from http://www.healthylivinghowto.com on September 14th 2014. 
∗These opinions are my own. Please do not use as medical advice and consult a doctor if you have questions or concerns before starting a detox regime. 

Better Than Takeout Beef & Broccoli

Better Than Takeout Beef & Broccoli

Hi my lovelies!

I have had my share of cheap, delicious, questionable ingredients, Chinese take-out. In college that was my ultimate hang over remedy. Nothing like Sundays filled with headaches, Chinese, and the Green Bay Packers. Buttttttt those days were quite a while ago and since then I’ve (as you know) put a huge effort in to live a healthier life than back then. Somedays though, the craving for the old favorite strikes. So I’ve come up with this healthified version of my favorite and I have to say it tastes EVEN BETTER! You could so easily add way more or different veggies and it would be amazing. Yummmmmm I need to make this again.

One quick note: coming up within the next couple weeks I’m going to be hosting my very first GIVEAWAY on the blog!! I’m really excited about it and can’t wait to share more with you all in the next coming weeks! Make sure to check back often so you don’t miss your chance to win!

Now back to the fooood!

EDIT of DSC_8461

I even have take out chopsticks to make the whole “experience” 🙂

Ingredients:
1/2 tsp baking soda
1 tsp sugar
1 tbsp cornstarch
1 tbsp low-sodium soy sauce
1 tbsp water
2 tbsp oil of your choice
1/2 lbs flank steak, sliced into thin strips
1/2 c low-sodium soy sauce
2 tbsp brown sugar
4 cloves garlic, minced
2 tbsp flour of your choice (I used almond flour)
1 tbsp rice wine vinegar
3 tbsp oil of your choice
2 heads broccoli, cut into pieces
3 or 4 small sweet peppers, cut into strips

Instructions:

1. Whisk together the baking soda, sugar, cornstarch, soy sauce, water, and oil in a large bowl. Toss the steak with the marinade to coat. Cover and refrigerate at least 1 hour.

2. In a small bowl, stir together the soy sauce, brown sugar, garlic, flour and vinegar until smooth. Set aside.

3. In a large wok, heat 2 tablespoons of oil over high heat until shimmering. Add broccoli and saute 3 minutes, stirring often. Transfer broccoli to a plate. I like my broccoli to still be crunchy but if you don’t like that- cook for a little longer.

4. Reduce heat to medium-high. Carefully add the remaining tablespoon of oil to the pan. Add the marinated meat and half of the sauce mixture and saute for 3- 4 minutes, stirring often, until the meat is cooked through. Stir in the broccoli that you had set aside, the pepper strips, and the remaining sauce. Saute 1 minute more to heat it all through. Serve over rice and fall in love!

EDIT of DSC_8423

So simple and delish! Give it a try and let me know what you think! As always thanks for stopping by the blog and come back soon to make sure you enter for your chance to win the giveaway!

xoxo

669058772380712020613