
Glitter State Artwork
So here is another one of my Christmas presents I made. I have had my eye on this craft for a while. I actually love state artwork, there are so many fun ones I want to try but how many pictures of states can a girl have in her house, I believe the answer is too many. What better way to have fun making them and not look like a hoarder- than making them as gifts! 🙂 This one took a little bit more time simply for the fact that I a) needed daylight (to trace the state outline on my paper) since I don’t have a lightbox I needed daylight and as sad as it is, that is hard to come by in the winter during the hours I’m at home. and b) I wanted the glue and glitter to completely dry and set before framing.
Here is what you’ll need:
- a print out of your state of choice. I obviously chose the best state in existance, Wisconin.
- Thicker paper, like cardstock, poster board, this really depends on how big of a state or picture you are making
- Scissors
- Plain ole regular modge podge (mine in honestly still from when I was like 17 years old. still works, but I’m running low and need more soon!
- Glitter. I got mine in the card making section at Micheals(you can see the pic below for deets) but really any craft glitter will work.
- Paint brush
- Containter to coat your cut out in to avoid a glitter catastrophe 🙂
- Double stick tape
- Frame and if you want, colored paper to line your frame.
Optional:
- You can use a sticker of a heart or if you don’t have on I just painted a heart in red/pink paint on a peice of paper and cut it out and stuck in on.
Here is a picture of some of my supplies:
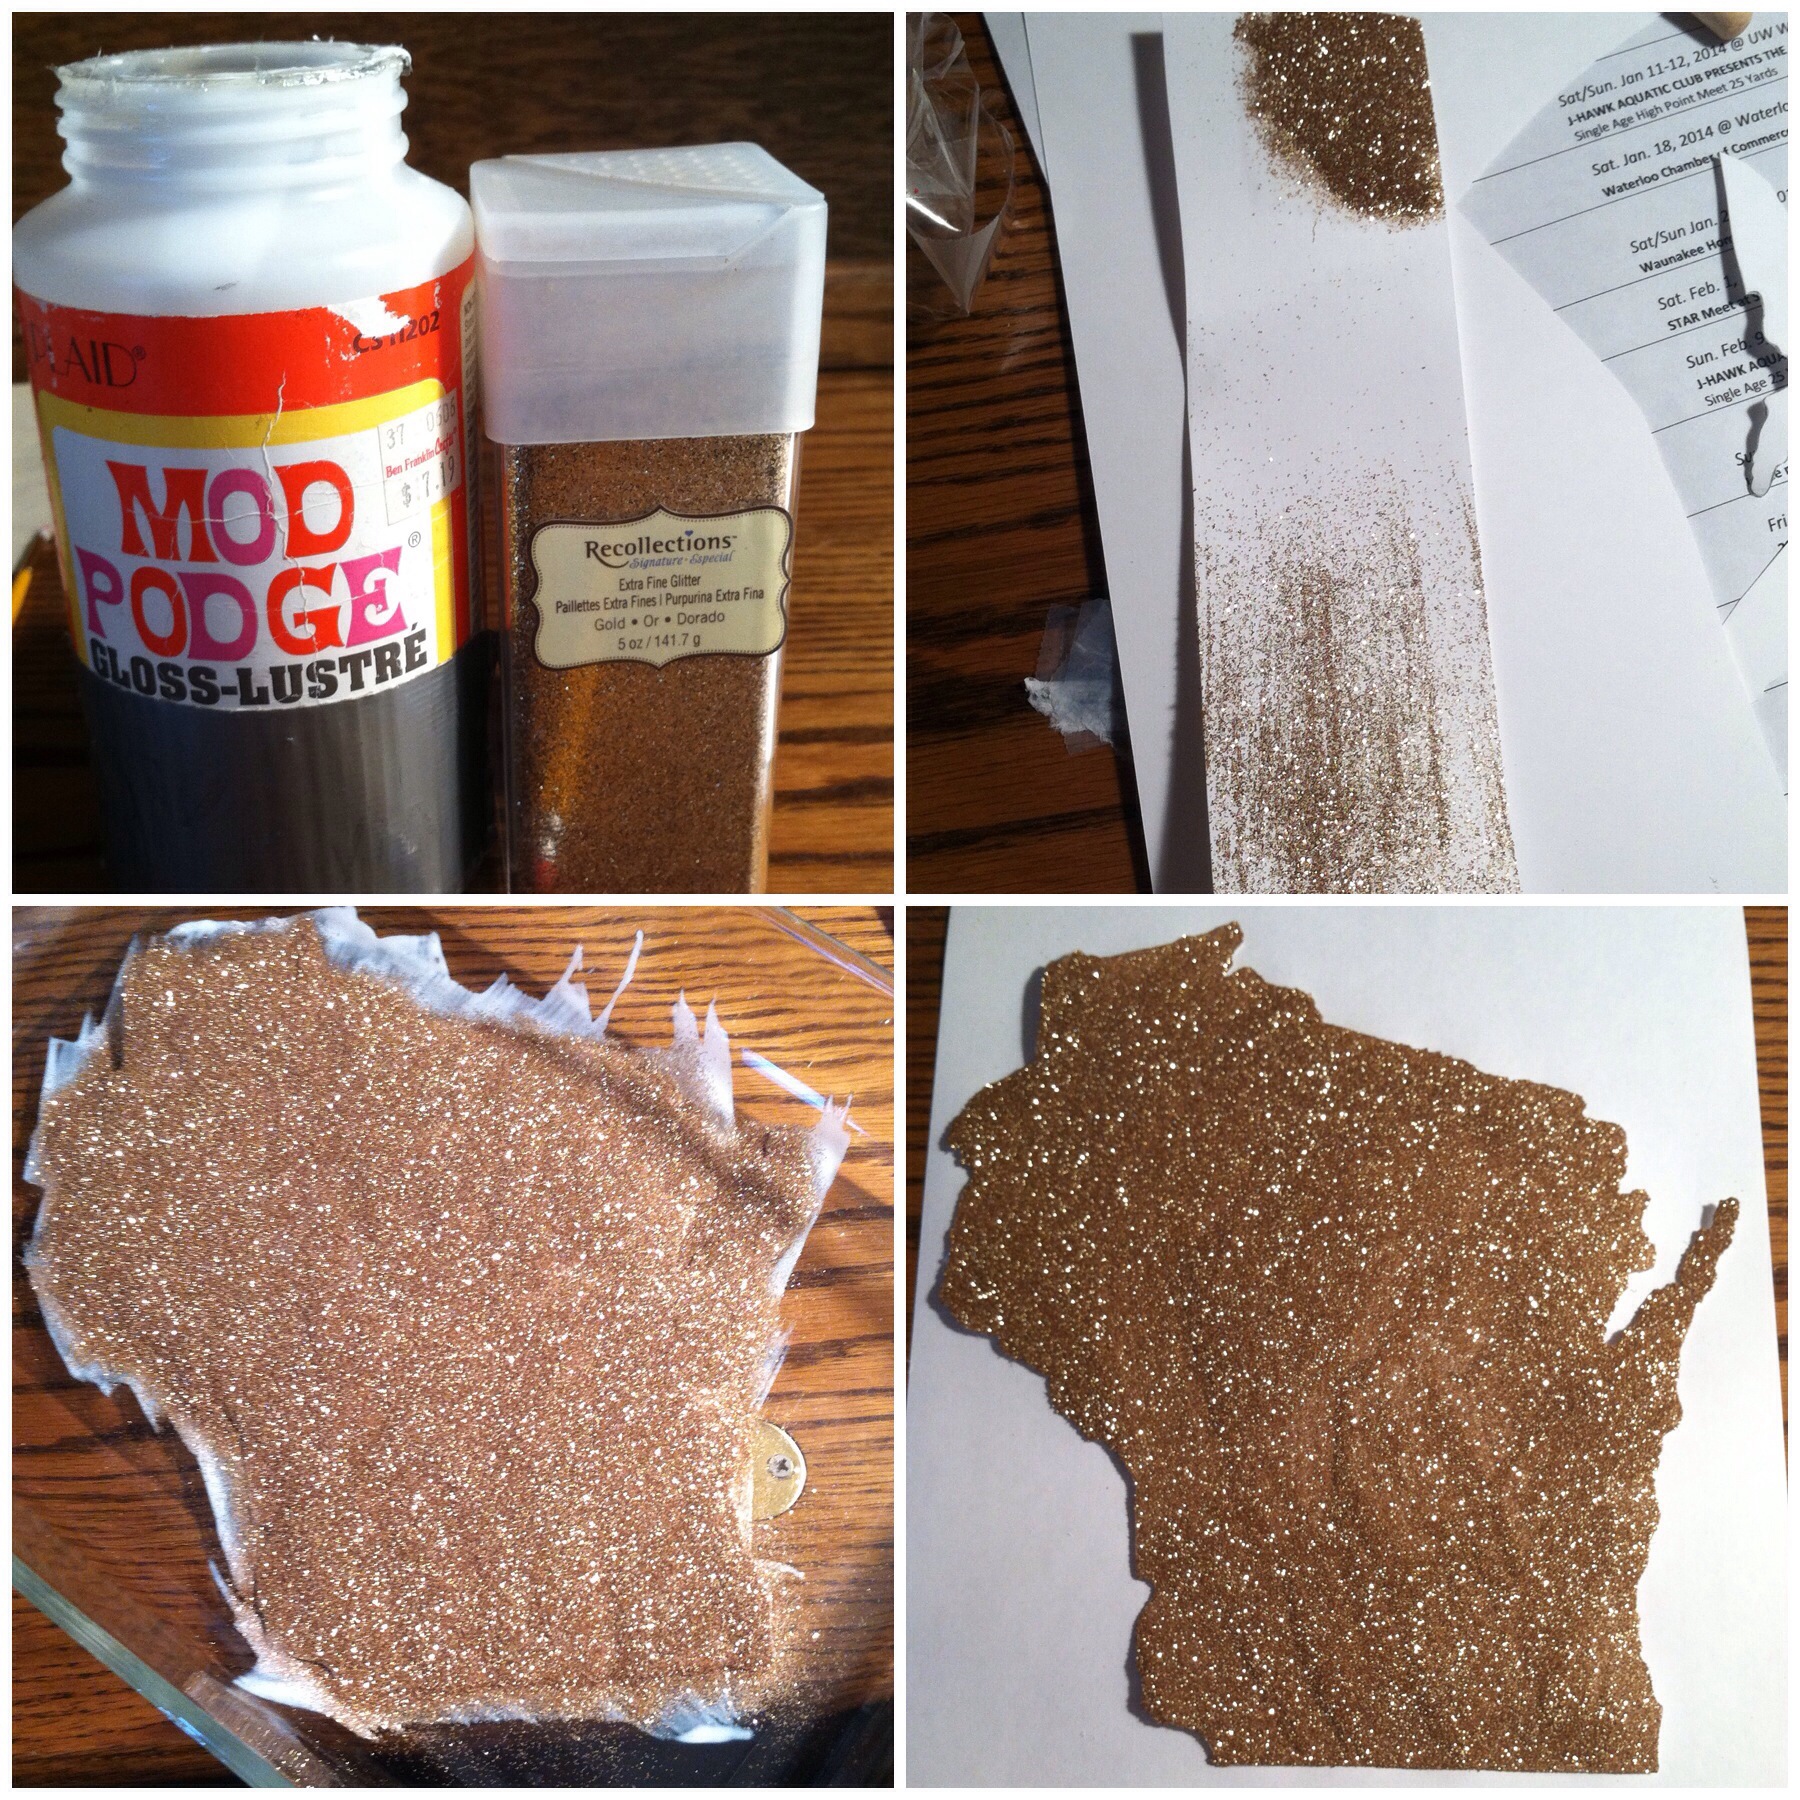
Clockwise: My modge podge and glitter I used- an illustration that you really want to not be shy with the modge podge in order to get a good coating of glitter to stay on the paper, my cutout in a glass container covered in glitter, then once it had dried a little and the exess glitter shaken off.
Here is what I did:
1) Print out an outline of your state. I mean I guess you can freehand it but I would suggest printing 😉
2) I taped my thicker cardstock over the outline and held up to my patio door (this is where that daylight is needed) and just traced the shape. then untape the sheets.
3) Use scissors and carefully cut out your state from your thicker cardstock.
4) place the outline in your container and use a paintbrush or spongebrush thingy, to coat your paper in modge podge. See my picture above about how you should really put a good coat on. Otherwise the glitter won’t stick nicely and it will be alittle thin, but be careful to not overcoat otherwise it will probably never dry. No harm in doing a little test run on a peice of scrap paper like I did above too.
5) When modge podge is still wet, coat generously with glitter, making sure to get a nice even coat and no “bald” spots.
6) Let the glitter and modge podge set for a while, probably like an hour and then pick up carefully(as it’s not all the way dry yet) and shake excess glitter from the cutout. Then I placed the glitter state on a piece of scrap paper and allowed to dry completely. I waited 4 days because I went out of town but I’m sure it doesn’t really take that long, but I’d for sure wait a full day.
7) You can pour your excess glitter back into it’s container and save for another glitter craft 🙂
8) This isn’t a necessary step but once my state was dry I took it outside and sprayed it with a high gloss arcylic sealer. Basically just because I wanted to set the glitter a little more. I didn’t want to have specs of glitter coming “free” and getting all over the glass of the frame because that would be a pain in the ass to deal with. I had purchased it for a different craft and thought, “hey why not try it”. Like I said, it’s not necessary but if you have anything similar lying around it worked great. ( Here is a link to the product that I used)
9) Once dry, if you choose you can place a heart over a particular locatiaon of the state that holds any significance to you. Then I put a couple peices of double stick tape on the back and taped it to a peice of black paper and placed in the frame.
TA DA!

Ignore the reflection in the glass of the frame. It was nearly impossible to not get my hands or face ! 🙂
I was so pleased with this craft! I made it for my best friend who is originally from Wisconsin but moved to Minnesota. I told her this was so she could always see “home” 🙂 I miss you B!That’s pretty much it. I mean this had so many endless possibilities not just in states but any shape you could think of. I think an outline of a stag head and antlers or something like that would be really cool too. Experiment and let me know what awesome things you all create 🙂
Thanks for reading!
xoxo


Love this! I’m all about glitter 🙂
LikeLike
Thanks for checking my post out! I just looked at your blog and I love it! You have a new follower 🙂
LikeLike
I love it and I love YOU! xox so talented.
LikeLike